Today is the last day of #BerryWeek! It has been such fun with so many berry recipes to share. My list of ones I want to try has gotten longer with each day! If you missed any of them, you might want to check out the recipe I shared Monday, Summer Berry Salsa. This recipe is a great way to enjoy several berries at a time, in one recipe! If you are a fan of easy to make pastry, you will want to bake up some of my Blueberry Breakfast Pastries, which I shared on Wednesday. The pastry cream is homemade and the pastry is store bought dough, cutting down on the time it takes to put it all together, but not the taste.
With the fun and tasty #BerryWeek coming to an end, I want to share my Summer Berry Charcuterie Board with you. If you have ever made a charcuterie board, you know how much fun it is to put them together. It takes thought and creativity to design the perfect board, and it also takes time to collect the items you need for the board, but it is all worth it. In the end, the board looks like an art project, too pretty to eat, but that won’t last long! The main objective is to have fun and create something your family and friends will enjoy! 
Summer Berry Charcuterie Board
(serves 3-4 )
(printable recipe at end of page)
Ingredients:
Fresh Summer Berries:
Strawberries
Raspberries
Blueberries
Blackberries
Chocolate Candy Pieces
Mini Chocolate Cookies
Chocolate Cookie Brittle
Cashews
Creme de Pirouline Dark Chocolate Rolled Wafers
Sauce:
1/2 cup Cream Cheese, softened
1 cup Whipped Topping
1 teaspoon Vanilla Extract

Start by placing fruit on your tray. You want it to look visibly appealing to the eye. When it is fruit you are dealing with, it seems like all the colors go together quite well. Stack your fruit up a bit, as if they are in piles. By stacking them you are creating height, making them visually appealing. You are basically creating a pretty picture that your guests can not resist!
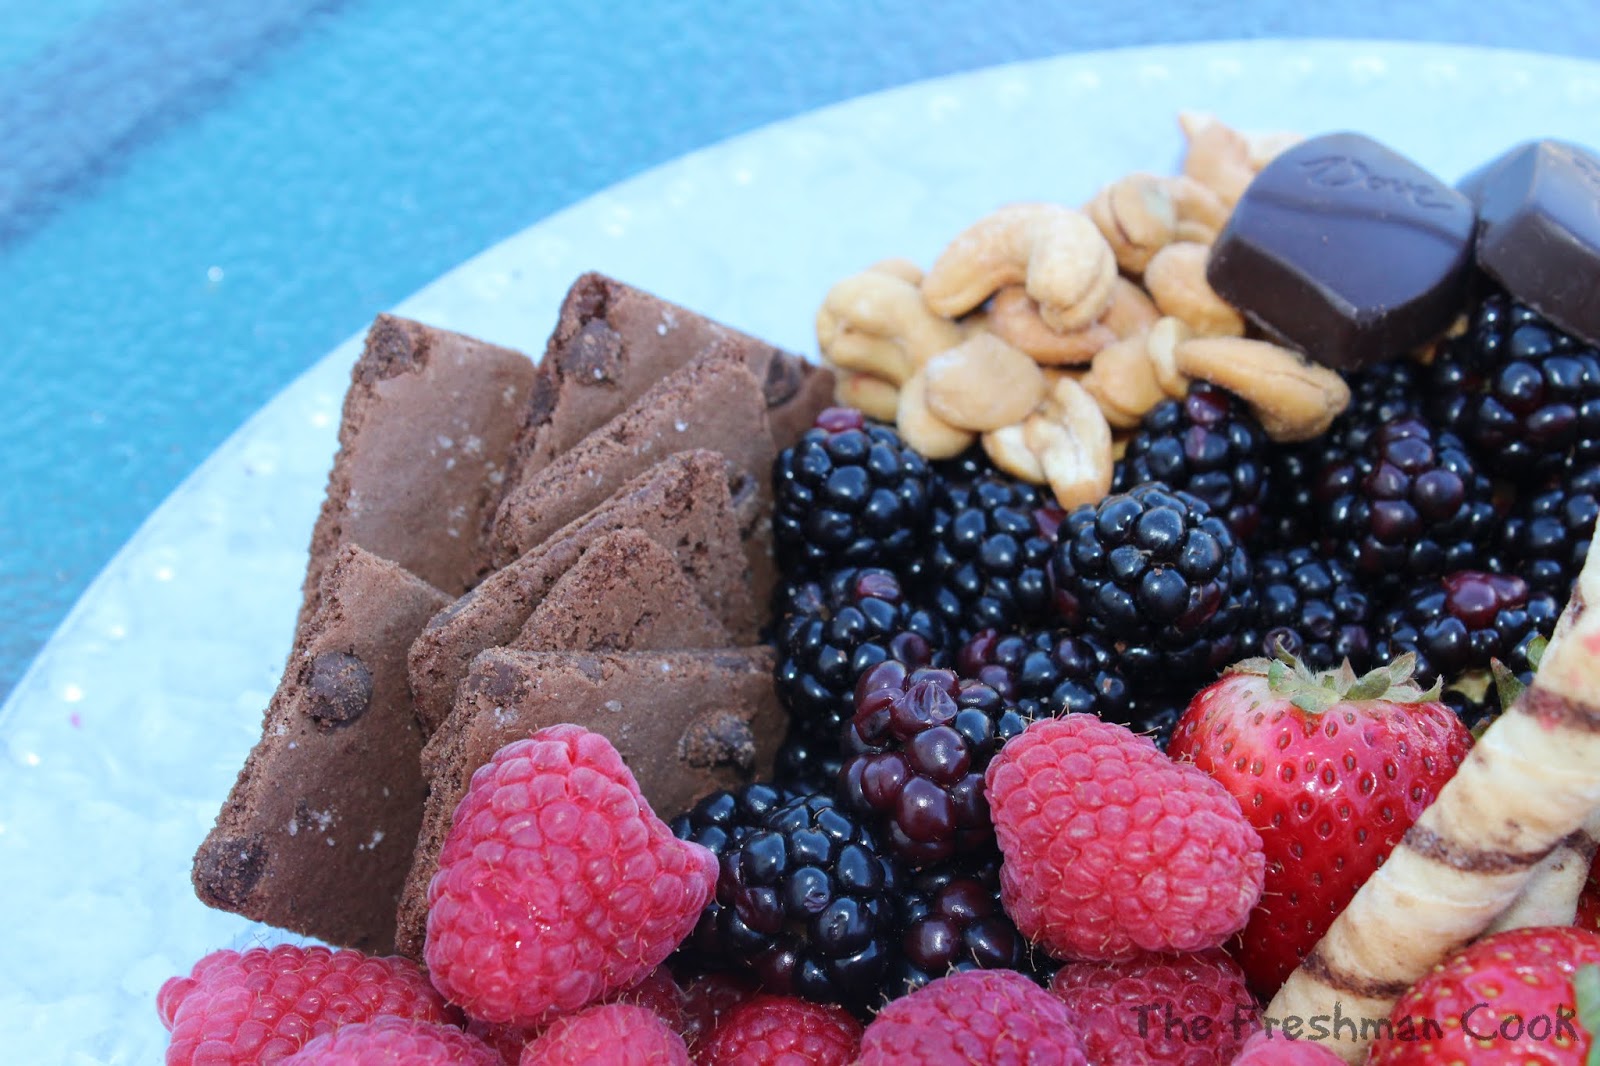
Add different textures to your canvas. The nuts are perfect because they are such an opposite to the softness of the fruit. Your guests will love both textures. The chocolate brittle adds double chocolate flavor, which most guests love! Let’s face it. It is difficult to walk past chocolate and not want to grab a bite! The chocolate brittle also adds a hard texture against the fruit.
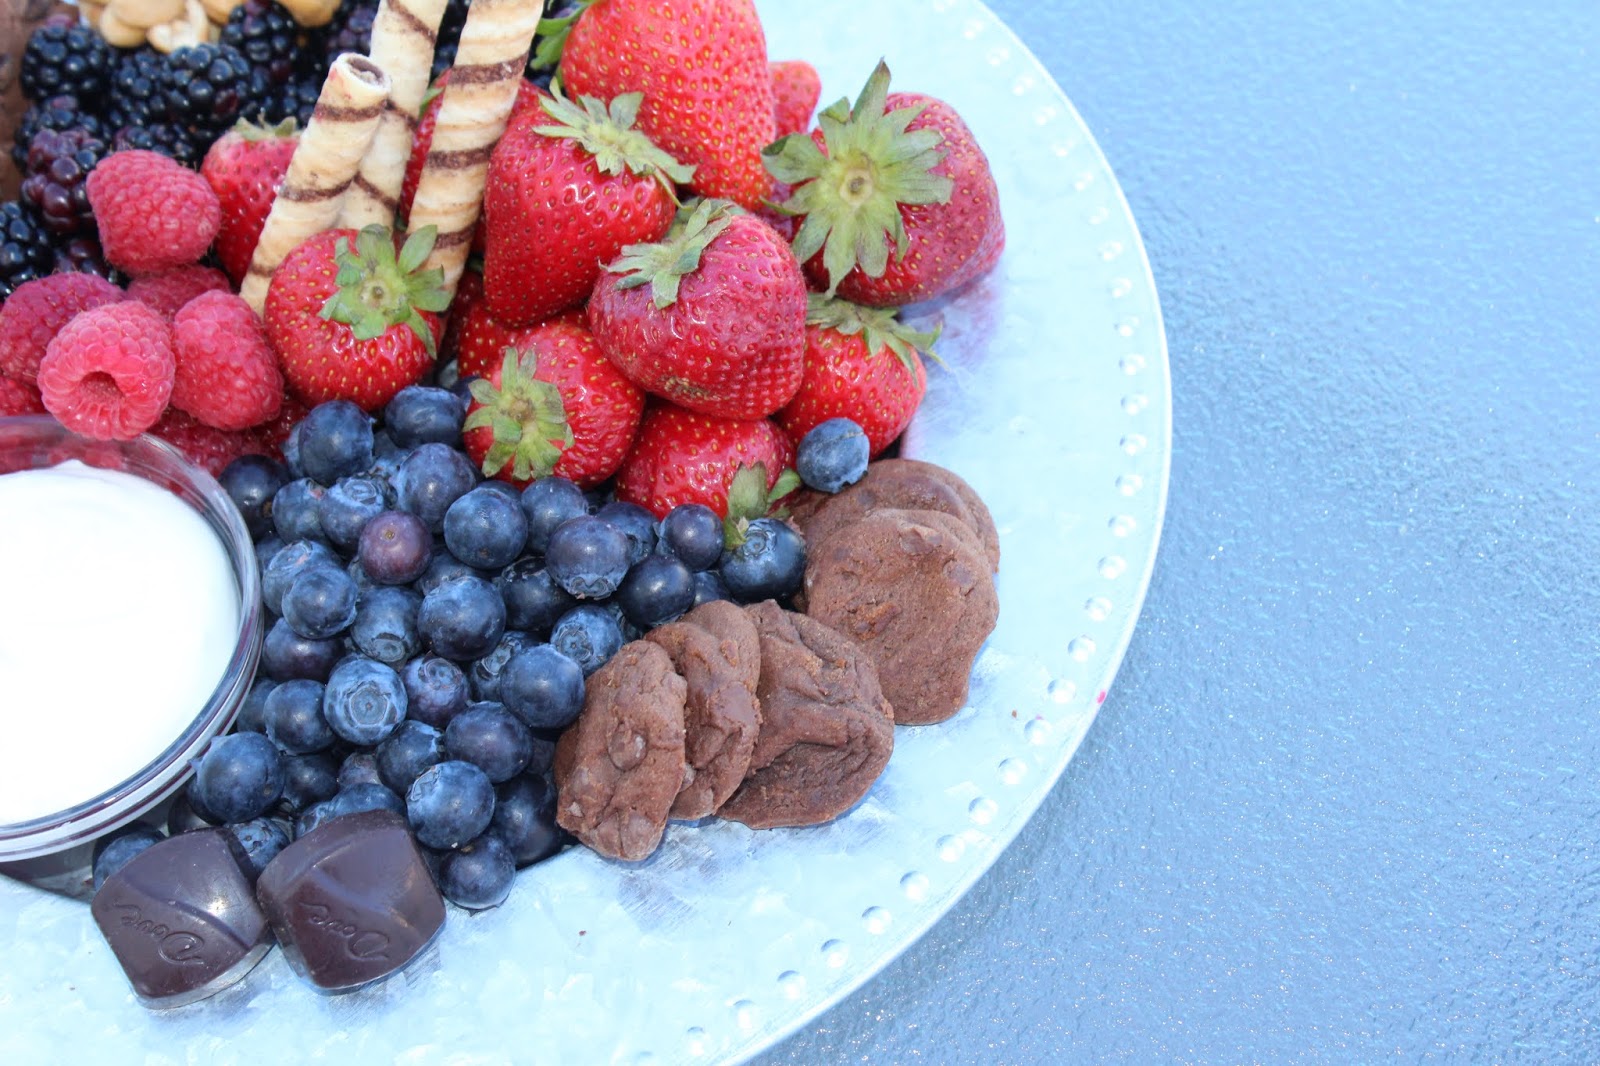
Red and blue go so well together that I had to put them side by side. The blueberries are soft and juicy and the fresh strawberries with their green stems just create it’s own little picture. I used the chocolate cookies as a border to contrast the softness of the fruit.
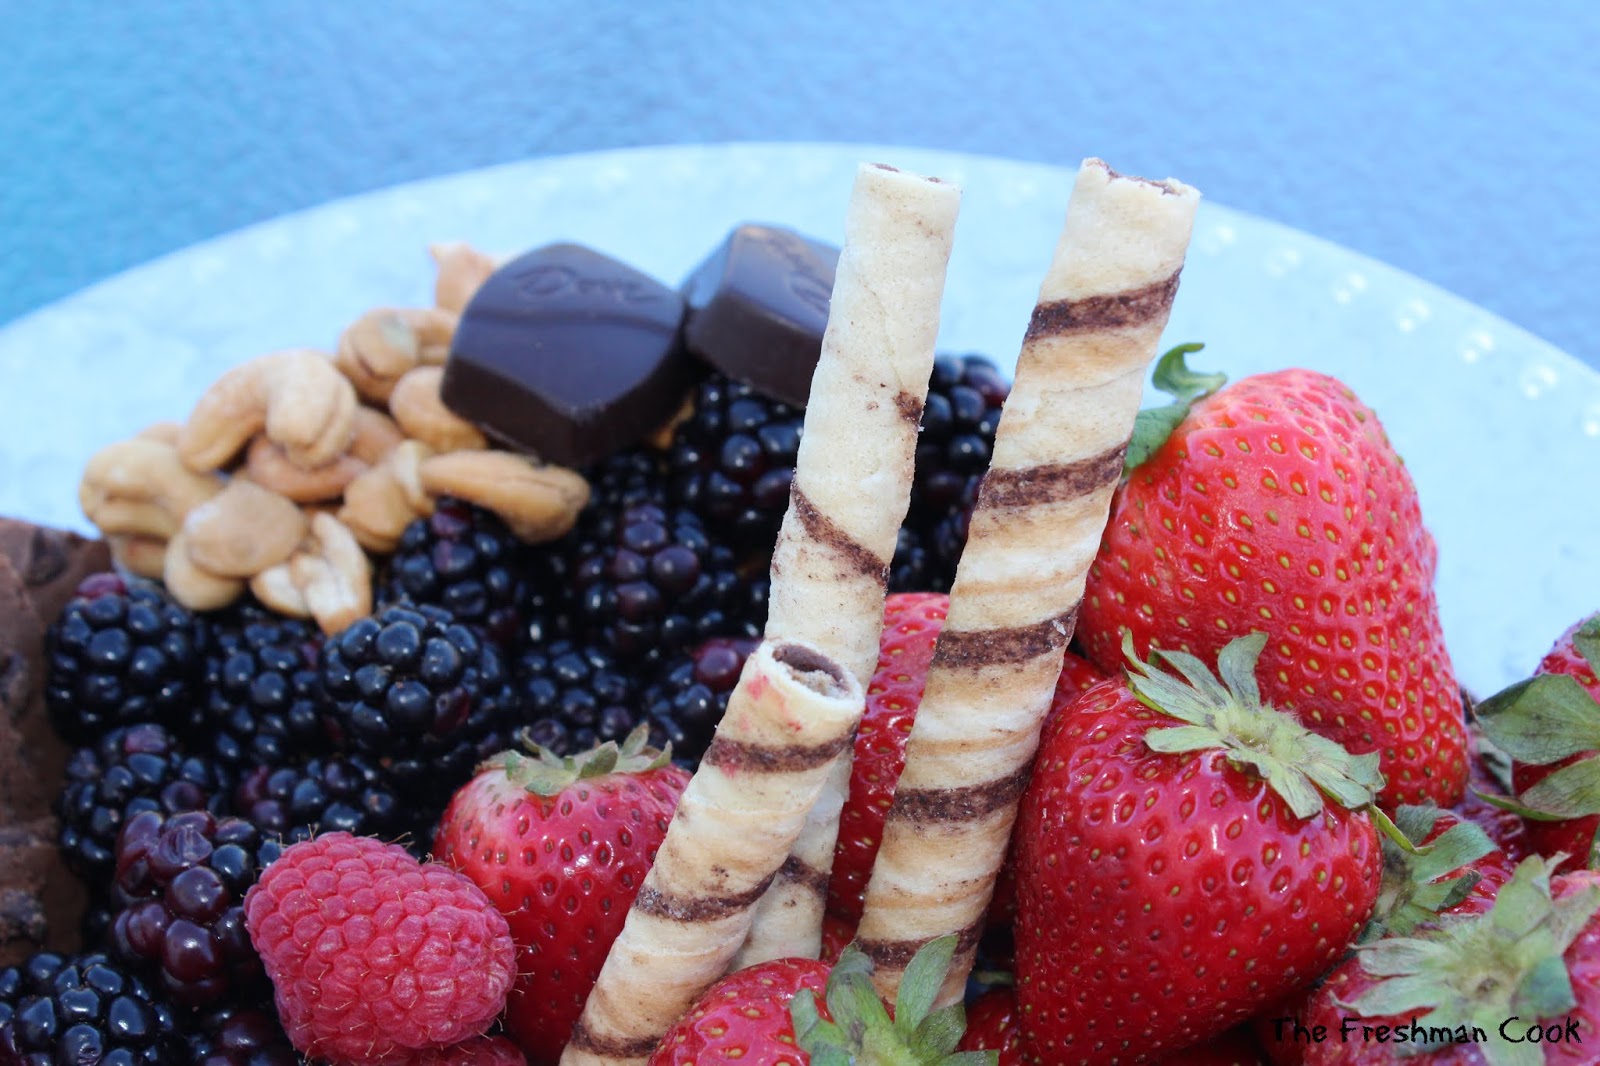
These rolled wafers are a great addition to the board because they create height. They direct our gaze to move up from the plate, resulting in your guests taking in the entire picture.

Every board needs a dip or two. Because this board is on the small side, I thought one would be enough. This dip is super easy to make with only three ready made ingredients. Soften the cream cheese, mix in the frozen dessert topping and add the vanilla! Refrigerate before serving!

- Fresh Summer Berries:
- Strawberries
- Raspberries
- Blueberries
- Blackberries
- Chocolate Candy Pieces
- Mini Chocolate Cookies
- Chocolate Cookie Brittle
- Cashews
- Creme de Pirouline Dark Chocolate Rolled Wafers
- Sauce:
- 1/2 cup Cream Cheese, softened
- 1 cup Whipped Topping
- 1 teaspoon Vanilla Extract
- Start by placing fruit on your tray. You want it to look visibly appealing to the eye. When it is fruit you are dealing with, it seems like all the colors go together quite well. Stack your fruit up a bit, as if they are in piles. By stacking them you are creating height, making them visually appealing. You are basically creating a pretty picture that your guests can not resist!
- Add different textures to your canvas. The nuts are perfect because they are such an opposite to the softness of the fruit. Your guests will love both textures. The chocolate brittle adds double chocolate flavor, which most guests love! Let’s face it. It is difficult to walk past chocolate and not want to grab a bite! The chocolate brittle also adds a hard texture against the fruit.
- Red and blue go so well together that I had to put them side by side. The blueberries are soft and juicy and the fresh strawberries with their green stems just create it’s own little picture. I used the chocolate cookies as a border to contrast the softness of the fruit.
- These rolled wafers are a great addition to the board because they create height. They direct our gaze to move up from the plate, resulting in your guests taking in the entire picture.
- Every board needs a dip or two. Because this board is on the small side, I thought one would be enough. This dip is super easy to make with only three ready made ingredients. Soften the cream cheese, mix in the frozen dessert topping and add the vanilla! Refrigerate before serving!
summer berries, blackberries, blueberries, raspberries, strawberries, charcuterie board, cookies, dip
dessert, treats