This homemade saltine cracker recipe comes together with just a few pantry staples and is perfect for when you want a quick, crispy snack made from scratch.
Ready in only 15 minutes, these crackers are simple to prepare and make a wonderful homemade alternative to store-bought crackers.

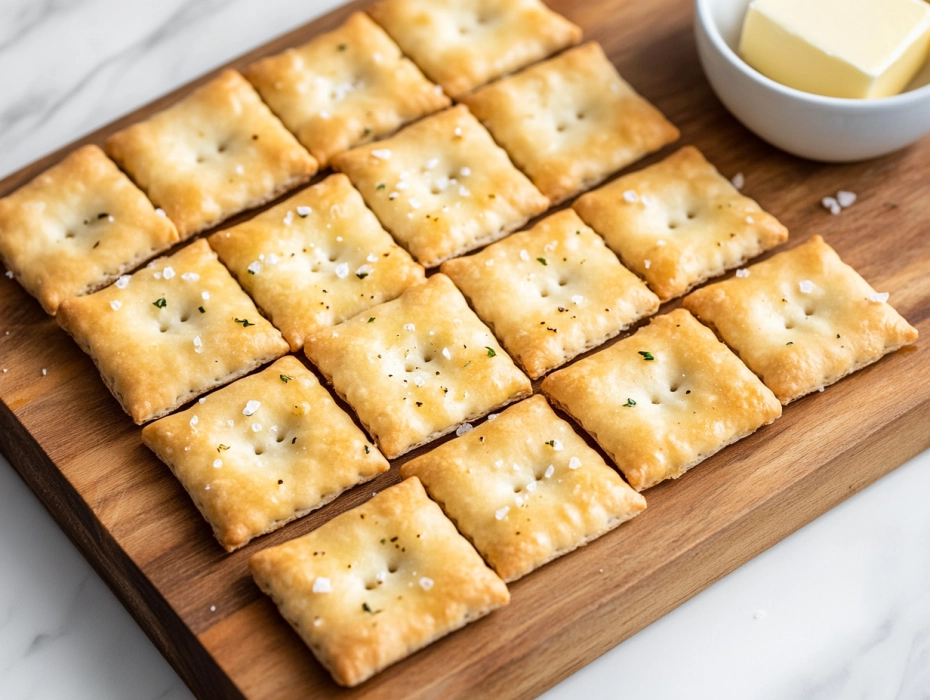
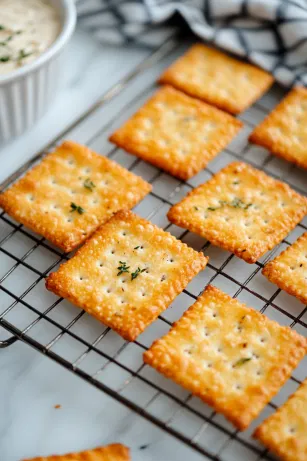
Light, crisp, and buttery with just the right touch of salt, these crackers are perfect for pairing with cheese, soups, dips, or enjoying on their own. They bake up golden and crunchy, with that classic saltine-style snap in every bite.
Table of Contents
The Secret to the “Soda” Cracker Texture
To achieve a true saltine texture, three scientific principles must be met:
Vapor Management (Docking): Poking holes with a fork (docking) acts as a safety valve. It allows steam to escape so the crackers stay flat and crisp rather than puffing into hollow pillows.
Chemical Leavening: Baking soda reacts with heat and acid (cream of tartar) to create tiny CO2 bubbles. This prevents the cracker from being a solid, hard sheet and creates a brittle, “shattering” texture.
Steam-Induced Flakiness: Using cold, solid butter is vital. As the bits of cold fat melt in the oven, the water content turns to steam, lifting the dough into thin, delicate layers.
Saltine Cracker Recipe
Equipment
- Large mixing bowl
- Pastry Blender (or two knives)
- Rolling Pin
- Ruler
- Pizza Cutter or Sharp Knife
- Fork for docking
- Baking sheet
- Parchment paper
- Pastry brush
- Wire cooling rack
Ingredients
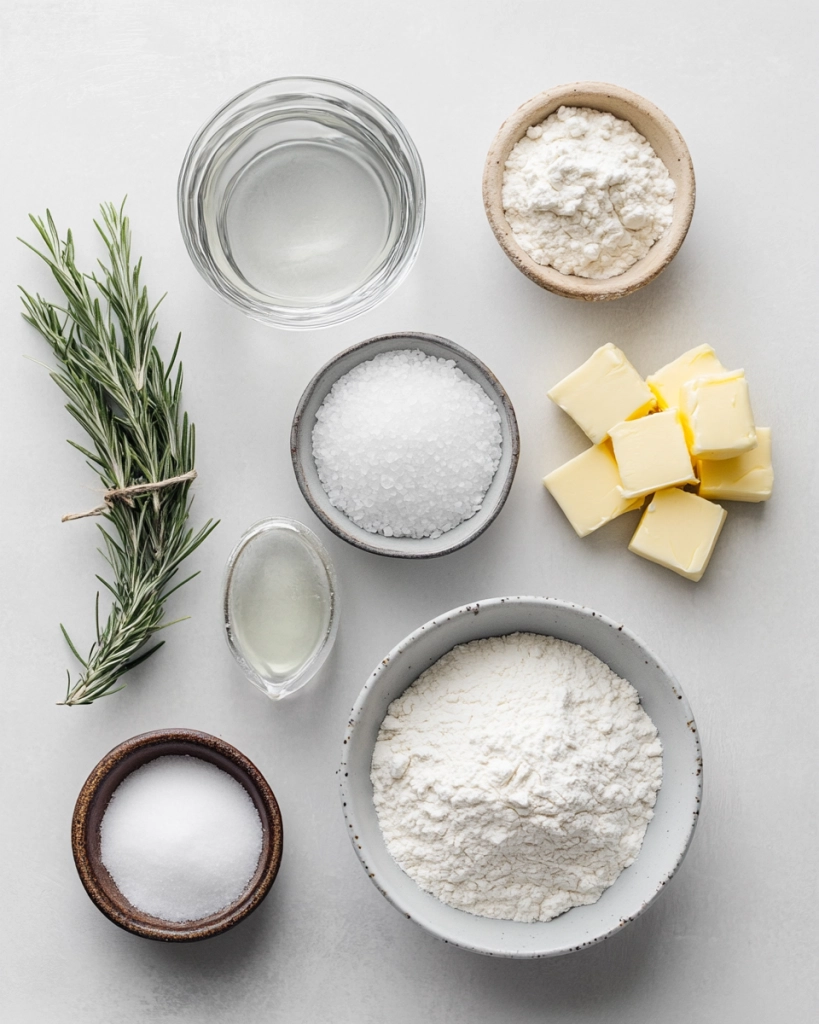
- 1 Cup All-Purpose Flour The base structure.
- 1/2 tsp Baking Soda Essential for airiness.
- 1/4 tsp Cream of Tartar "For ""snap"" and flavor."
- 1/4 tsp Fine Salt For the dough mix.
- 3 tbsp Unsalted Butter "2 tbsp for dough, 1 tbsp for the finish."
- 1/3 Cup Cold Water Use only 4–5 tbsp of this.
- To Taste Coarse Salt For the classic salted top.
Instructions
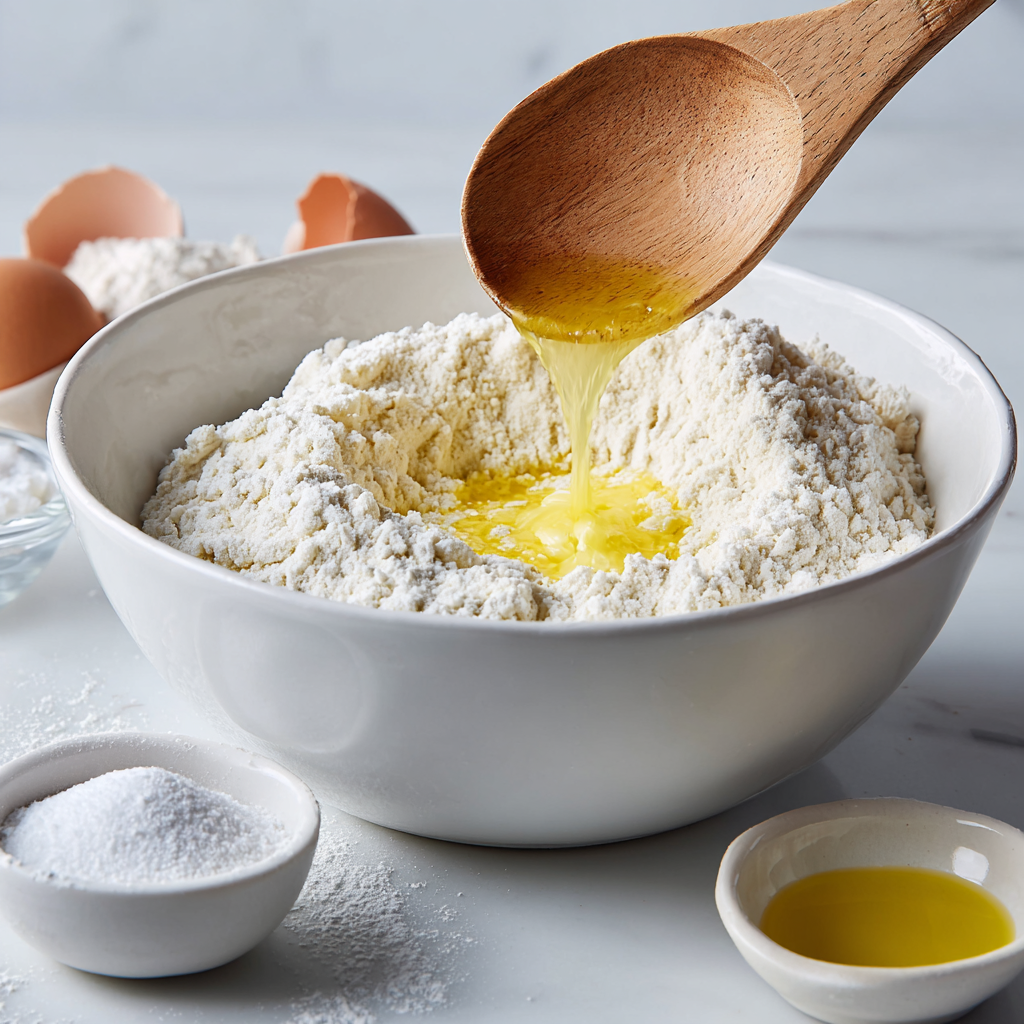
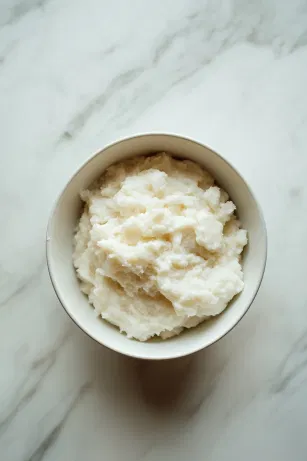
- In a large bowl, whisk together the flour, baking soda, cream of tartar, and fine salt. Using a pastry blender or two knives, "cut" the cold, cubed butter into the dry ingredients until the mixture resembles coarse crumbs. Do not melt the butter.
- Add the water one tablespoon at a time, tossing with a fork until a shaggy dough forms. Use your hands to gently knead the dough into a ball. Note: Stop adding water once the dough holds together; it should not be sticky.
- On a floured surface, roll the dough into a rectangle. Fold it into thirds (like a letter), rotate 90 degrees, and roll it out again. Repeat this 2–3 times. This creates the internal layers that make saltines flaky.
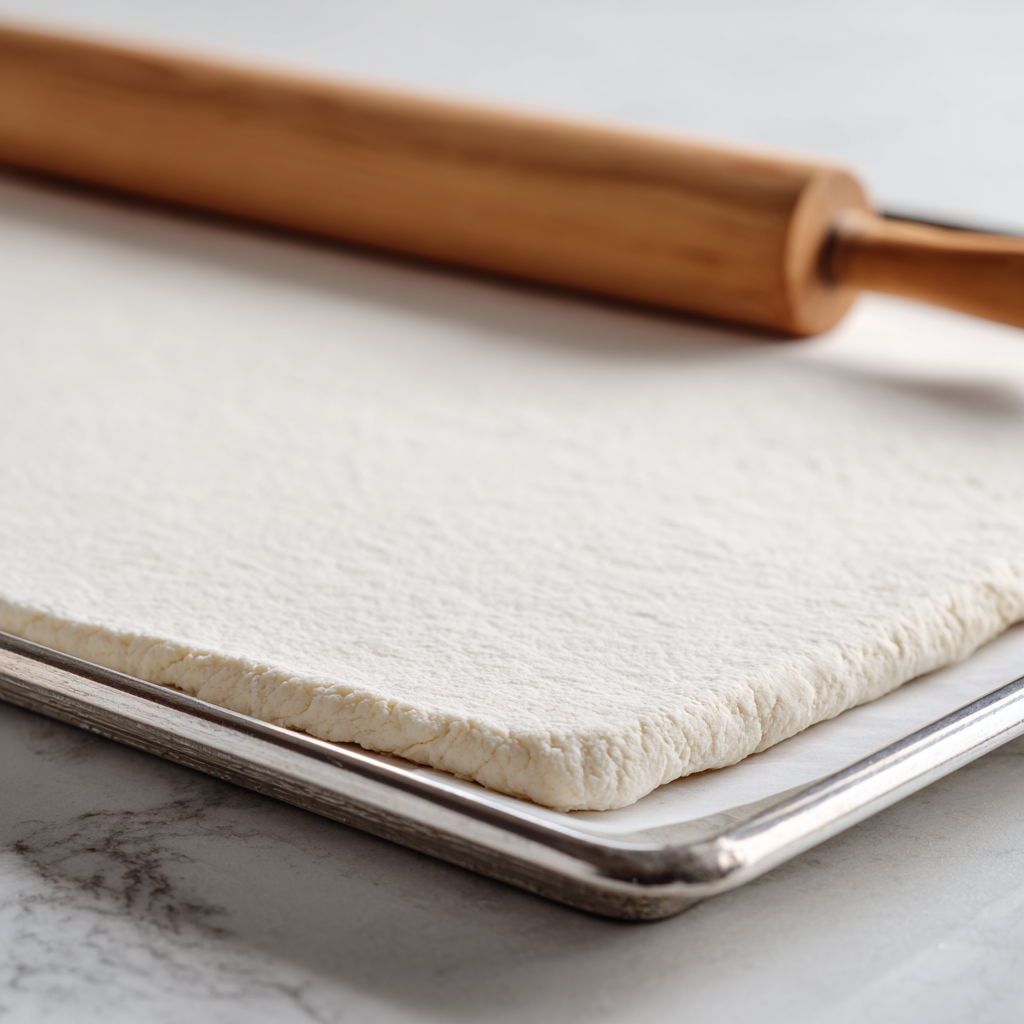
- Place the dough on a sheet of parchment paper. Roll it out until it is translucent, approximately 1/16 inch (1.5mm) thick. Use a ruler to verify; any thicker and the crackers will be chewy rather than crispy.
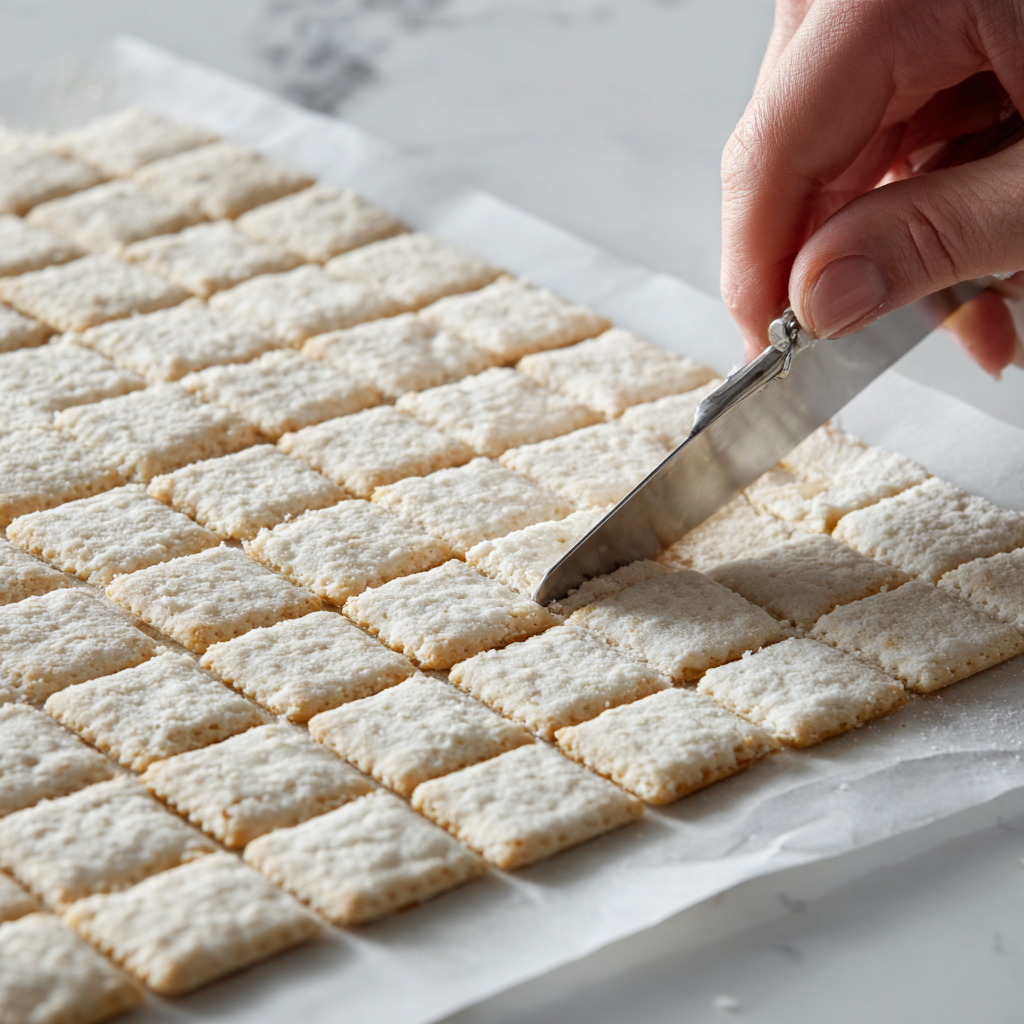
- Use a pizza cutter to score the dough into 2-inch squares (do not cut all the way through). Critically: Use a fork to prick each square 5–7 times. This "docking" allows steam to escape so the crackers stay flat.
- Lightly spritz the top with a tiny bit of water or a very thin brush of melted butter, then sprinkle generously with coarse salt.
- Bake at 200 Degrees Celsius for 10–12 minutes. Rotate the pan halfway through. Watch closely; they are done when the edges are golden brown and the centers are pale gold.
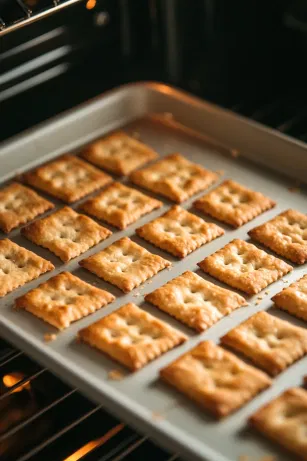
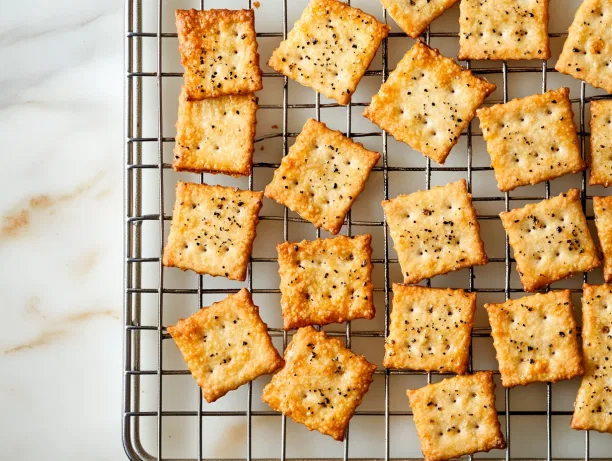
- Immediately transfer the crackers to a wire cooling rack. Do not let them sit on the hot baking sheet or a flat counter, as the trapped steam will make them lose their "snap."
Nutrition Facts:
Nutrition | Value |
|---|---|
| Calories | 775 kcal |
| Carbohydrates | 95 g |
| Protein | 13 g |
| Vitamin A | 700 IU |
| Iron | 6 mg |
| Sugar | 0.4 g |
| Calcium | 29 mg |
Pro-Tips for the Perfect Crunch
To achieve professional-grade crispness and prevent the “soggy biscuit” syndrome, follow these four technical rules:
- Precision Docking: You must prick the dough with a fork every half-inch. This breaks the surface tension and allows steam to escape, ensuring the crackers stay flat and develop a uniform “snap” rather than ballooning.
- The Cooling Law: Never cool crackers on the baking sheet or a solid counter. Use a wire rack immediately. Air must circulate underneath the crackers to whisk away residual moisture, or they will “sweat” and turn soft.
Try More Snack Recipe
Best Make-Ahead and Storage Tips
- Room Storage: Store in an airtight container for up to 5 days.
- Keep Crisp: Let cool fully before storing.
- Re-Crisp Tip: Warm in the oven for a few minutes if softened.
- Make Ahead Dough: Refrigerate dough for up to 1 day.
- Travel Snack: Great for lunch boxes and snack jars.
Frequently Asked Questions
- Can I make these without a rolling pin?
Yes, a clean bottle works well as a substitute. - Do they taste like store-bought saltines?
They have a similar crispness with a richer buttery flavor. - What goes well with these crackers?
Cheese, dips, soups, and spreads pair perfectly. - Can I make them smaller?
Yes, cut into mini squares for bite-sized snacks. - Are they good for soup?
Yes, they are perfect alongside soups and chowders. - Can kids help make these?
Absolutely, kids enjoy helping cut the shapes. - Why are mine soft after baking?
They usually crisp up more as they cool. - Can I make them extra salty?
Yes, lightly sprinkle more salt on top before baking.

hi there,
i’m Archie
A San Diego-born home cook who turns her kitchen into a playground of flavors.