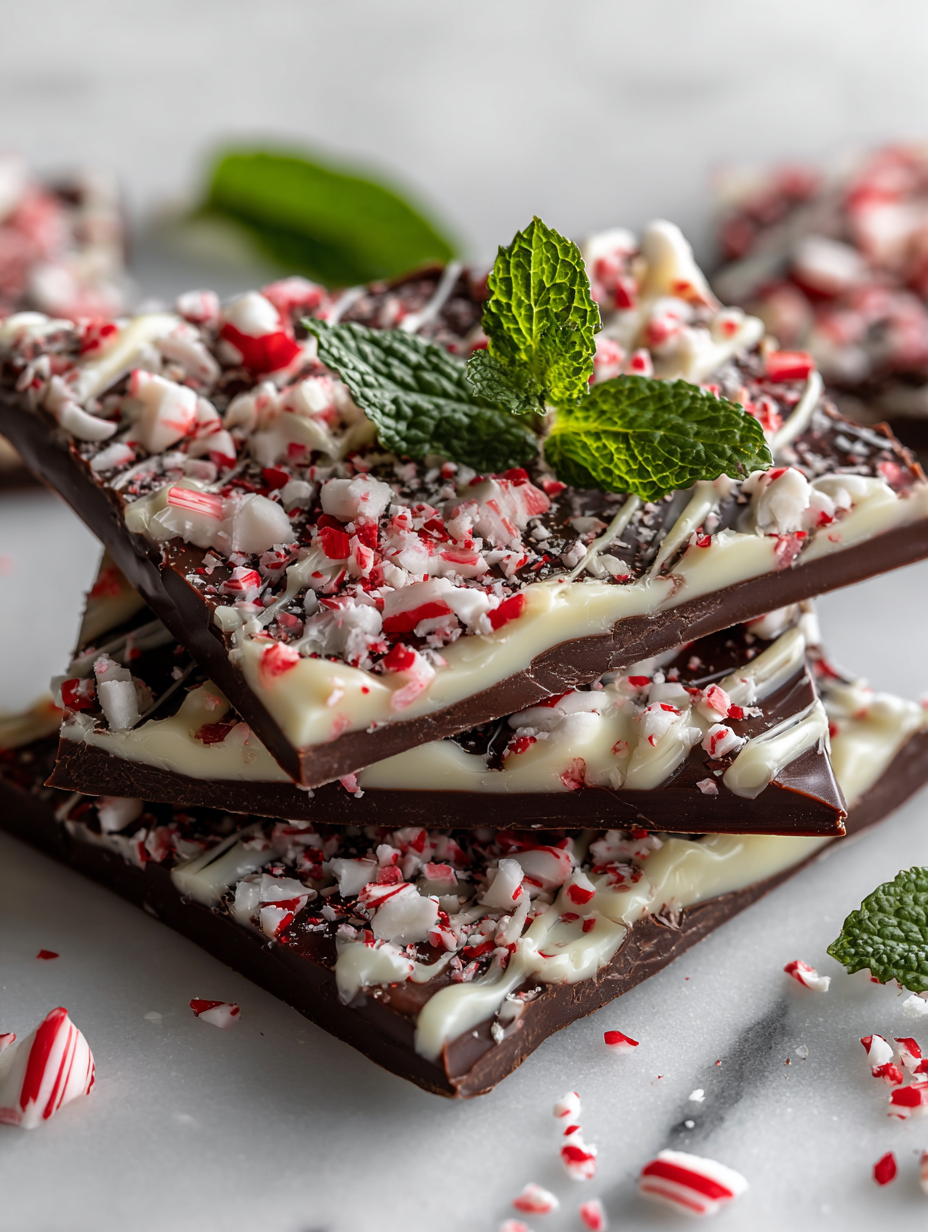
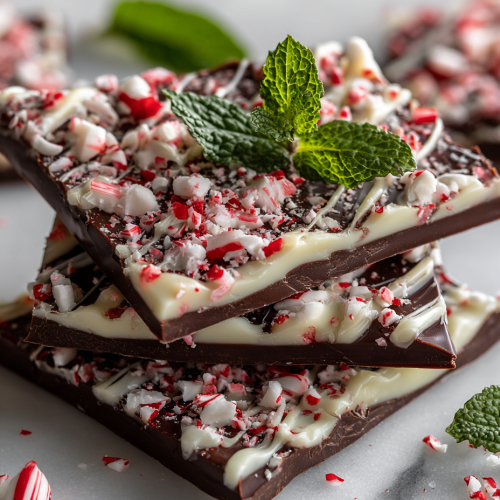
Peppermint bark has always felt like a secret handshake among holiday bakers—simple, yet so satisfying. But this year, I wanted to give it a little unexpected edge, balancing tradition with a tiny twist of boldness. The key was experimenting with the layering process, making each bite a layered surprise of texture and flavor.
Why I Keep Coming Back to This Peppermint Bark
It’s a straightforward recipe that yields a striking, festive treat every time. The joy of crushing candies and watching the layers come together never gets old. Plus, it’s endlessly customizable—add nuts, swap dark for milk chocolate—each batch feels like a little new adventure.
What Makes This Peppermint Bark Special
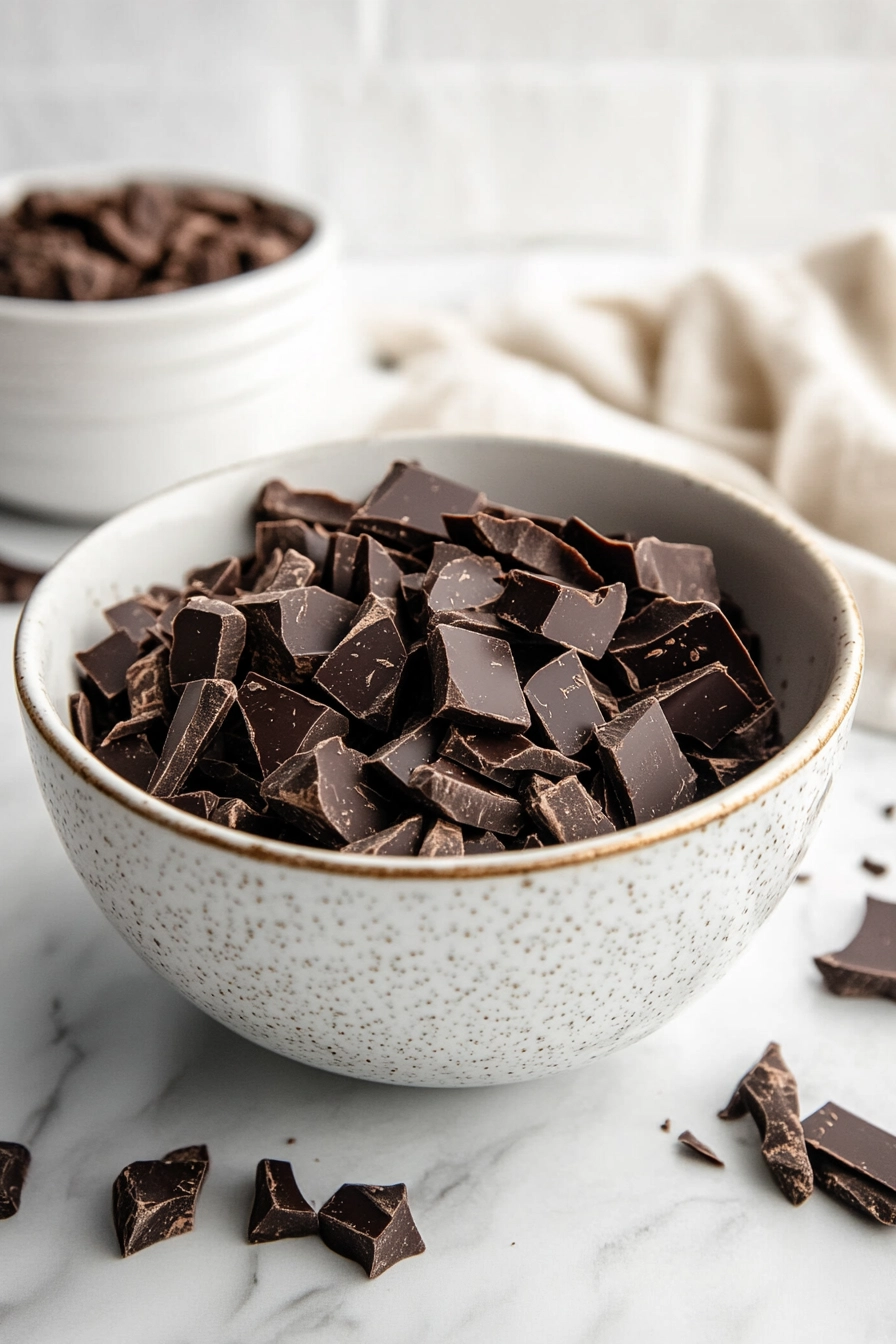
- Dark chocolate: Rich, slightly bitter base that balances the sweetness. Use good quality for a glossy finish.
- White chocolate: Creamy, sweet layer that melts smoothly and contrasts beautifully.
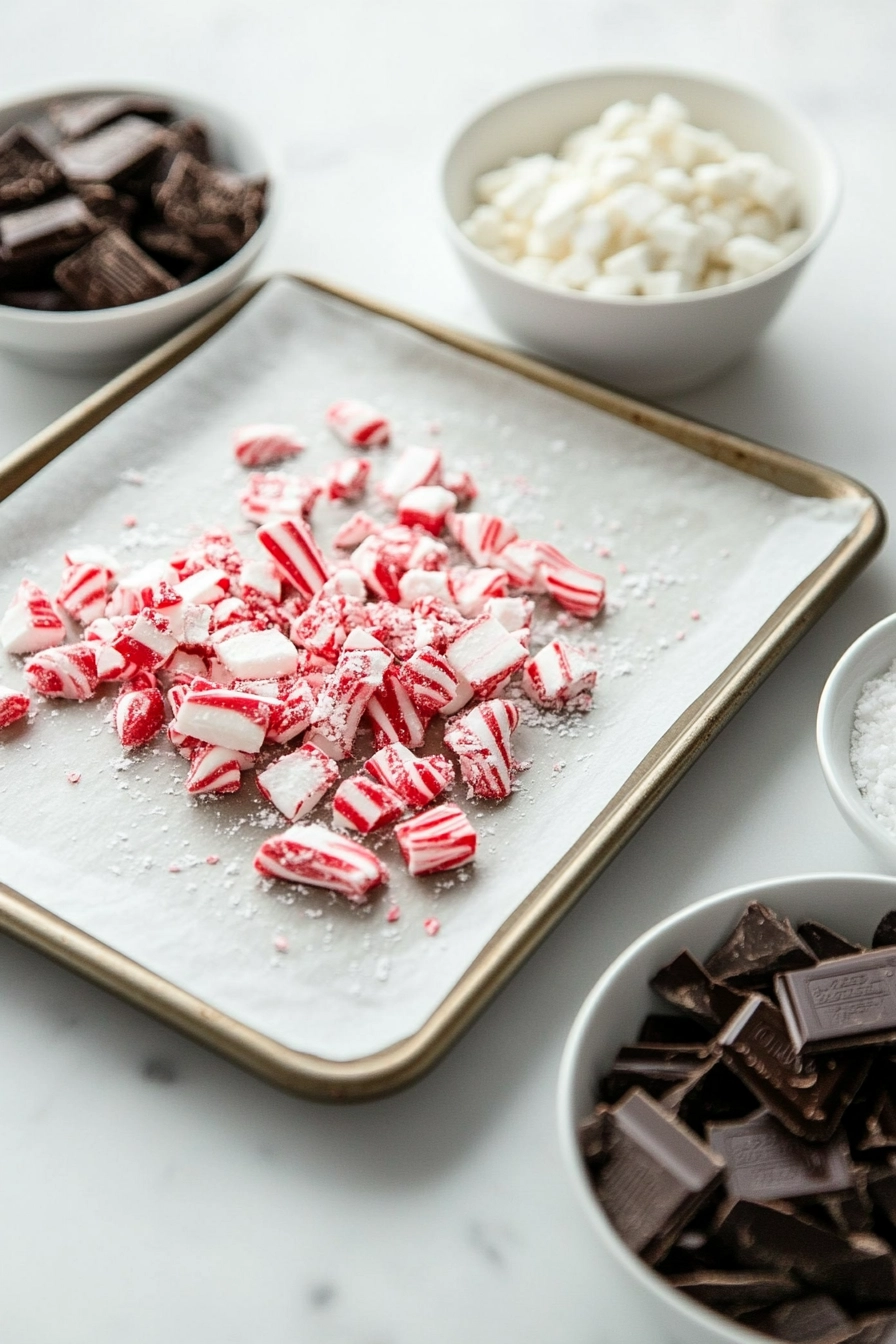
- Crushed peppermint candies: Adds a burst of cool, spicy flavor and crunch—choose extra peppermint for a more intense bite.
- Sea salt (optional): A pinch enhances the sweetness and adds a savory note, especially if you skip candies.
- A dash of peppermint extract (optional): Intensifies the peppermint flavor without adding more candies.
Tools That Make Peppermint Bark a Breeze

- Double boiler or microwave-safe bowl: For gently melting chocolate without burning.
- Spatula: To spread melted chocolate evenly.
- Parchment paper: Prevents sticking and makes cleanup easy.
- Baking sheet: Supports the bark while it sets.
Crafting the Perfect Peppermint Bark
Step 1: Line a baking sheet with parchment paper.
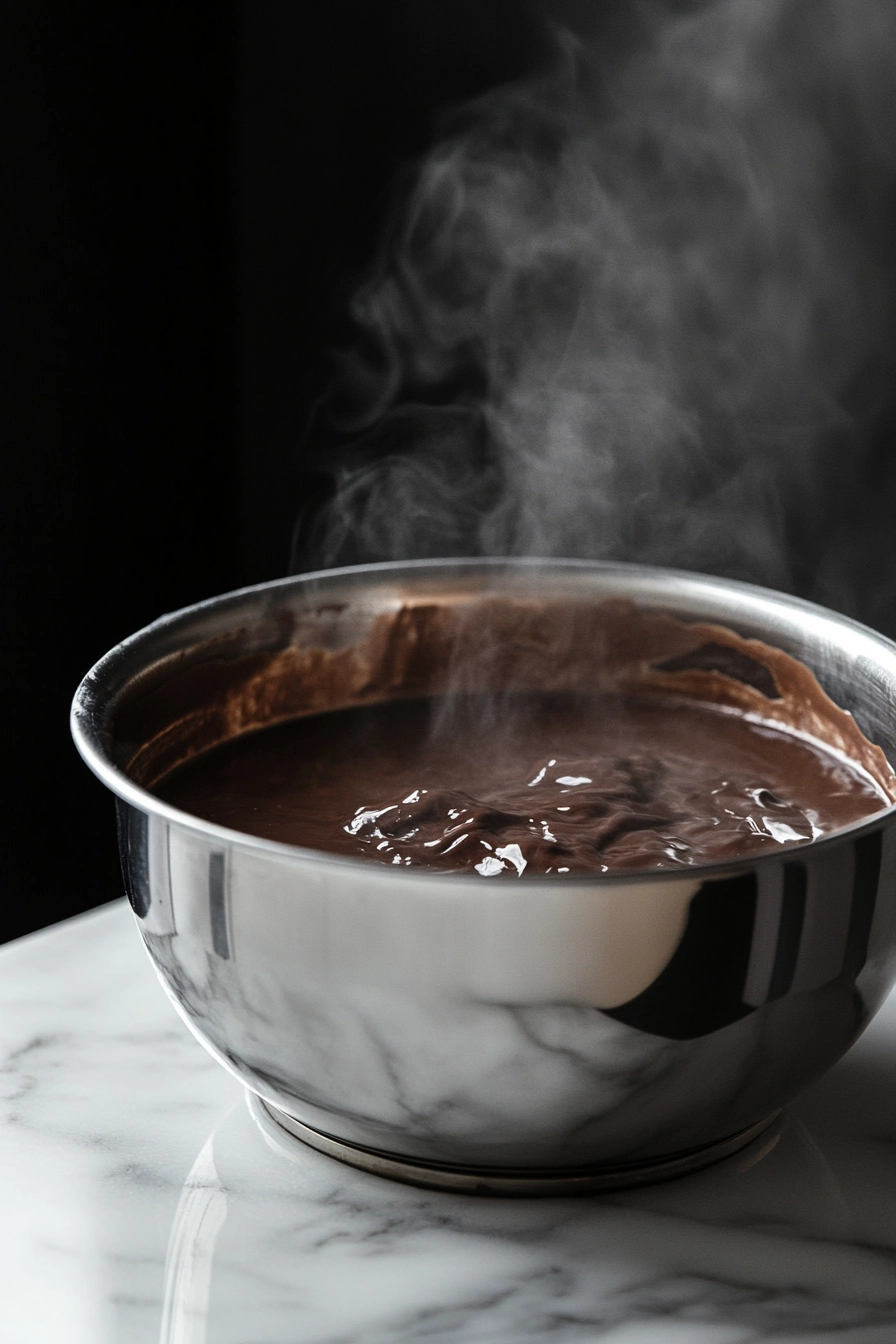
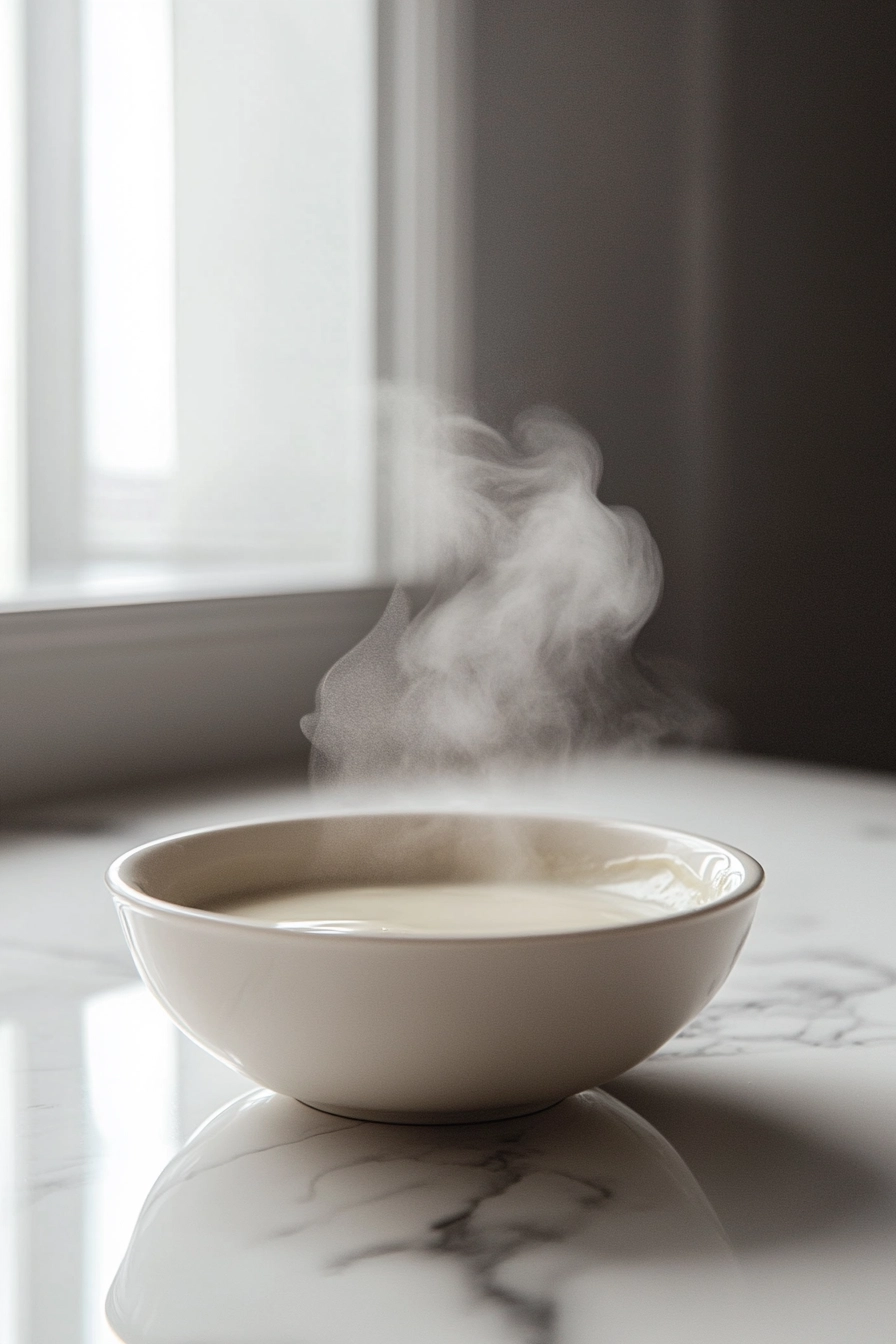
Step 2: Melt dark chocolate in a double boiler or microwave in 30-second bursts, stirring each time until smooth.
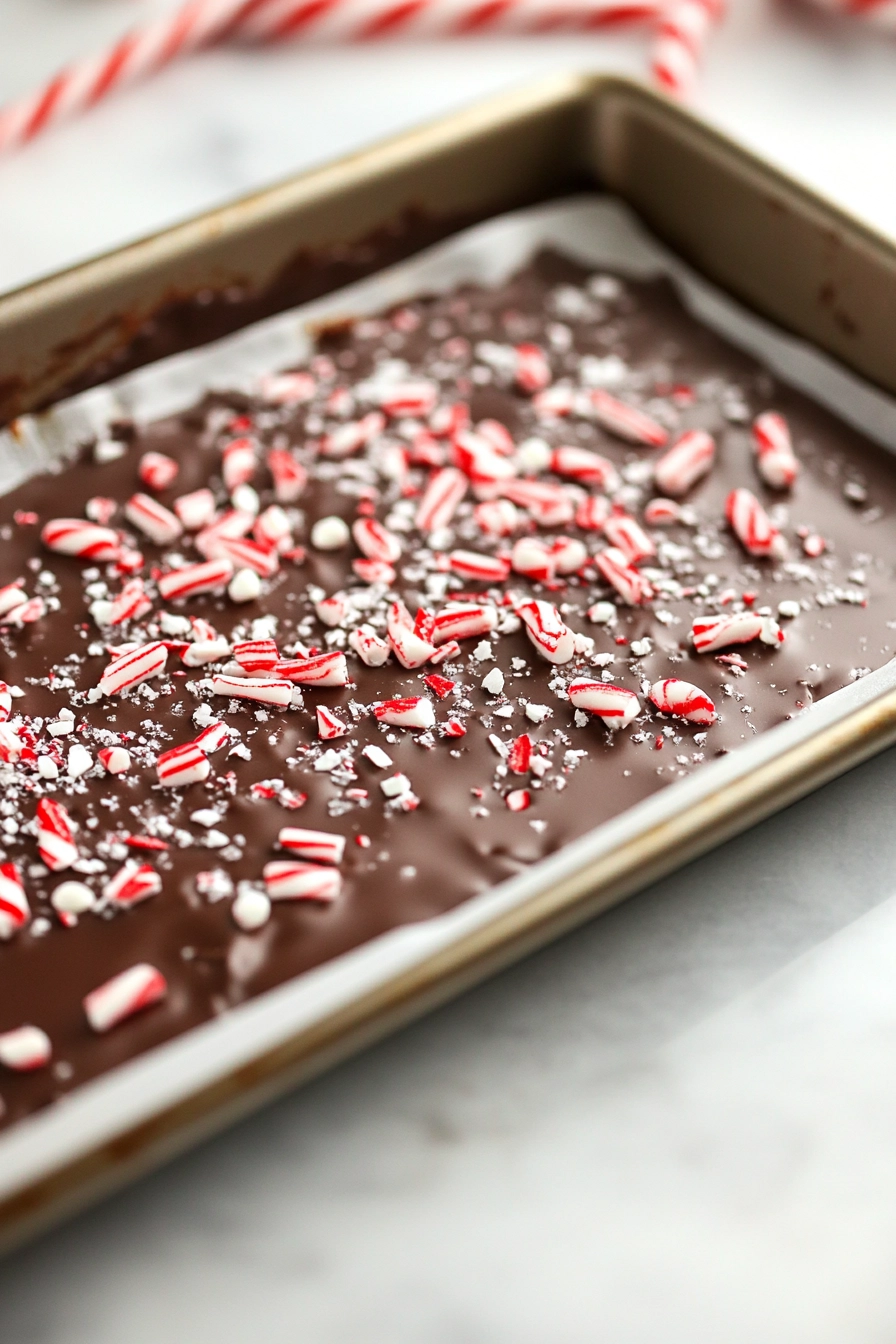
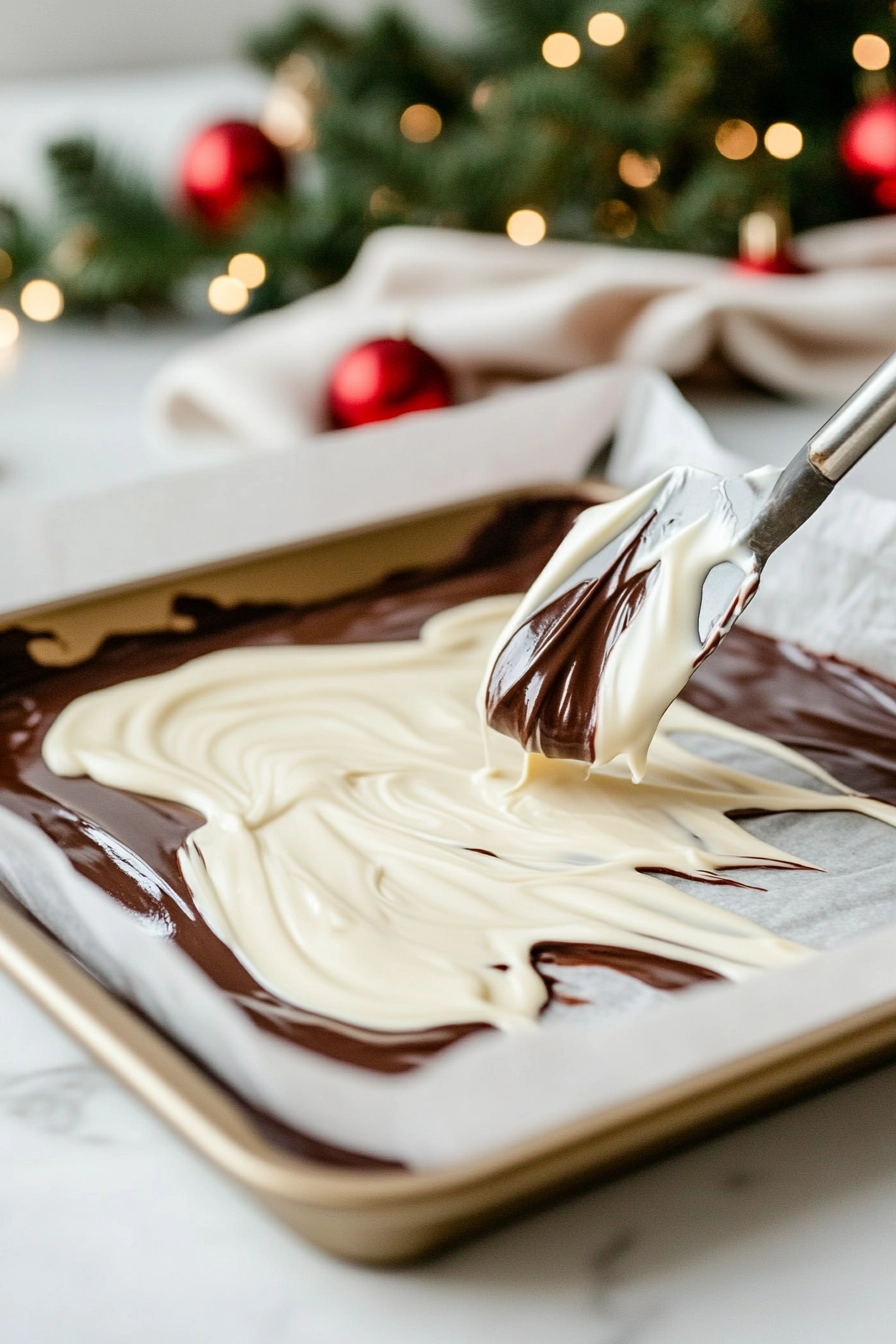
Step 3: Pour the melted dark chocolate onto the parchment, spreading it into an even layer.
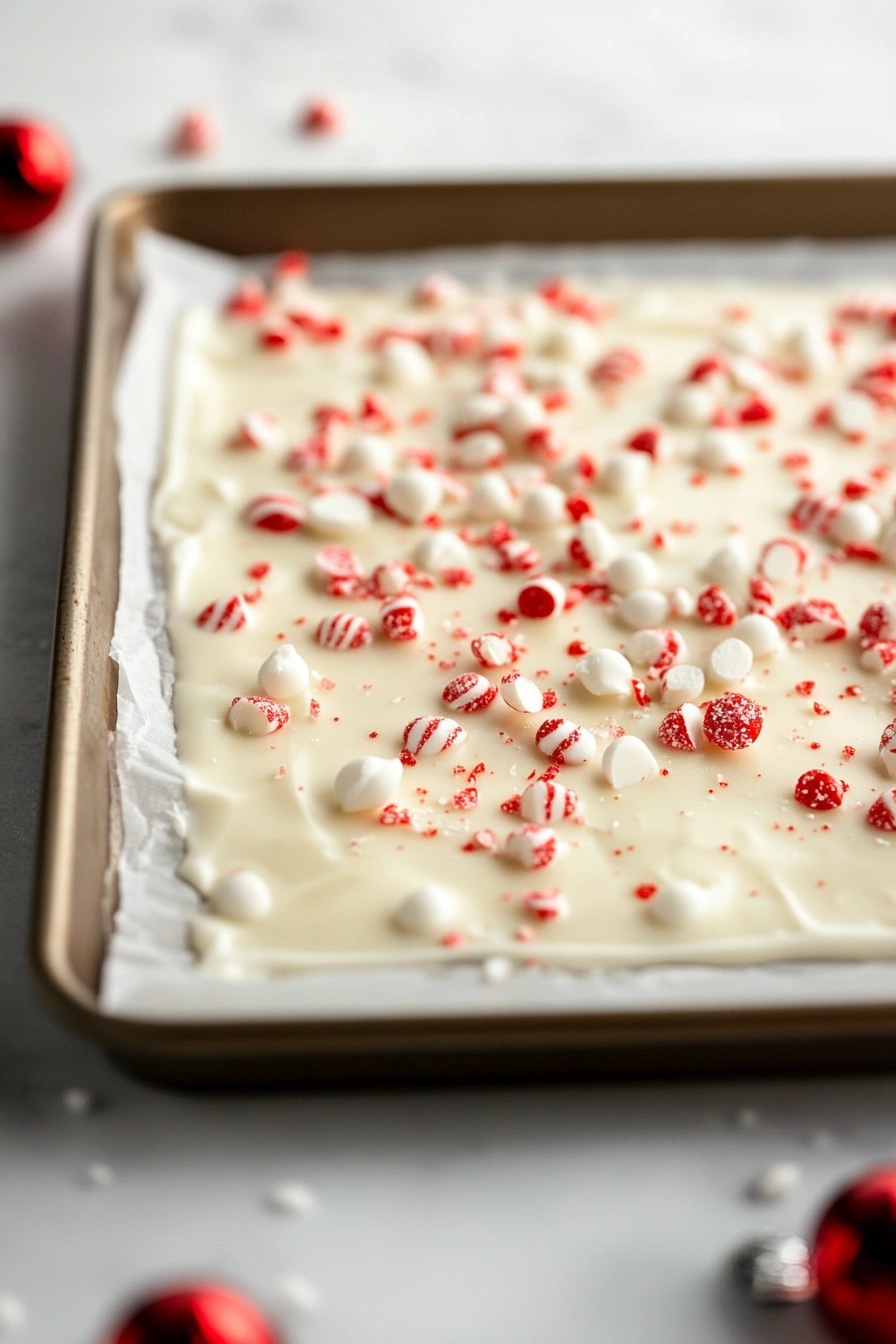
Step 4: Sprinkle crushed peppermint candies generously over the still-warm chocolate.
Step 5: Melt white chocolate separately, then pour and spread over the dark layer.
Step 6: While the white chocolate is still soft, sprinkle more crushed candies on top.
Step 7: Let the bark set at room temperature for about 1 hour or refrigerate for 20-30 minutes.
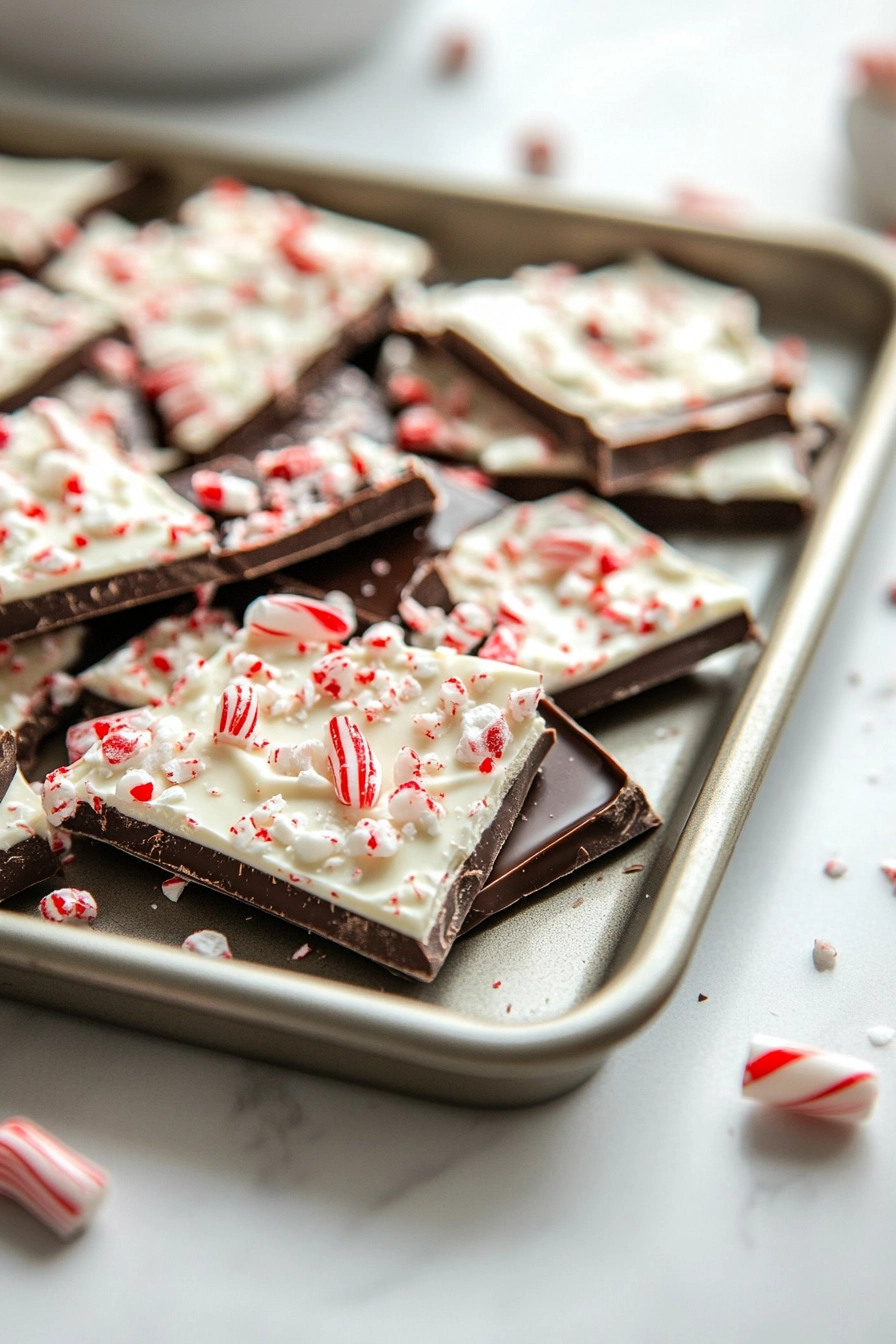
Step 8: Once hardened, break into irregular shards and serve.
Festive Peppermint Bark
Equipment
- Double boiler or microwave-safe bowl
- Spatula
- Parchment paper
- Baking sheet
Ingredients
- 200 grams dark chocolate good quality for gloss and flavor
- 150 grams white chocolate creamy and melts smoothly
- 1 cup crushed peppermint candies store-bought or homemade
- 1/4 teaspoon peppermint extract optional, for extra flavor
- pinch sea salt optional, enhances sweetness
Instructions
- Line a baking sheet with parchment paper and set aside.
- Chop the dark chocolate into small pieces and place it in a heatproof bowl.
- Melt the dark chocolate gently using a double boiler or microwave, heating in 30-second bursts and stirring until smooth and glossy.
- Pour the melted dark chocolate onto the prepared parchment, spreading it into an even layer with a spatula.

- Sprinkle a generous layer of crushed peppermint candies over the still-warm dark chocolate, pressing them lightly into the surface.
- Chop the white chocolate into small pieces and place in a separate heatproof bowl.
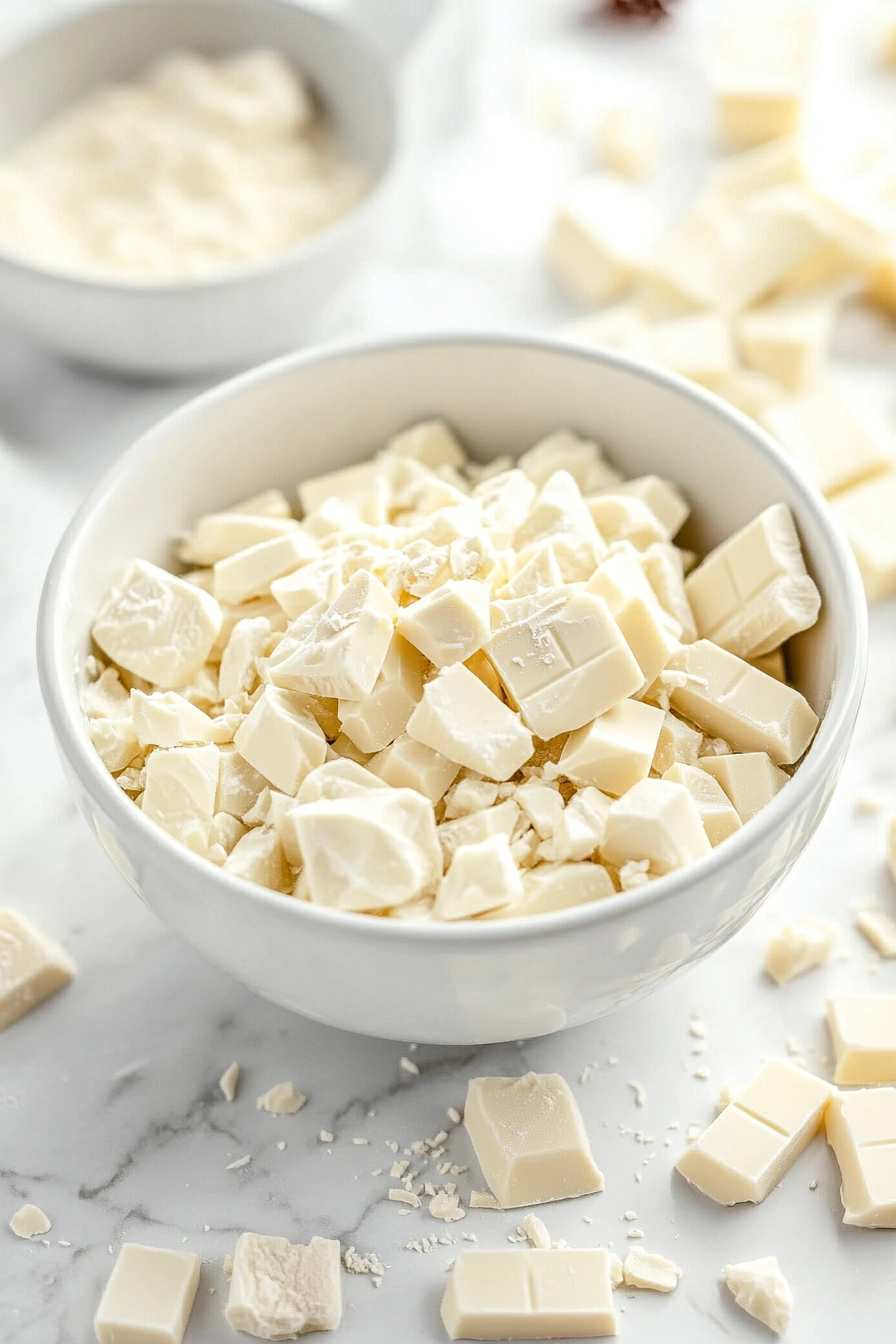
- Melt the white chocolate using the same gentle method until smooth and creamy.
- Pour the melted white chocolate over the dark layer, spreading it evenly with a spatula.

Notes
Tips to Nail Your Peppermint Bark Every Time
- Ensure the chocolate is fully melted and smooth before pouring to avoid streaks.
- Sprinkle candies quickly after pouring, so they adhere before the chocolate cools.
- Use a spatula to spread chocolate evenly, giving a clean, professional look.
- Allow enough time for the bark to fully set to prevent cracks when breaking.
- Keep the bark at room temperature for optimal snap and flavor, avoid humid spots.
Common Pitfalls and How to Avoid Them
- Chocolate seizes or burns during melting.? Melt chocolate slowly, stirring constantly to prevent burning.
- Chocolate is too thick to spread smoothly.? Add a pinch of oil or shortening if chocolate is too thick.
- Candies fall off or don’t stick well.? Sprinkle candies immediately after pouring for better adhesion.
- Bark becomes sweaty or develops condensation.? Set the bark in a cool, dry place, not the fridge for best texture.
This peppermint bark isn’t just a holiday gift or a party platter; it’s a reminder that simple ingredients can become something unexpectedly delightful. The contrast of dark and white chocolates, with bursts of peppermint, makes each bite a little celebration. Feel free to experiment with different chocolates or add a dash of sea salt for a savory twist. Enjoy this as a sweet pause amid busy days or as a nostalgic gift that whispers of winter comfort.

hi there,
i’m Noah
A California-born food blogger behind Freshman Cook, whose culinary journey began in his tiny apartment kitchen.