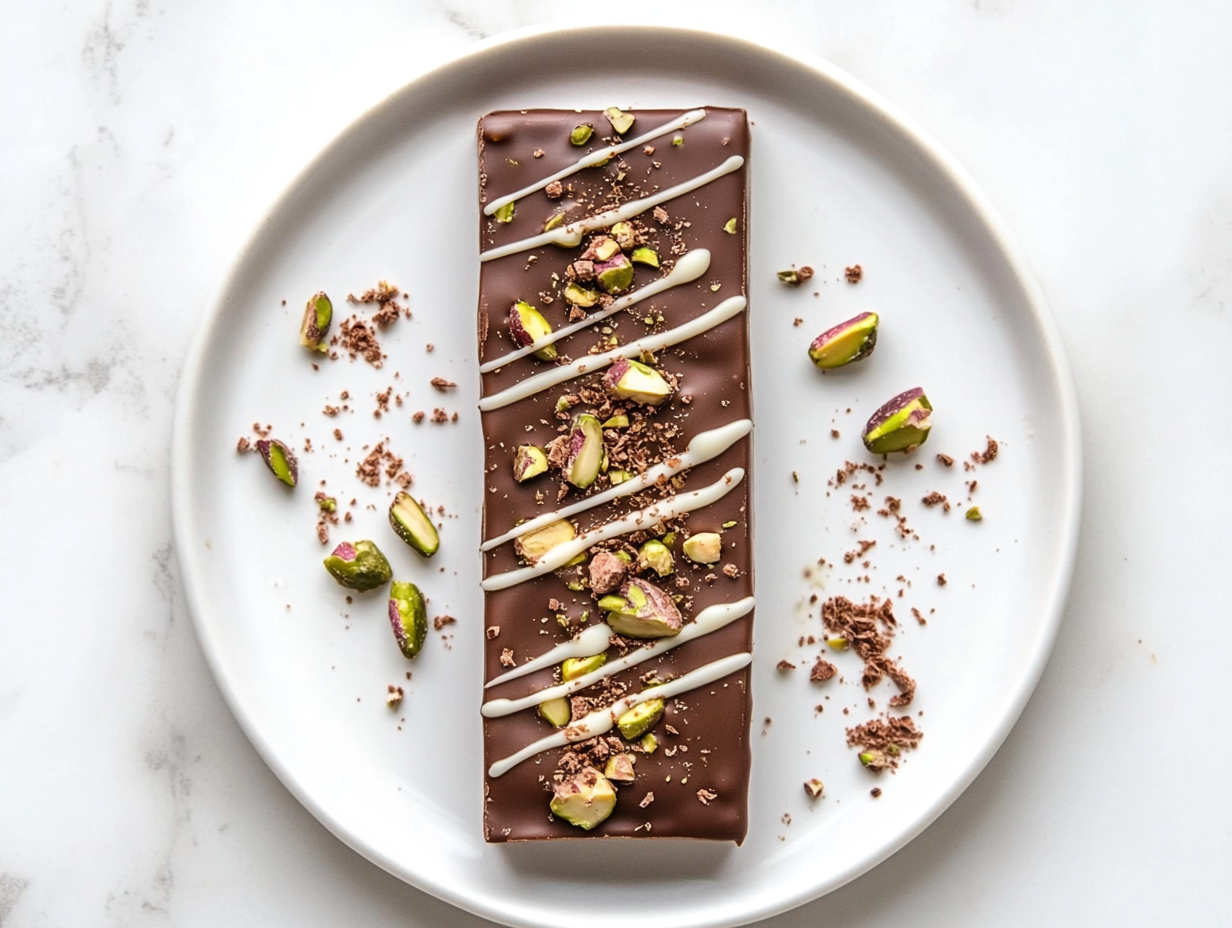
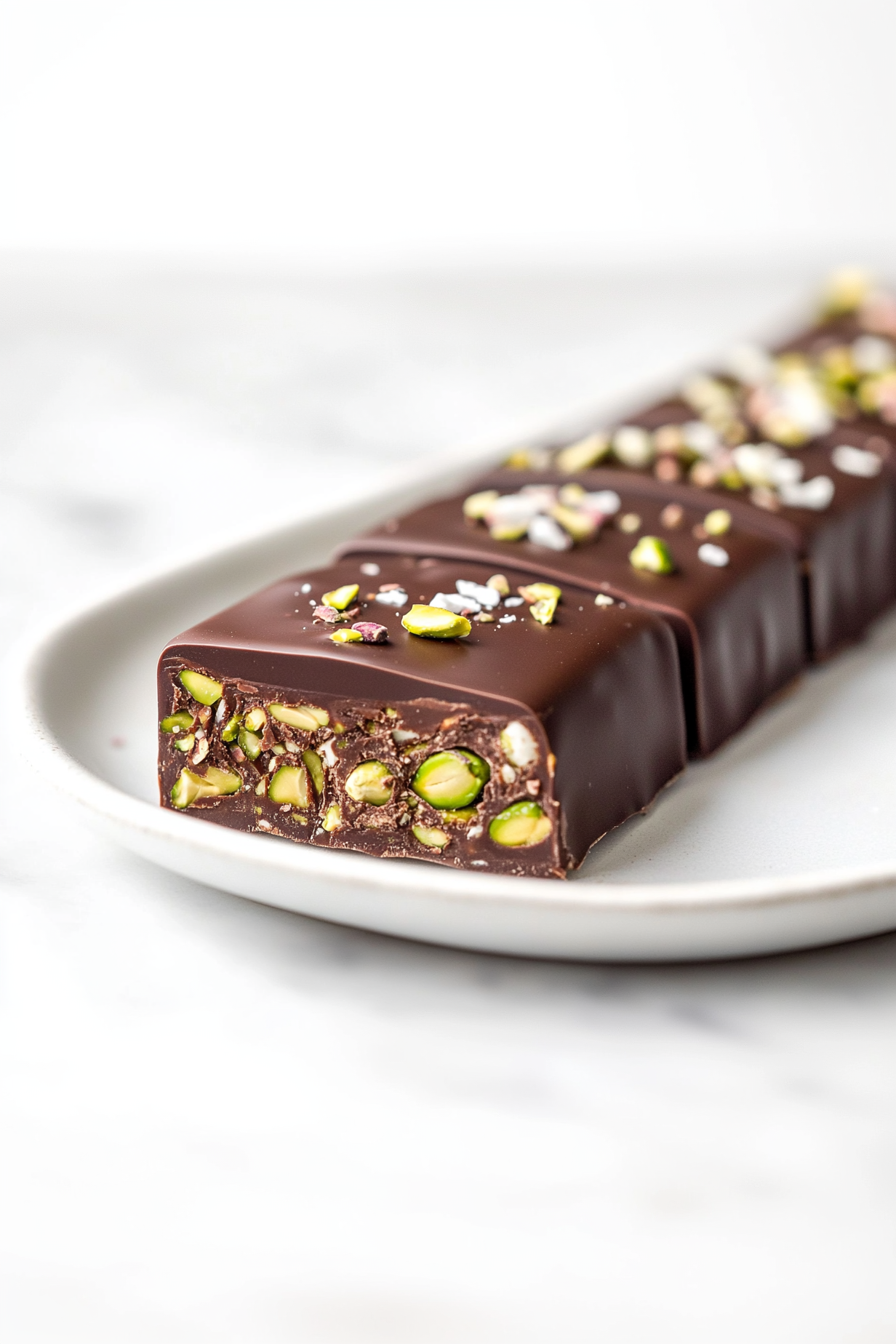
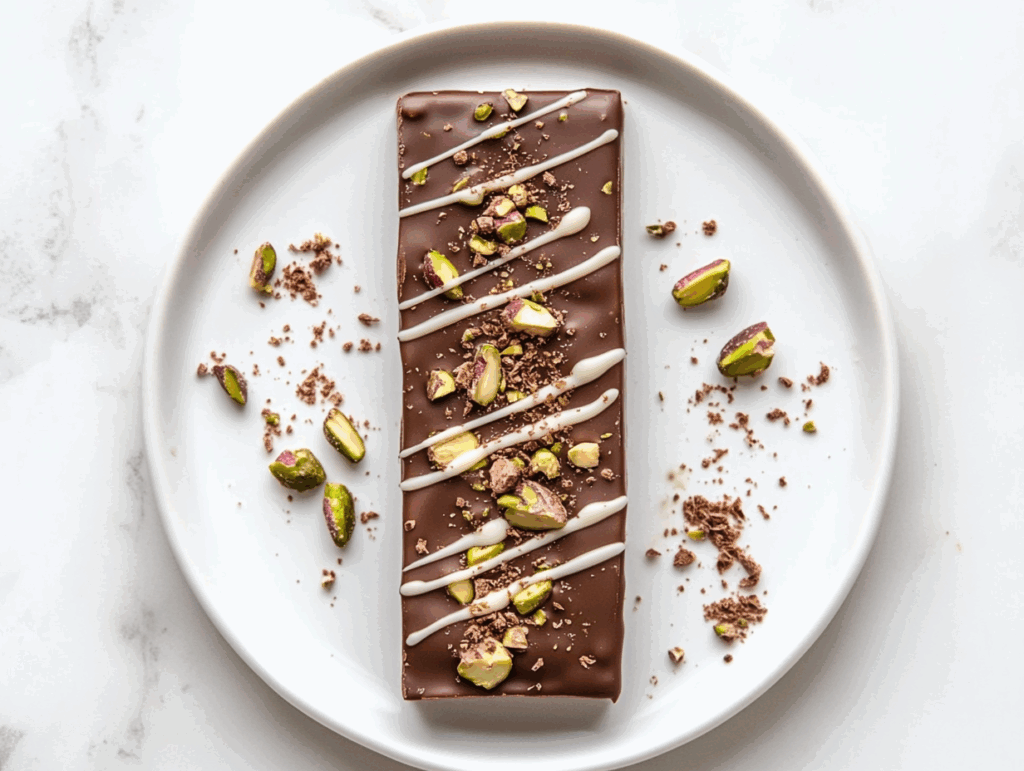
Dubai Pistachio Chocolate Bar brings together the richness of high-quality chocolate and the delicate, nutty flavor of pistachios, creating a luxurious treat that transports you to the streets of Dubai with every bite.
Whether you’re indulging after a long day or serving it at a special gathering, this chocolate bar offers a perfect blend of smooth, creamy chocolate and the crunch of roasted pistachios that makes it unforgettable.
Pair it with a refreshing glass of White Sangria to enhance the chocolate’s richness with a bubbly, crisp contrast that adds elegance to your experience. Or, for something a little more spirited, try it alongside a Whiskey Sour – the tartness of the lemon and the depth of whiskey beautifully complement the sweet, nutty flavors of the pistachio chocolate. Together, these pairings elevate the experience and make it feel even more indulgent.
This Dubai Pistachio Chocolate Bar isn’t just a treat; it’s a moment of decadence that brings a taste of luxury into your home. Whether it’s for a cozy evening or to impress guests, this chocolate is bound to be a hit.
Why I Love This Recipe (And You Will Too)
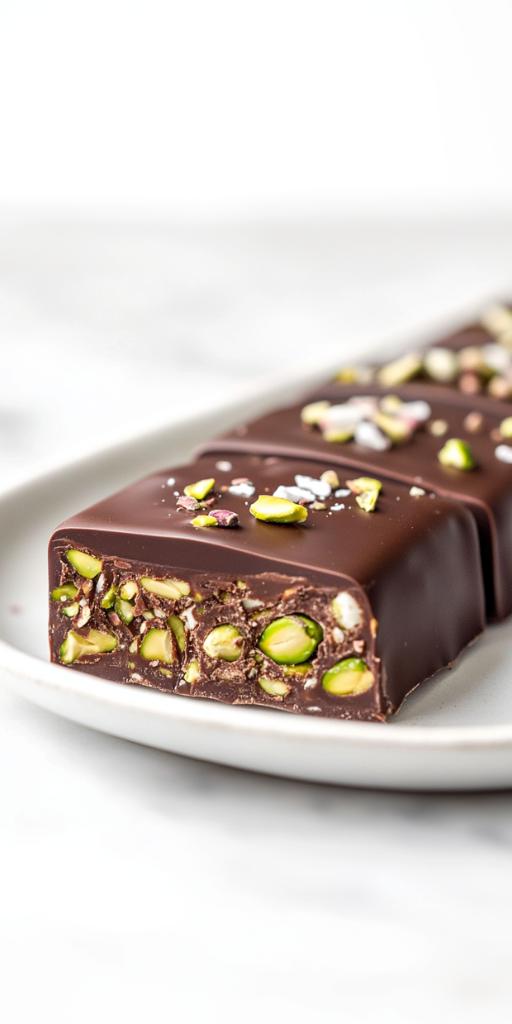
- Decadent Flavor: The smooth chocolate paired with crunchy pistachios creates an irresistible flavor profile that’s perfect for satisfying any sweet craving.
- Luxurious Experience: It’s a taste of Dubai in every bite, offering a sense of indulgence and exotic flair right at home.
- Elegant and Simple: This is the kind of treat that feels special but is easy to make, making it perfect for any occasion.
Indulge in the Dubai Pistachio Chocolate Bar alongside sparkling wine or a whiskey sour for a truly luxurious experience that will transport you to a world of flavor and elegance!
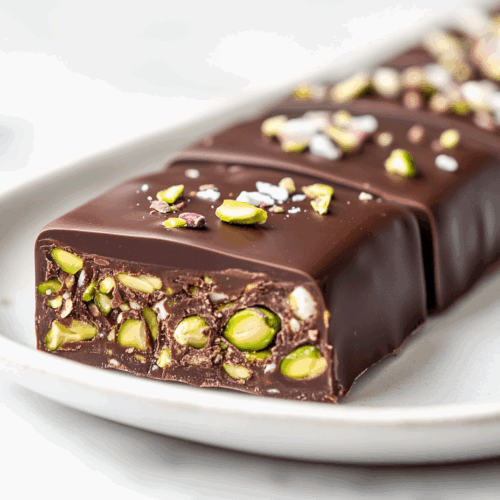
Dubai Pistachio Chocolate Bar
Equipment
- Chocolate molds
- Microwave Safe Bowl
- Small Bowl
- Silicone brush or spoon
- Cutting Board
- Sharp Knife
- Pan (for toasting kataifi)
- Spatula (for stirring)
Ingredients
- Chocolate Layer:
- 2 cups dark chocolate chips or sugar-free
- 3 tablespoons coconut oil divided (or substitute with butter)
- 2 tablespoons white chocolate chips optional, for decoration
- Pistachio Filling:
- 8 ounces raw pistachio butter creamy
- 1 tablespoon tahini
- 6 ounces kataifi pastry dough shredded phyllo dough
Instructions
Prepare Chocolate Molds:
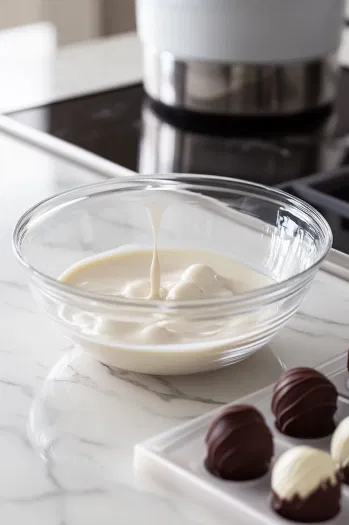
- Melt the white chocolate chips (if using for decoration) and drizzle a small amount into each chocolate mold for a decorative design. Set aside to let it harden.
Make Chocolate Layer:
- In a microwave-safe bowl, combine the dark chocolate chips and 1 tablespoon of coconut oil. Microwave in 20-second increments, stirring in between, until fully melted.
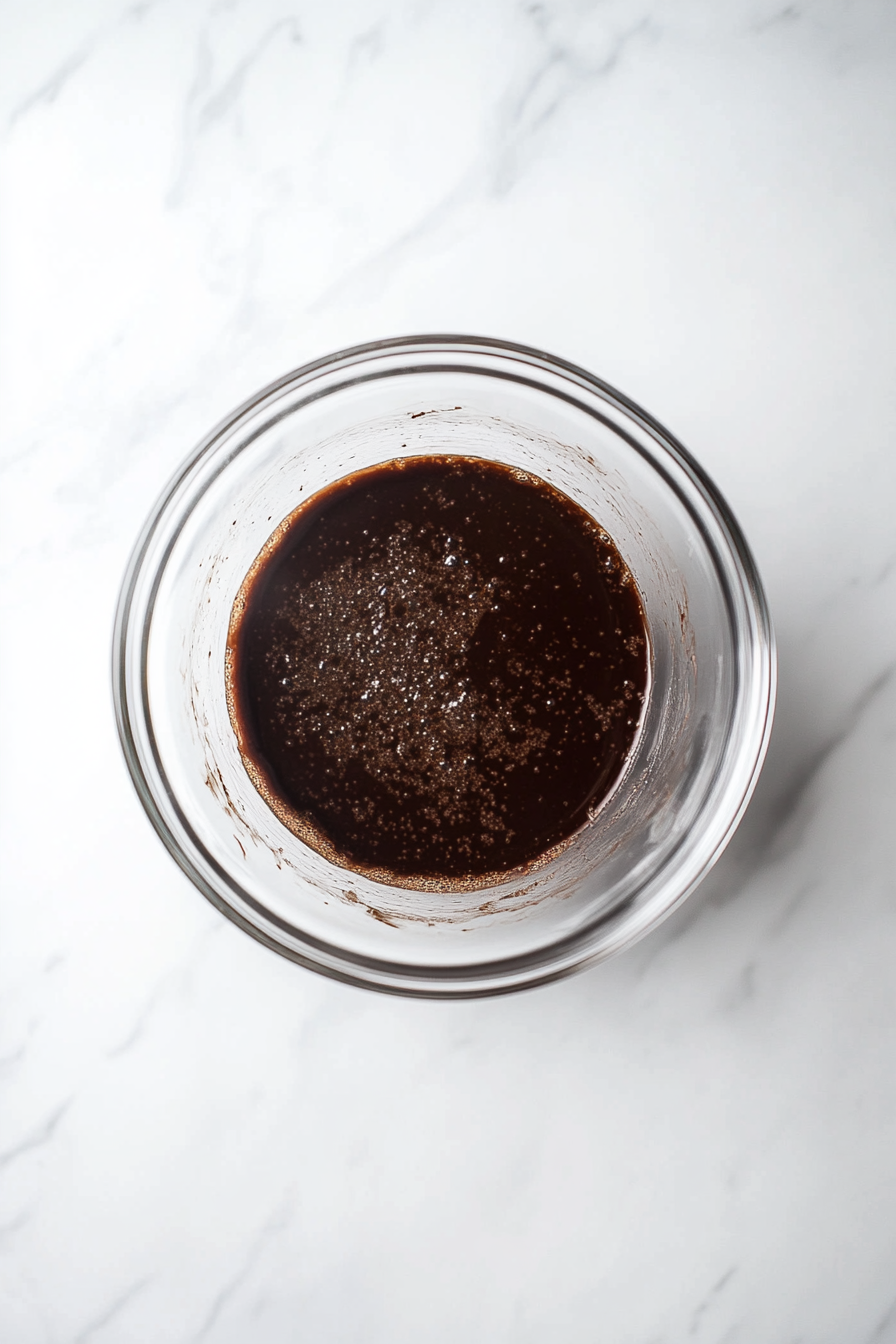
- Add 2 tablespoons of melted chocolate to each mold, using a silicone brush or spoon to spread the chocolate evenly over the bottom and sides of each mold.
- Place the mold in the fridge for the chocolate to set while you prepare the filling.
Prepare Kataifi Dough:
- Place the kataifi (phyllo dough) on a cutting board and chop into smaller pieces.
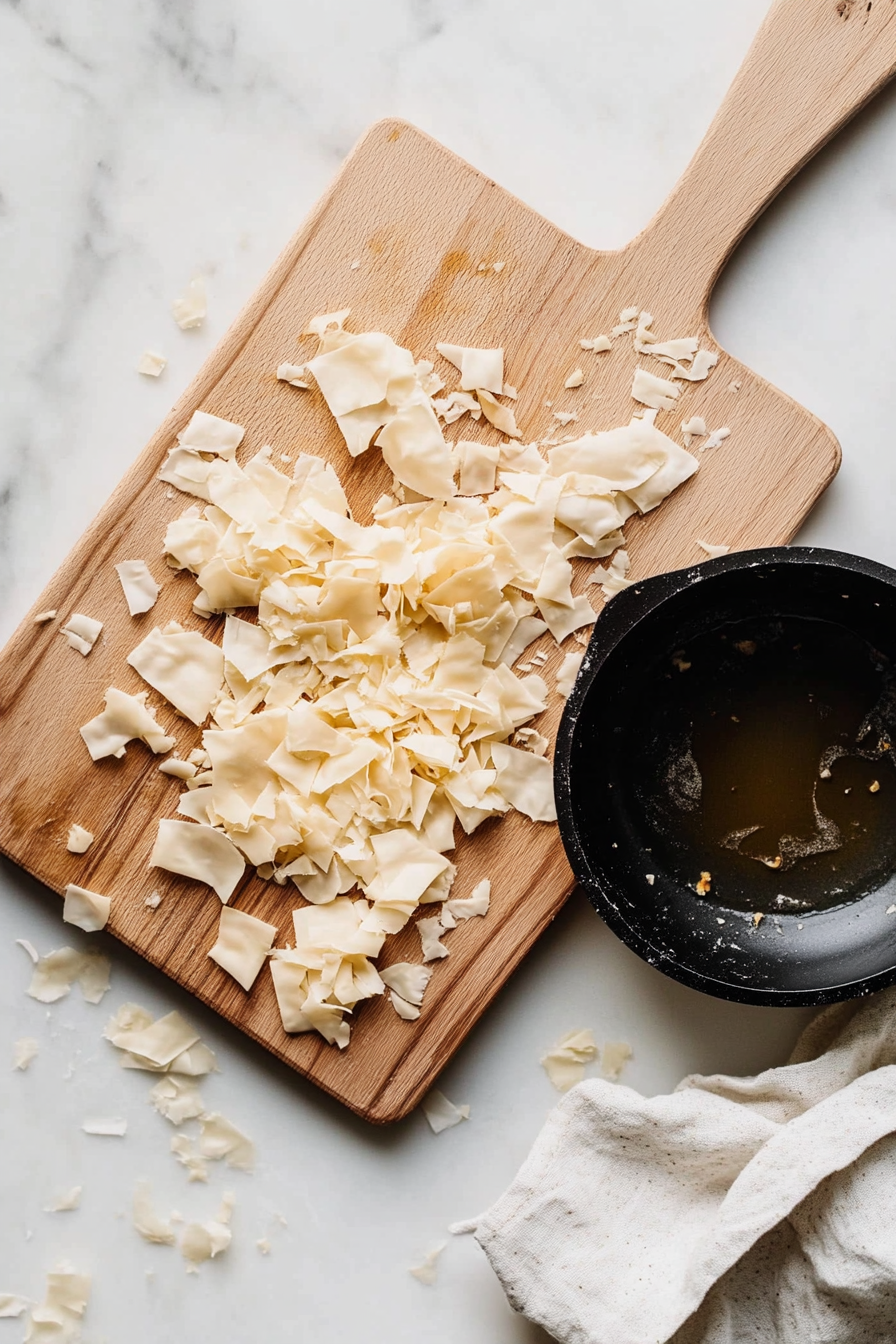
- In a pan over medium heat, melt the remaining 2 tablespoons of coconut oil (or butter).
- Add the chopped kataifi to the pan and toast, stirring continuously, until golden brown. Remove from heat.
Make Pistachio Filling:
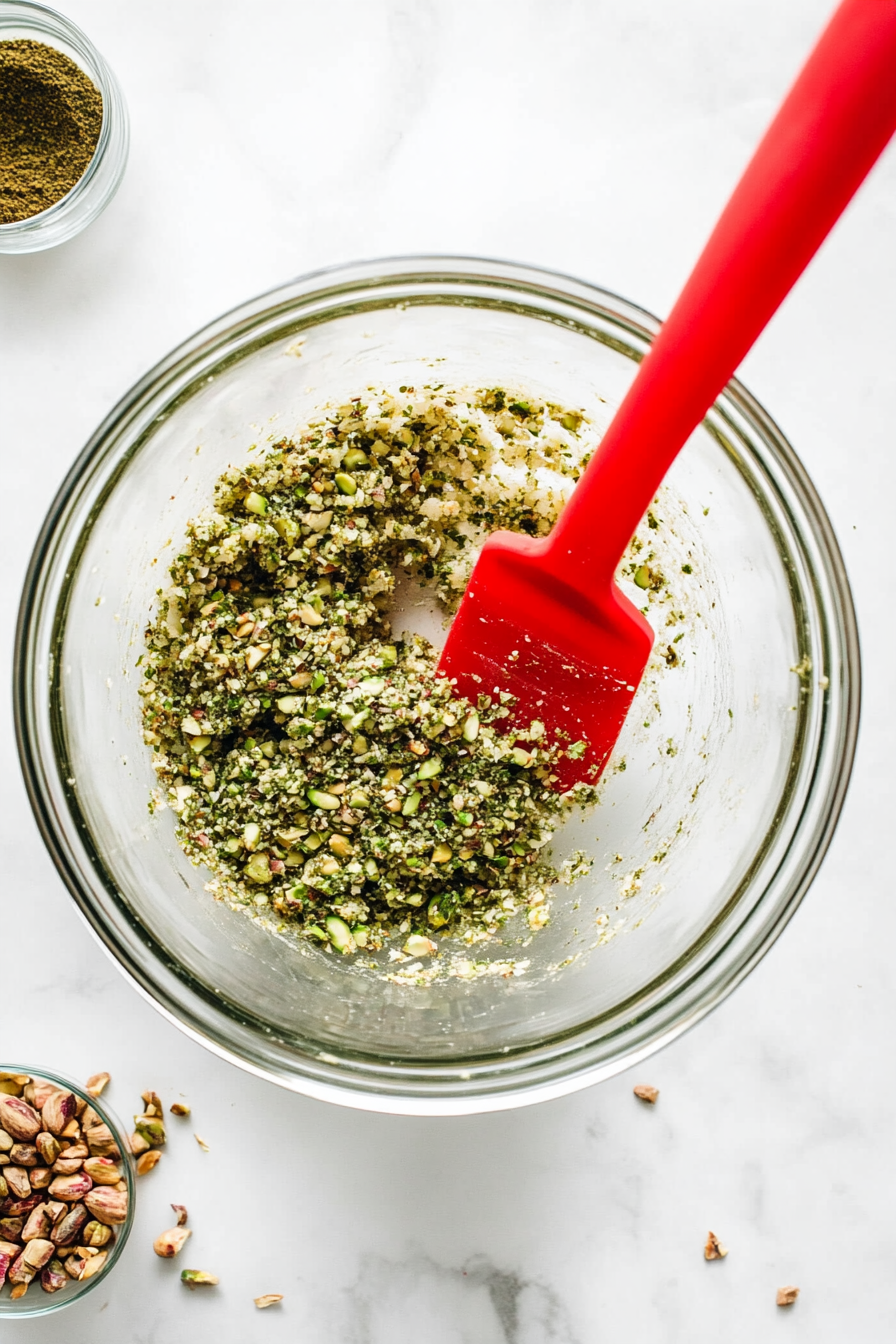
- To the toasted kataifi, add the pistachio butter and tahini. Stir to combine evenly.
Assemble the Cups:
- Remove the chocolate molds from the fridge and divide the pistachio filling evenly into each mold, pressing it down gently.
- Add another 2 tablespoons of melted chocolate to cover the filling, using the silicone brush or spoon to spread it evenly.
Chill and Serve:
- Place the molds back in the fridge to set for at least 20 minutes (or in the freezer for 10 minutes).
- Once set, carefully remove the chocolate cups from the molds and enjoy.
Nutrition Facts:
| Nutrition | Value |
|---|---|
| Calories | 731 kcal |
| Carbohydrates | 63 g |
| Fat | 49 g |
| Fiber | 4 g |
| Calcium | 215 mg |
| Iron | 4 mg |
Tips that You Should Not Miss Upon!
- Use High-Quality Chocolate: The flavor of your chocolate layer is key, so use high-quality dark chocolate chips for a rich, smooth taste. If you prefer a sweeter option, you can substitute it with milk chocolate, but dark chocolate balances the pistachio’s richness perfectly.
- Temper the Chocolate: For a glossy finish and extra smooth texture, consider tempering your chocolate. Melt the chocolate to around 115°F, then cool it to 80°F before reheating to 90°F. This ensures a shiny, firm finish that won’t melt at room temperature.
- Consider Flavor Variations: You can add a hint of spice to your chocolate or pistachio filling—cinnamon, cardamom, or a touch of sea salt enhances both the pistachio and chocolate flavors beautifully.
- Be Gentle with the Kataifi: When toasting the kataifi, be sure to stir constantly to prevent burning. The goal is a golden-brown color and a crispy texture that will complement the creamy pistachio butter filling.
- Customize the Filling: If you want to make the pistachio filling even richer, try adding a tablespoon of honey or maple syrup to sweeten it up. A pinch of cinnamon can also elevate the flavor profile of the filling.
- Evenly Coat the Molds: When spreading the chocolate layer into the molds, make sure the layer is even and coats all sides. This ensures a smooth finish and helps with easy removal once the cups are set.
- Layering the Chocolate: To get a perfect texture, allow the first chocolate layer to set before adding the pistachio filling. This will help create a barrier between the chocolate and the pistachio filling, preventing them from mixing.
- Chill for Proper Set: Be patient while the molds chill. The longer you leave them in the fridge, the better the chocolate will be. If you’re in a rush, the freezer can speed this up, but be cautious not to freeze them too long.
- Decorate with Precision: If you’re using white chocolate for decoration, melt it carefully and use a piping bag or toothpick to create intricate designs. This adds a touch of elegance to the cups and makes them look even more inviting.
- Storage Tips: These chocolate cups can be stored in an airtight container in the fridge for up to a week. If you have extra, freeze them for up to a month. Just make sure they are wrapped securely to avoid freezer burn.

