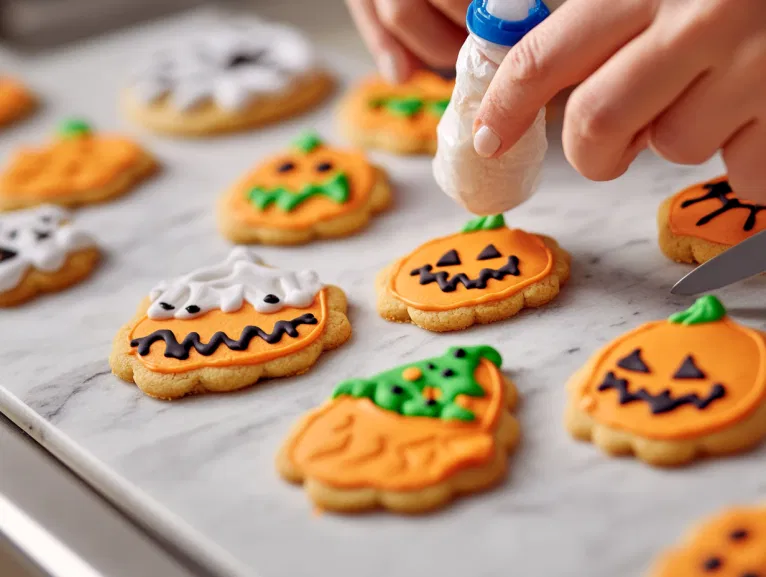
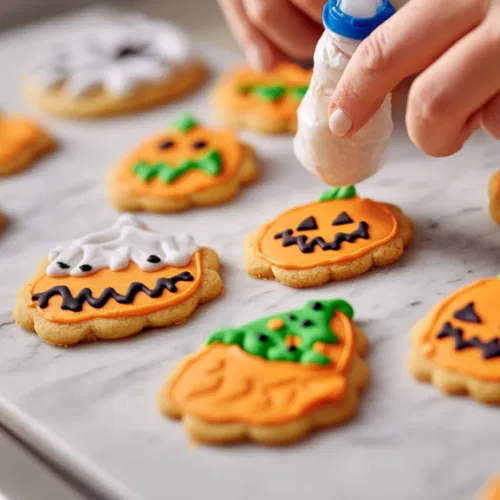
Halloween isn’t complete without some delightfully spooky treats, and Halloween Sugar Cookies are the perfect addition to your lineup! These soft, buttery cookies are shaped into festive pumpkins, ghosts, and bats, decorated with vibrant icing to match the season.
Whether you’re hosting a party or spending the day decorating cookies with the family, this recipe is sure to bring out the Halloween spirit.
What makes these cookies extra special is their balance of crisp edges and soft centers, paired with the rich flavor of buttery goodness in every bite. And while they’re perfect on their own, they pair wonderfully with a warm Pumpkin Spice Latte for a cozy fall vibe or a Chocolate Peanut Butter Smoothie for a fun, creamy treat.
These cookies are easy to make, fun to decorate, and bring a spooky yet delicious touch to your Halloween celebrations.
Why I Love This Recipe (And You Will Too)
- Perfect for Decorating: The versatility of these sugar cookies lets you get as creative as you want with spooky designs.
- Classic Flavor: Soft and buttery with just the right amount of sweetness, these cookies melt in your mouth.
- Great for All Ages: Kids and adults alike will love making and decorating these spooky cookies, making it a fun activity for everyone.
Grab your favorite cookie cutters and get ready for some Halloween fun. Don’t forget to share your best-decorated cookies in the comments—I’d love to see your spooktacular designs!
Halloween Sugar Cookies Recipe
Equipment
- Mixing bowls
- Electric mixer
- Rolling Pin
- Halloween-shaped cookie cutters (2 1/2-inch)
- Baking sheets
- Wire racks
- Piping bags (optional)
Ingredients
For the Cookies:
- 1/2 cup butter softened
- 3/4 cup sugar
- 1 large egg room temperature
- 1 teaspoon vanilla extract
- 1 1/2 cups all-purpose flour
- 1 teaspoon baking powder
- 1/2 teaspoon salt
For the Frosting:
- 3 3/4 cups confectioners’ sugar
- 1/4 cup shortening
- 4 to 6 tablespoons water
- Optional: Yellow orange, green, and black paste food coloring
Instructions
Prepare the Cookie Dough:
- In a large mixing bowl, cream the softened butter and sugar until light and well-blended.
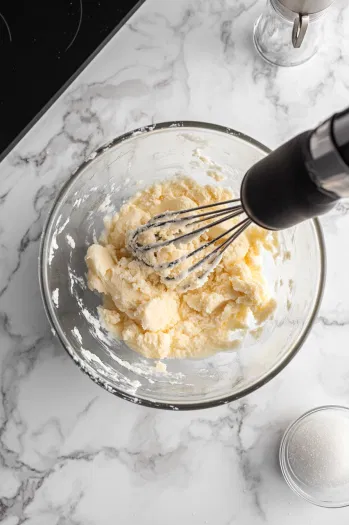
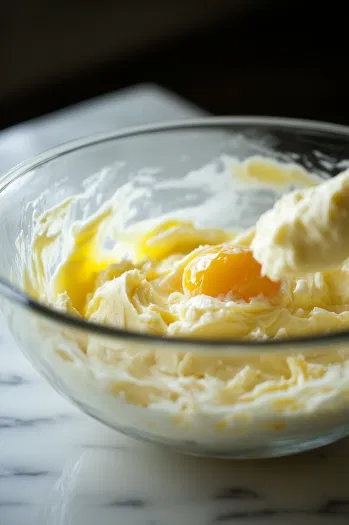
- Beat in the egg and vanilla extract.
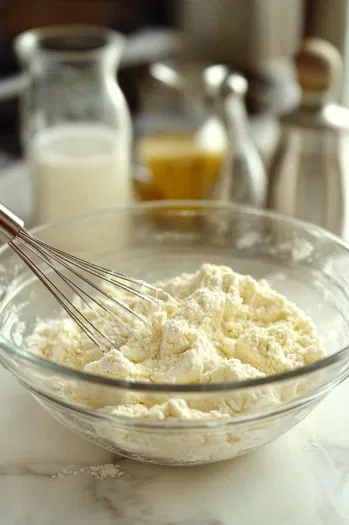
- In a separate bowl, whisk together the flour, baking powder, and salt. Gradually add the dry ingredients to the creamed mixture, mixing until combined.
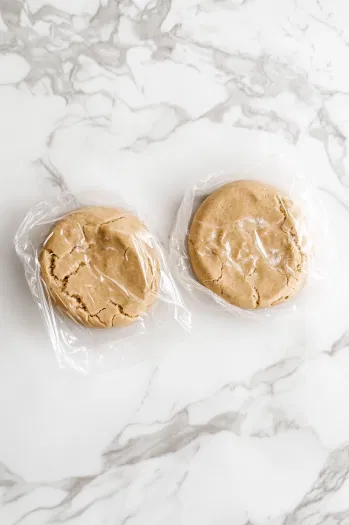
- Divide the dough into two portions and shape each into a disk. Wrap the disks in plastic wrap and refrigerate for 1 hour or until the dough is firm enough to roll.
Roll and Cut the Cookies:
- Preheat the oven to 350°F (175°C).
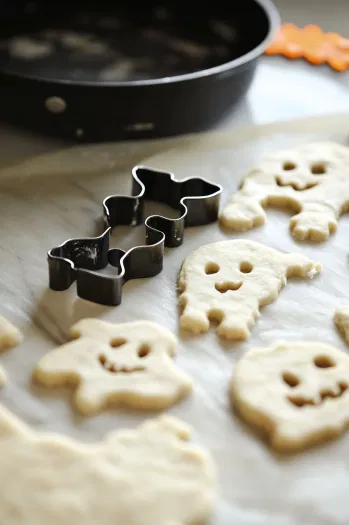
- On a lightly floured surface, roll each portion of dough to 1/4-inch thickness.
- Using floured Halloween-themed cookie cutters, cut out shapes and place them 2 inches apart on ungreased baking sheets.
Bake the Cookies:
- Bake the cookies for 8-10 minutes, or until the edges are light golden brown.
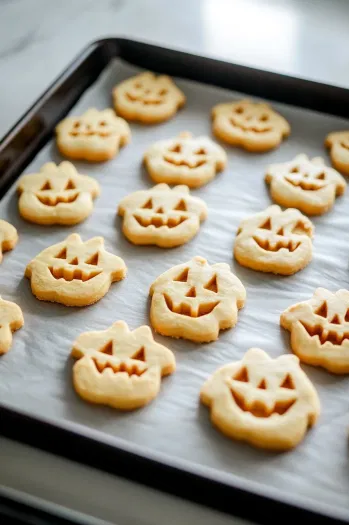
- Remove from the oven and allow the cookies to cool on the baking sheets for a few minutes, then transfer to wire racks to cool completely.
Make the Frosting:
- In a large mixing bowl, beat the confectioners’ sugar and shortening together.
- Gradually add water, 1 tablespoon at a time, until the frosting reaches a spreadable consistency.
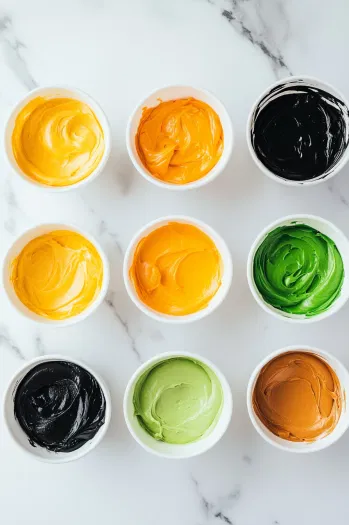
- Divide the frosting into separate bowls and tint with your desired colors using paste food coloring.
Decorate the Cookies:
- Once the cookies are completely cool, decorate them with the tinted frosting using piping bags or a knife for spreading.

- Allow the frosting to set before serving or storing.
Nutritional Facts:
| Nutrition | Value |
|---|---|
| Calories | 182 kcal |
| Fat | 6 g |
| Cholesterol | 18 mg |
| Sodium | 103 mg |
| Protein | 1 g |
