
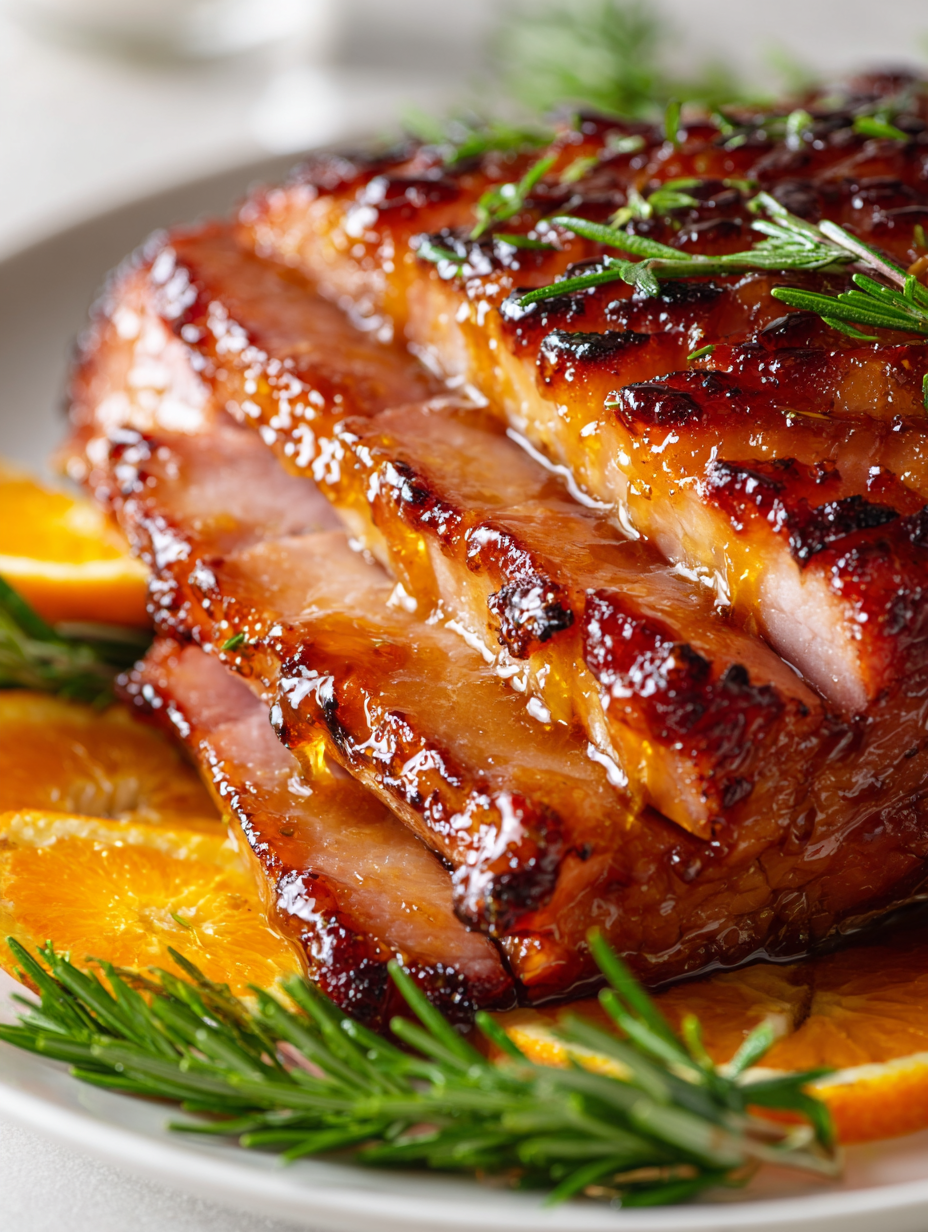

There’s something about a honey glazed ham that reminds me of holiday mornings and family gatherings. It’s a dish that feels like a warm hug, layered with complexity from a simple, honest ingredient list. I love trying to get that perfect balance — not too sweet, not too smoky, just right.
Why I Keep Coming Back to This Recipe
Because it’s forgiving and adaptable, plus the smell alone makes the house feel festive. I love experimenting with different glazes—adding chipotle or balsamic—and still coming back to this simple, honest version. It’s a dish that always turns out beautifully, filling the room with a warm, inviting aroma.
Breaking Down the Ingredients

- Honey: The backbone of sweetness, adds that sticky, fragrant finish. Use a good-quality, runny honey for best results.
- Dijon mustard: Brings a tangy depth that balances the sweetness. Swap with whole grain mustard for texture.
- Soy sauce: Infuses umami and a subtle saltiness, making the glaze more complex.
- Black pepper: Adds a mild heat and aroma; fresh cracked is best.
- Ham (preferably smoked or baked): The main event, juicy and tender. Bone-in or boneless both work, but bone-in adds flavor.
- Brown sugar or maple syrup (optional): For extra caramel richness, if you like it sweeter.
- Lemon zest or a splash of lemon juice (optional): Brightens the glaze, cutting through the richness.
Tools and Equipment for a Perfect Honey Glaze
- Roasting pan with a rack: To hold the ham and allow even heat circulation.
- Pastry brush: To apply the glaze evenly.
- Meat thermometer: To monitor internal temperature without fuss.
- Sharp knife: For scoring the fat and slicing the finished ham.
A Step-by-Step Guide to Honey Glazing Perfection
Step 1: Preheat your oven to 160°C (320°F).
Step 2: Score the ham’s fat in a diamond pattern, about 1/4 inch deep.
Step 3: Mix honey, Dijon mustard, a splash of soy sauce, and a pinch of black pepper.
Step 4: Brush the glaze generously over the ham, getting into the scored lines.
Step 5: Bake uncovered for 1.5 to 2 hours, basting every 30 minutes.
Step 6: Watch for a rich caramel color and a sticky, shiny surface.
Step 7: Let the ham rest for 15 minutes before carving, tented loosely with foil.
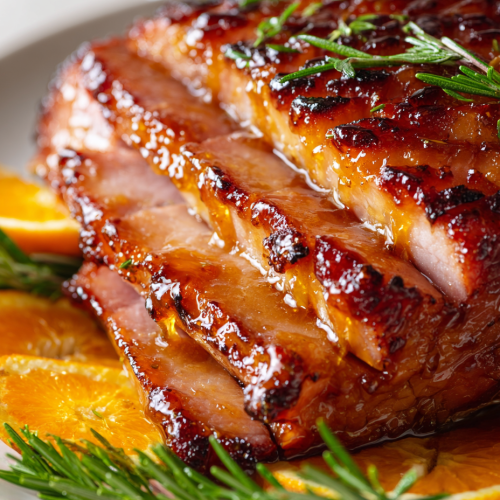
Honey Glazed Ham
Equipment
- Roasting pan with rack
- Pastry brush
- Meat thermometer
- Sharp Knife
Ingredients
- 1 whole smoked or baked ham (bone-in or boneless) preferably pre-cooked
- 1/2 cup honey good-quality, runny honey
- 2 tbsp Dijon mustard
- 1 tbsp soy sauce adds umami and saltiness
- 1 tsp black pepper fresh cracked for best aroma
- 1 tsp lemon zest or a splash of lemon juice optional for brightness
Instructions
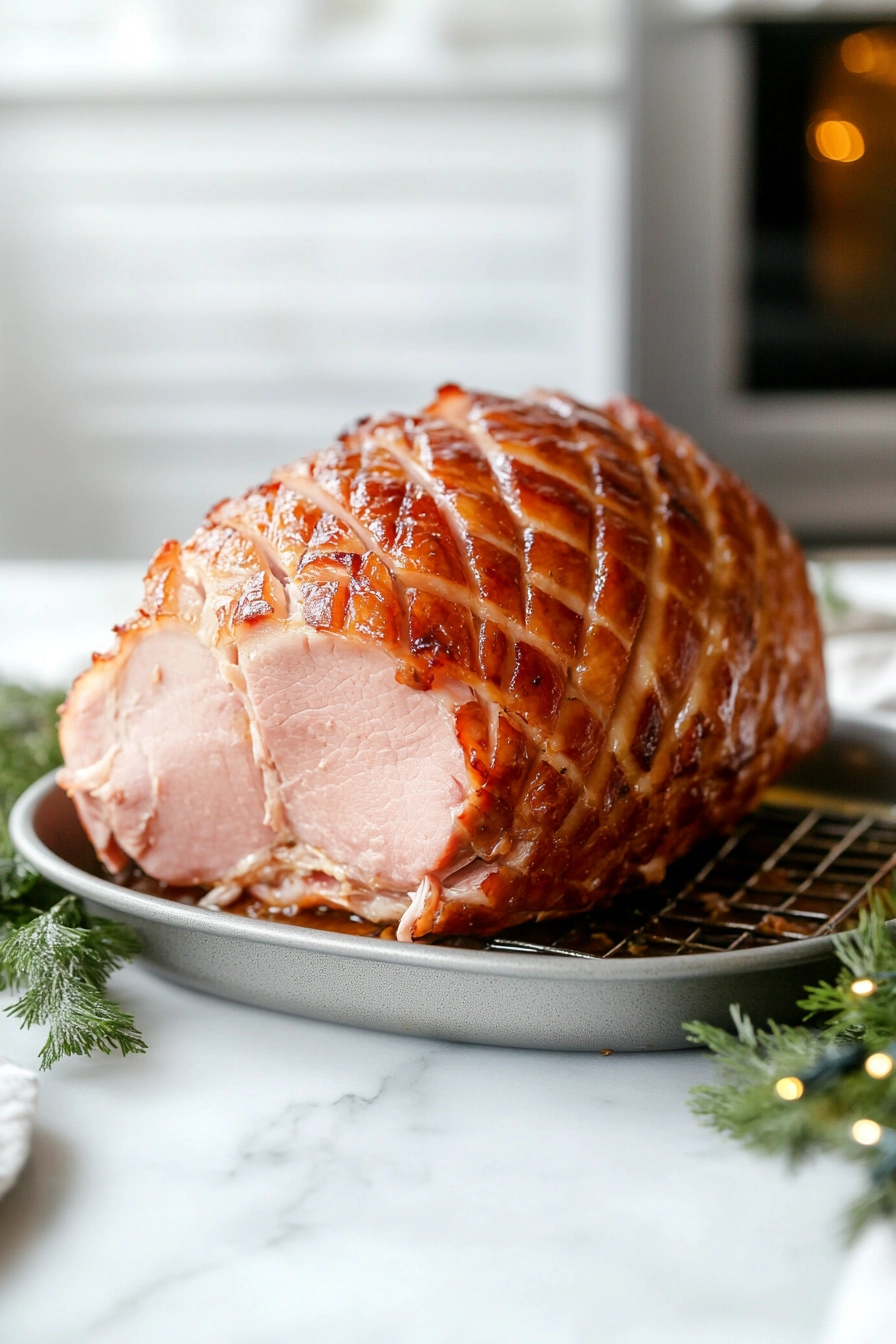
- Preheat your oven to 160°C (320°F). Place the ham on a roasting rack inside the pan. Use a sharp knife to score the fat in a diamond pattern, about 1/4 inch deep; this helps the glaze absorb and creates an attractive presentation.
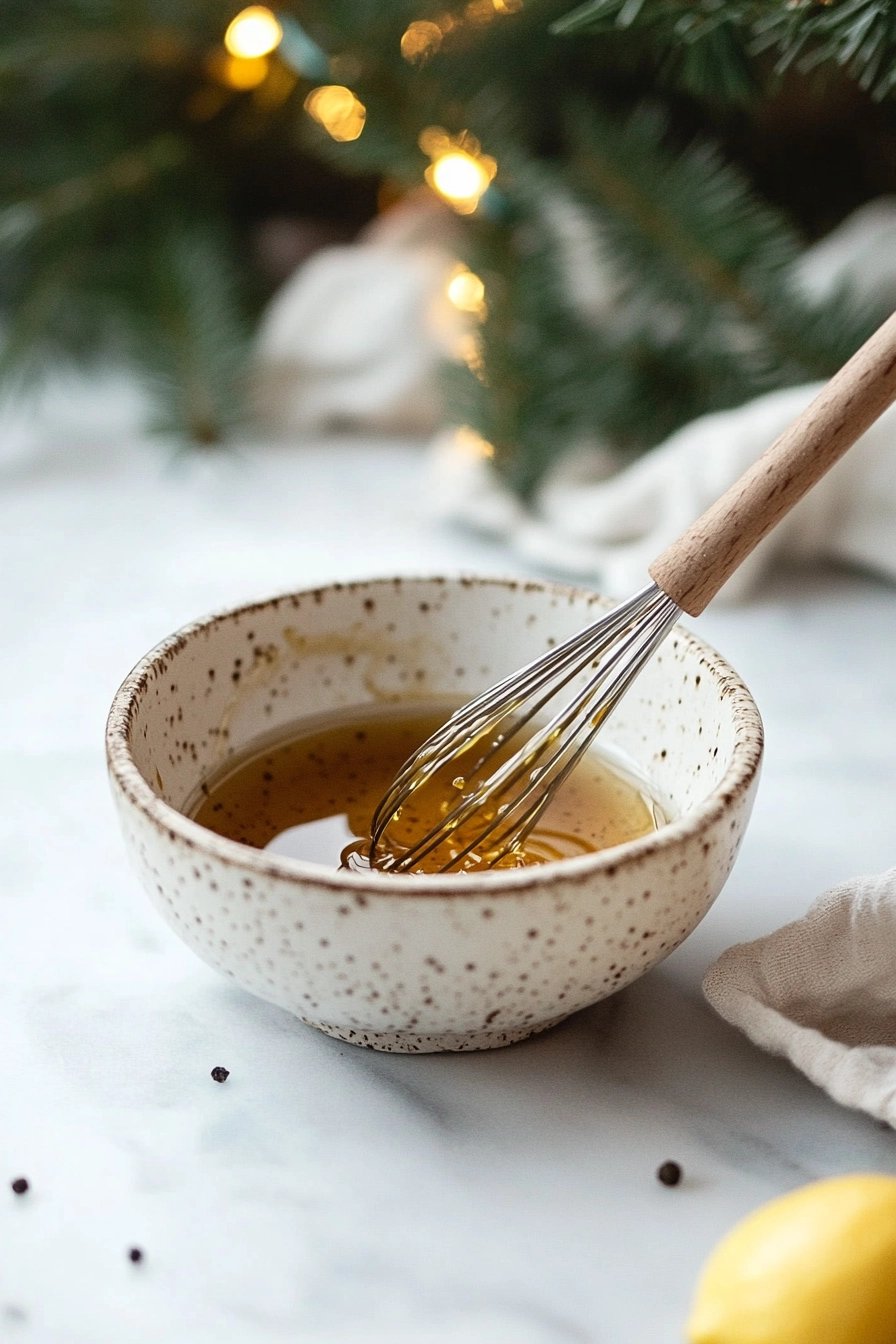
- In a small bowl, whisk together honey, Dijon mustard, soy sauce, black pepper, and lemon zest or juice if using. This creates a fragrant, tangy glaze.
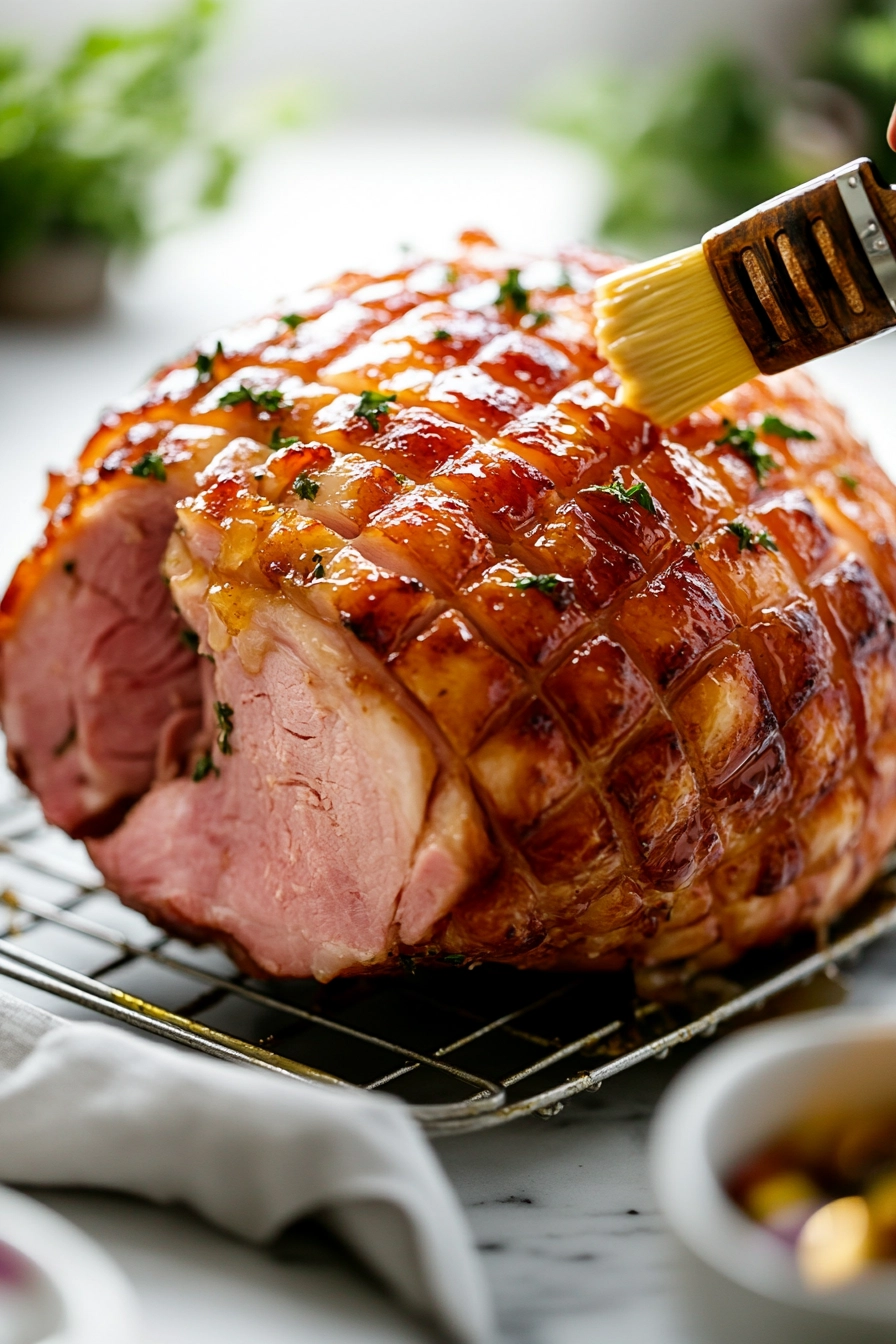
- Using a pastry brush, generously brush the glaze over the scored fat and sides of the ham, making sure to get into the cuts for maximum flavor.
- Place the ham in the oven and bake uncovered for about 1.5 to 2 hours. Baste the ham with additional glaze every 30 minutes, spooning it over the surface and into the scored lines. The smell of caramelizing honey will fill your kitchen.
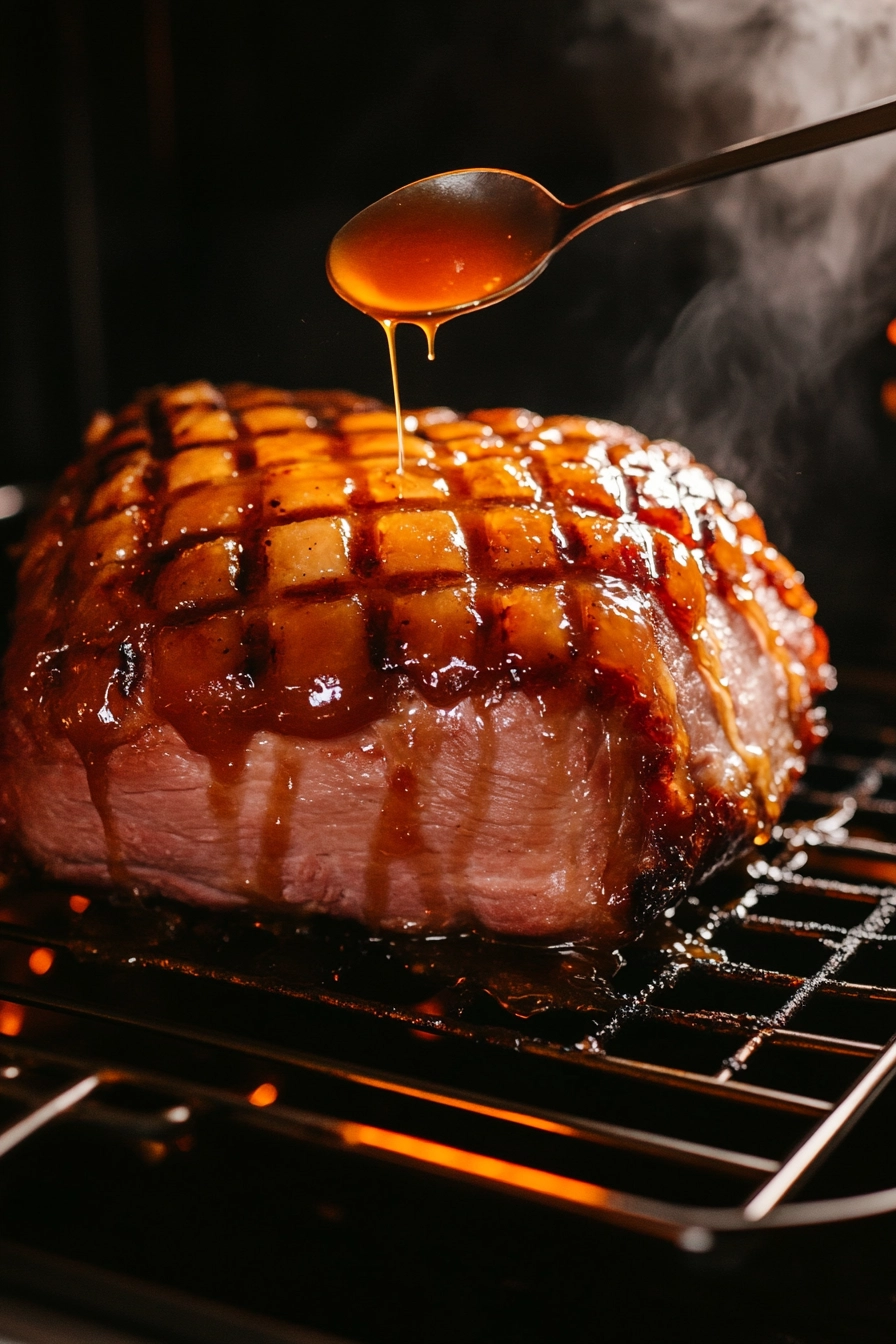
- Look for a deep golden-brown color and a shiny, sticky surface as signs that the glaze has caramelized nicely. The internal temperature should reach 60°C (140°F) for safety.
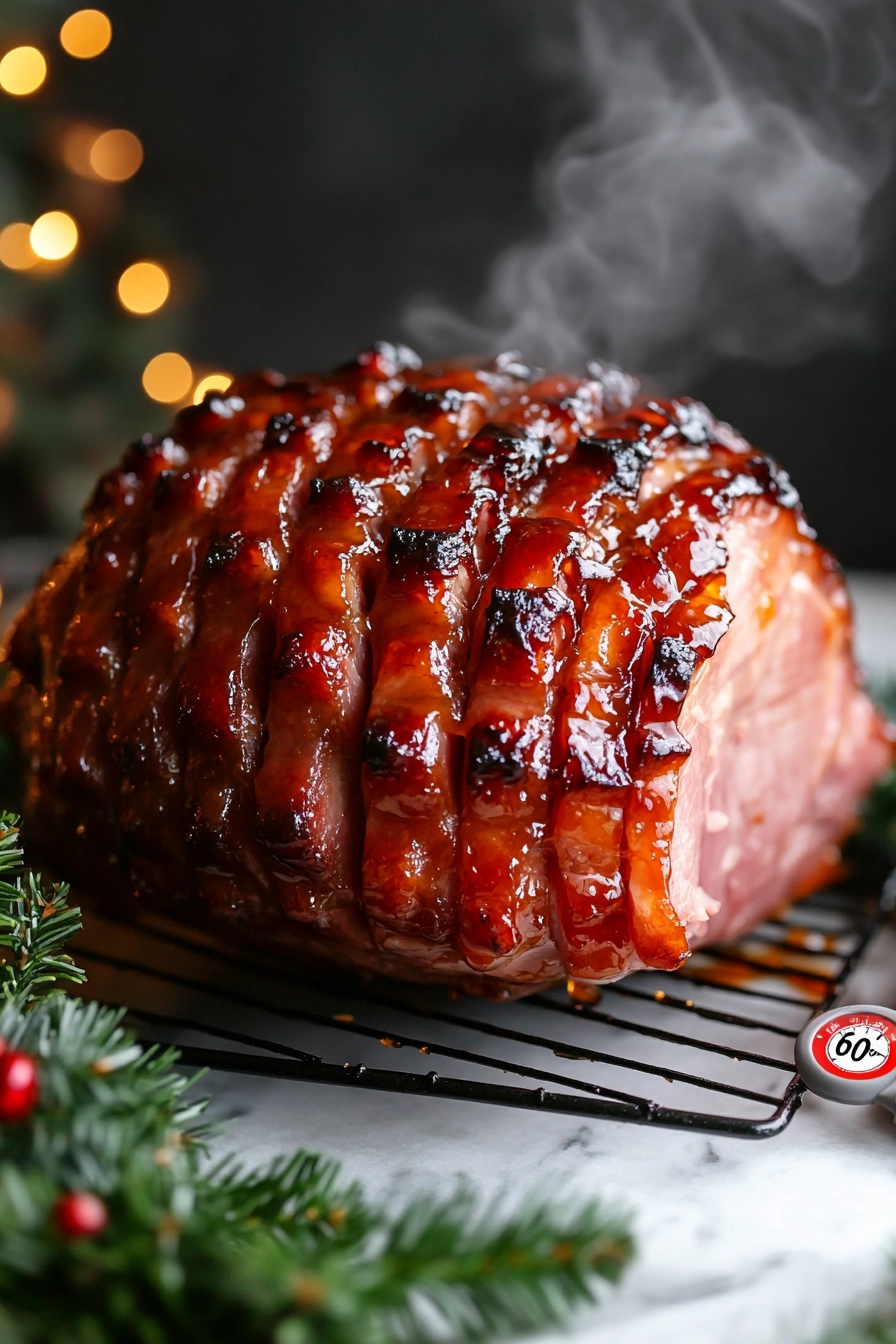
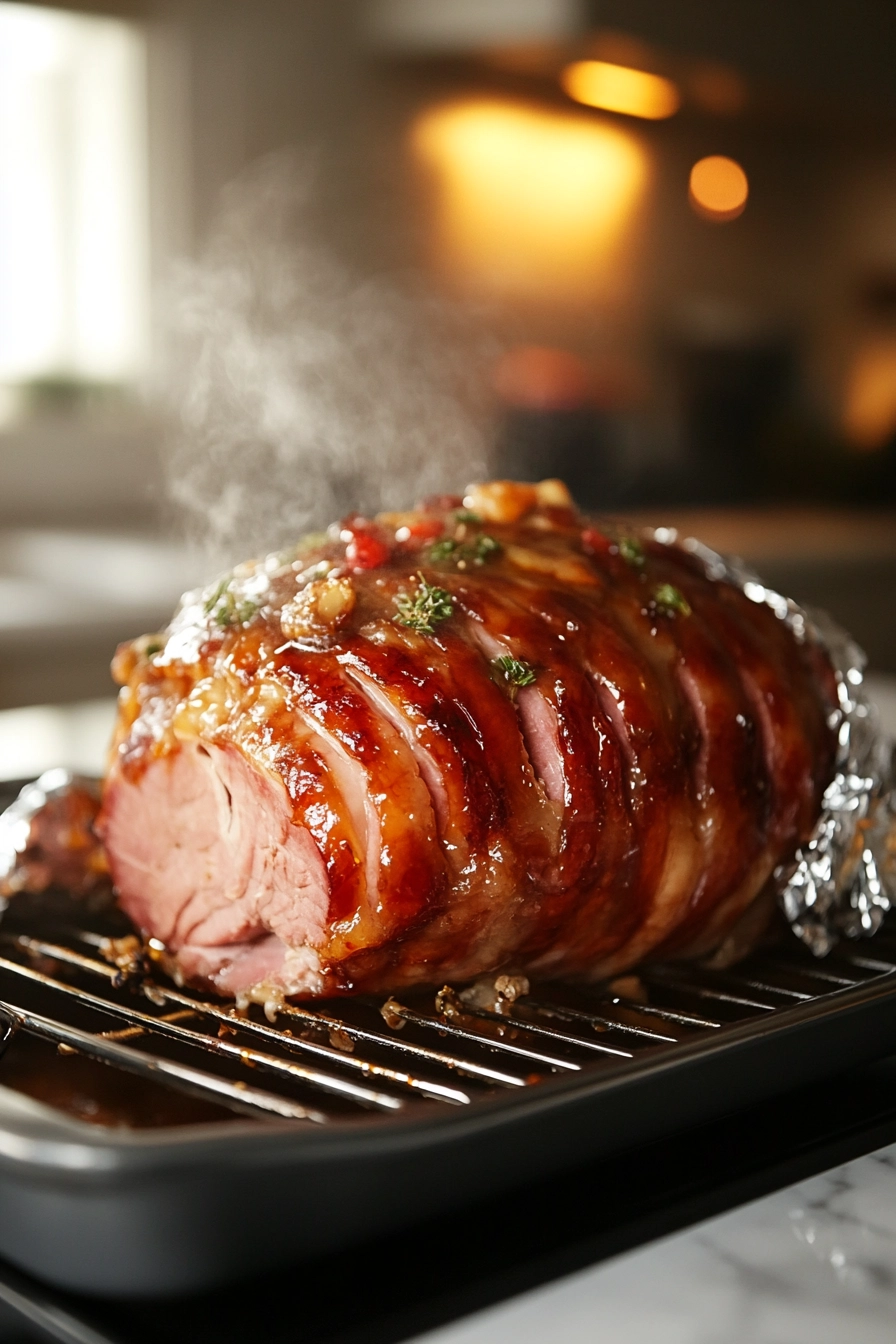
- Once cooked, remove the ham from the oven and tent loosely with foil. Let it rest for at least 15 minutes to allow the juices to redistribute, ensuring every slice is juicy and tender.
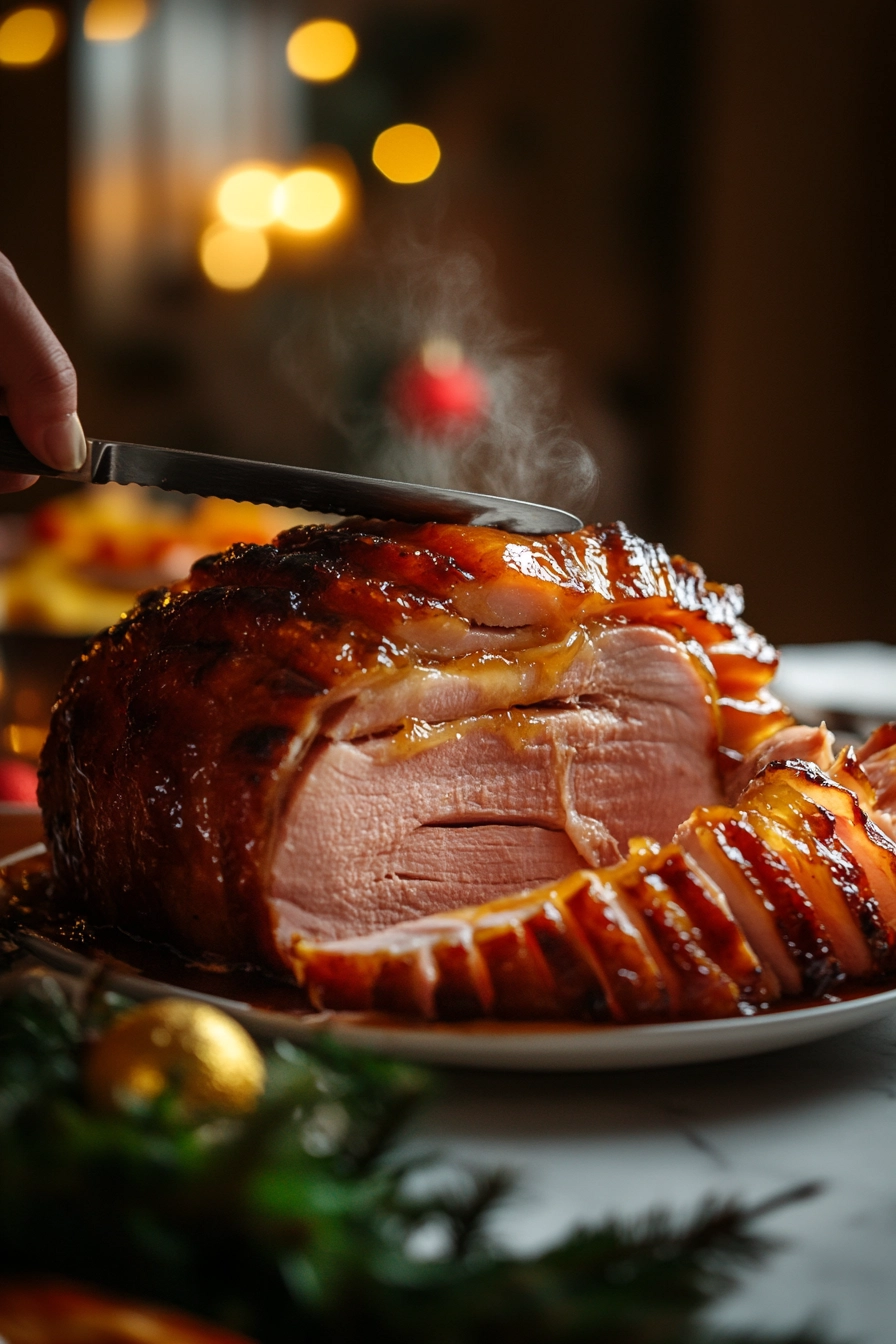
- Use a sharp knife to carve the ham into slices, revealing the juicy, tender interior with a beautiful glaze coating. Serve warm for a festive, inviting presentation.
Cooking Checkpoints & Tips for Success
- Ensure the ham’s internal temperature reaches 60°C (140°F) for safety.
- The glaze should be thick, shiny, and caramelized, not burnt.
- The ham meat should be tender and juicy, not dry or stringy.
- Look for a golden, sticky coating that glistens when done.
Common Mistakes & How to Fix Them
- Skimping on scoring, leading to uneven glaze absorption.? Use a sharp knife to score properly, avoiding uneven cuts.
- Basting too little, resulting in dull, sticky glaze.? Baste frequently, every 30 mins for best caramelization.
- Overcooking, which can dry out the ham.? Watch the oven temperature carefully, keep it steady at 160°C (320°F).
- Carving immediately, causing juices to run out.? Rest the ham before carving, at least 15 mins.
This honey glazed ham isn’t just a centerpiece; it’s a conversation starter. The balance of sweet and savory, with a hint of smoky richness from the caramelized glaze, makes every slice a celebration. Feel free to tweak the sweetness or add a splash of bourbon for a deeper, warm note. Whatever your twist, enjoy the process and the inevitable compliments.

hi there,
The Freshman Cook started as a place to keep track of recipes I wanted to make again. Somewhere along the way, it grew into a collection of meals that friends requested, desserts that disappeared too quickly, and weeknight dinners that made life a little easier.
know more