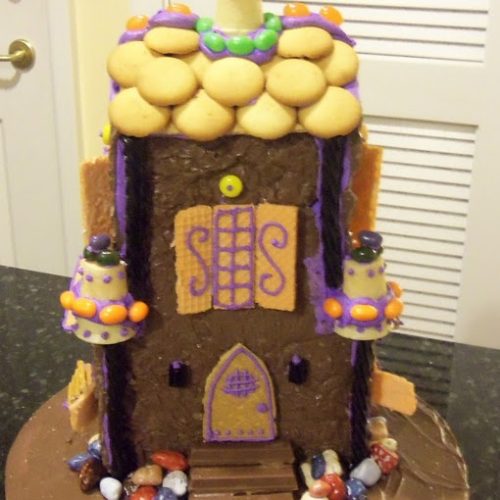
Halloween Haunted House
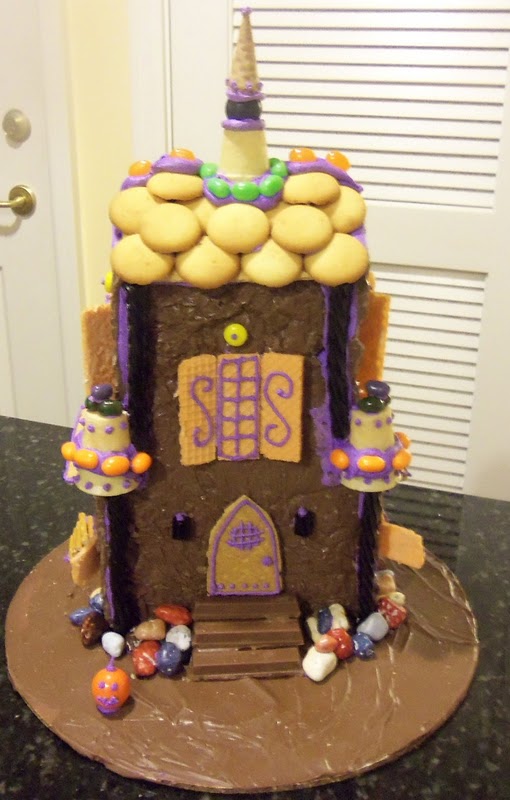
This Halloween Haunted House is a fun edible centerpiece made from chocolate candy melts, graham crackers, cookies, pretzels, and colorful candies. Build it over several days and decorate it with spooky details for a memorable Halloween project the whole family can enjoy.
Equipment
- 3 Cookie sheets
- Aluminum foil
- Mixing bowl
- Electric mixer
- Small Paring Knife
- 2 decorating bags
- Wilton #2 decorating tip
- Wilton #2A decorating tip
- Microwave or double boiler for melting chocolate
- House pattern pieces, enlarged 4 times
Ingredients
Chocolate House
- 5 bags milk chocolate candy melts
- Chocolate rocks
- Stick pretzels
House Decorations
- 1 sugar cone
- 2 cake cones
- Graham crackers
- Mini Nilla Wafers
- 1 box Reese's Pieces
- 1 package black Twizzlers
- 1 package black licorice bites
- 4 mini Kit Kats
- Orange gum balls
- Orange and green Jelly Belly candies
- 1 package orange wafer cookies
Violet Royal Icing
- 16 oz powdered sugar
- 3 egg whites
- 1 teaspoon vanilla
- ½ teaspoon cream of tartar
- Wilton Violet food coloring
Instructions
- Measure aluminum foil to fit each of the 3 cookie sheets.
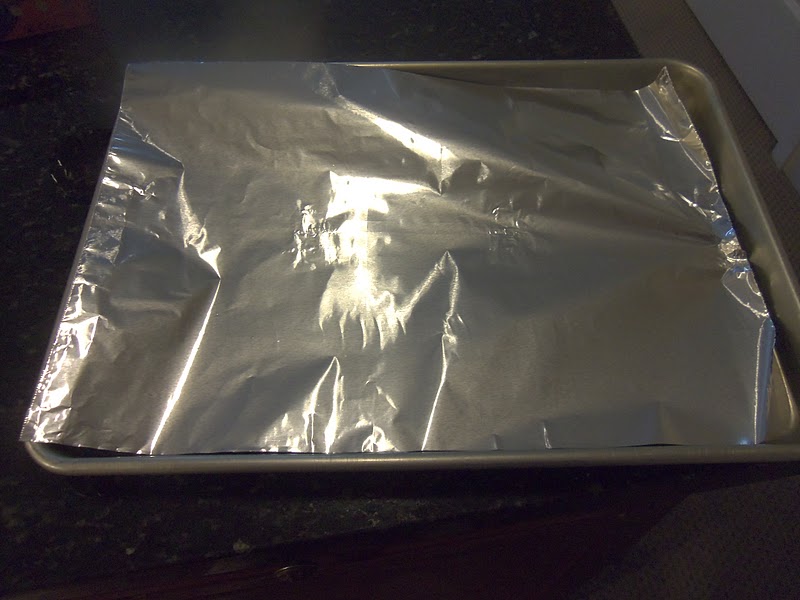
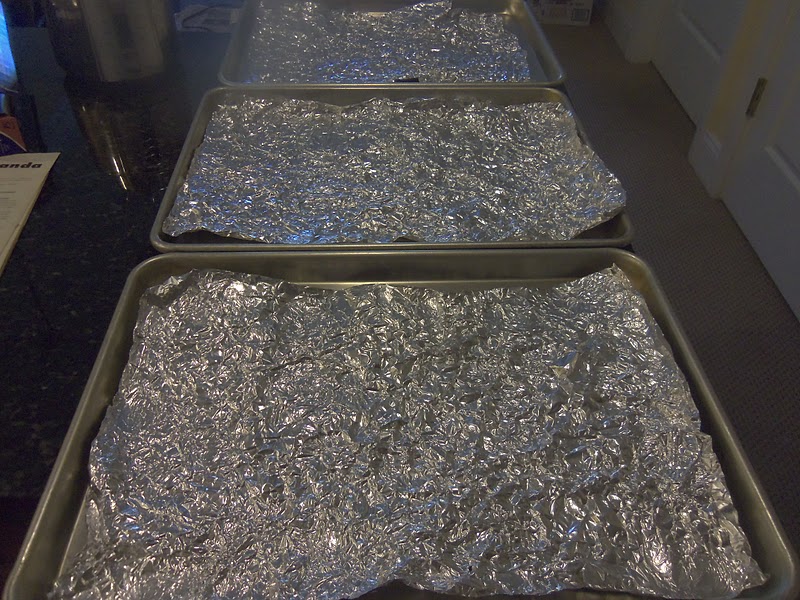
- Loosely crumble the foil to create an uneven wall design, then carefully unfold it and spread it over each cookie sheet.
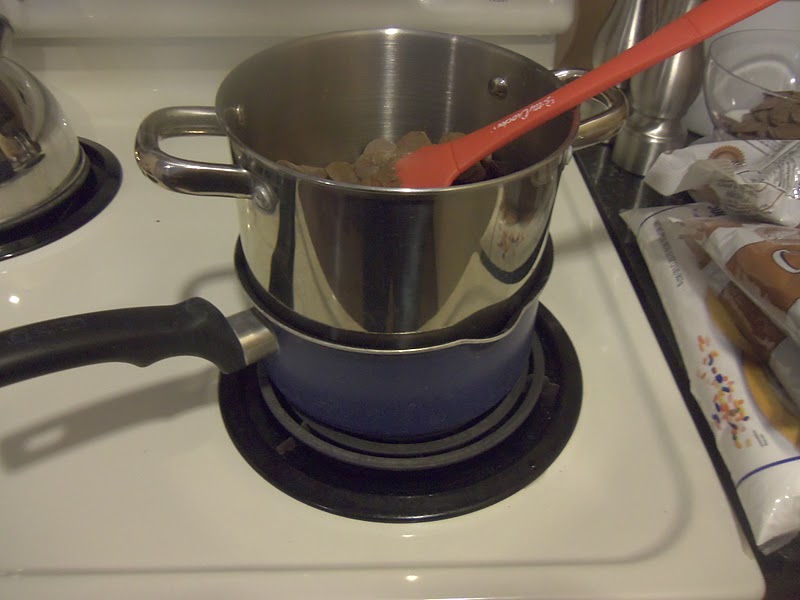
- Melt the chocolate candy melts. Use approximately 1½ bags of melted chocolate per cookie sheet.
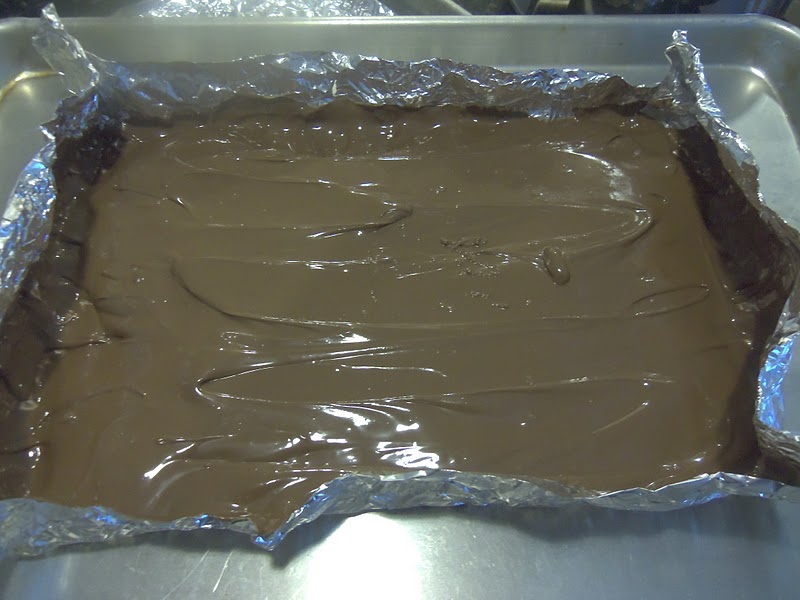
- Pour the melted chocolate over the foil and spread it to form the chocolate panels. Allow the chocolate to dry completely.
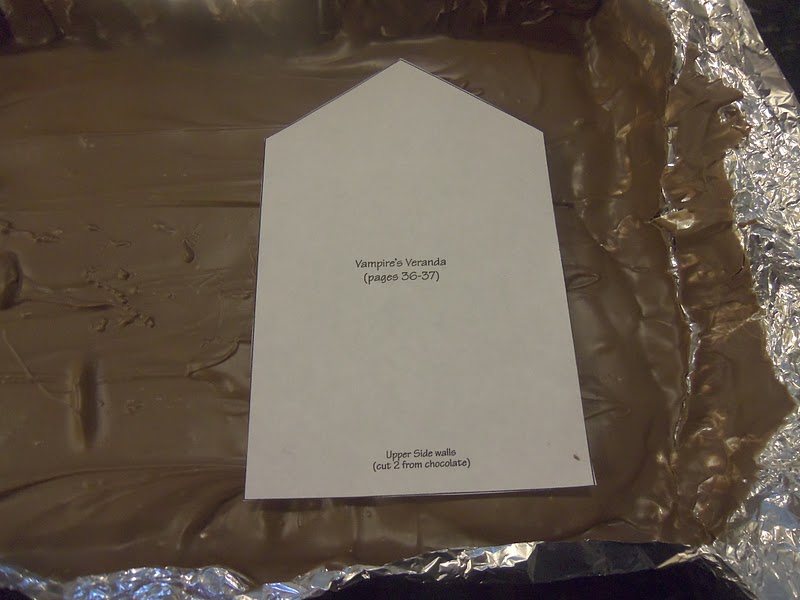
- Place the enlarged house patterns over the hardened chocolate. You will need 2 pieces of each house pattern, except the door, which is cut from graham crackers later.
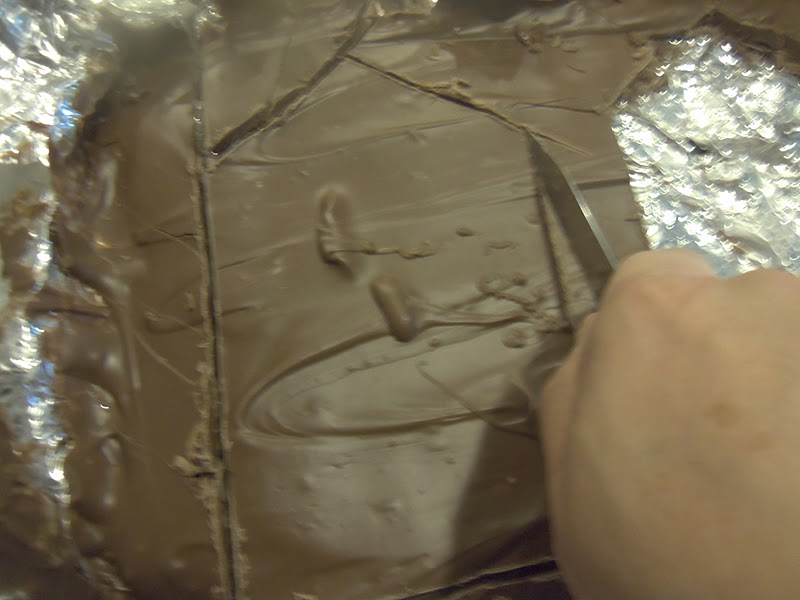
- Score around each pattern with a small paring knife, then carefully cut along the scored lines.
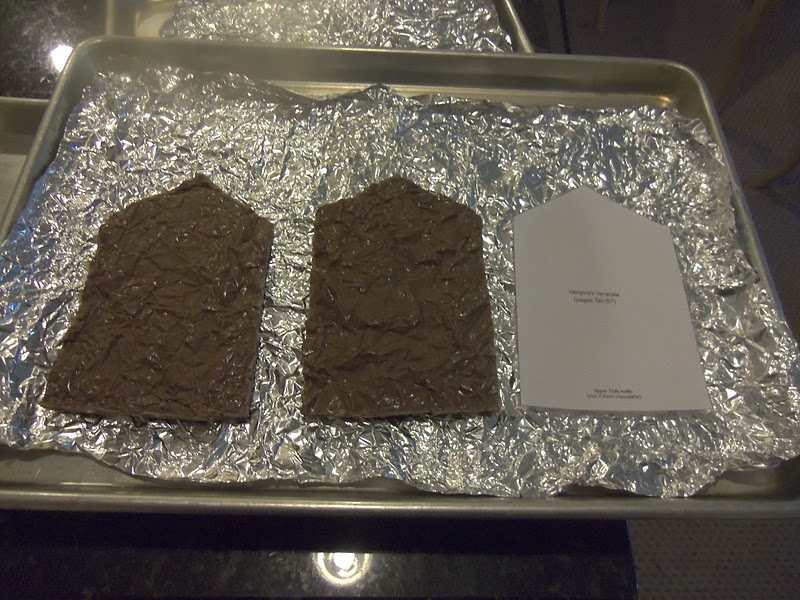
- The finished chocolate pieces should include 2 fronts, 2 bottom sides, and 2 top sides. Remelt leftover chocolate for additional pieces if needed.
- Prepare the icing by combining the egg whites, powdered sugar, vanilla, and cream of tartar in a mixing bowl.
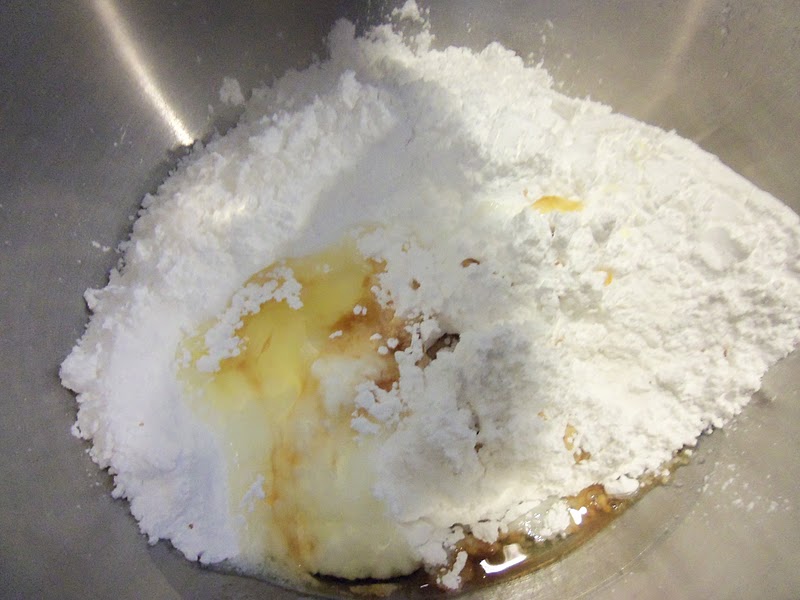
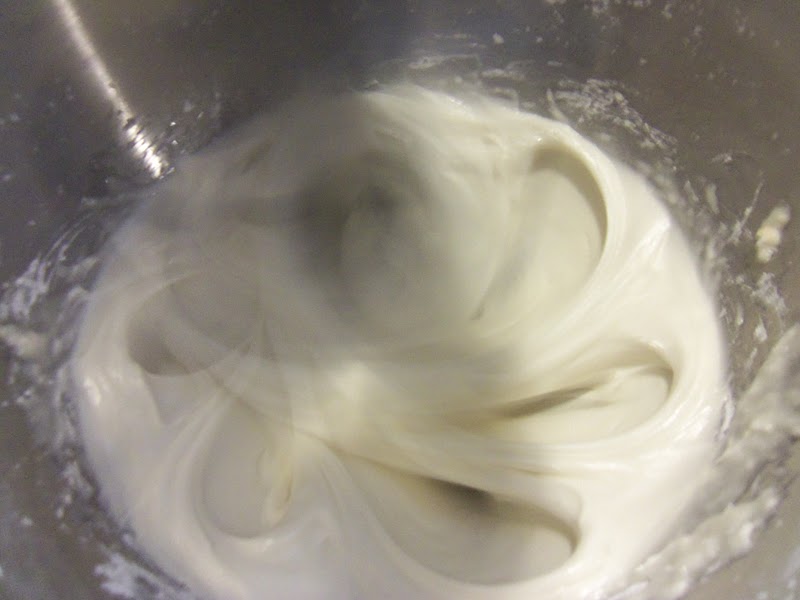
- Beat on high for 7–10 minutes, until very stiff. Tint the icing violet with Wilton Violet food coloring.
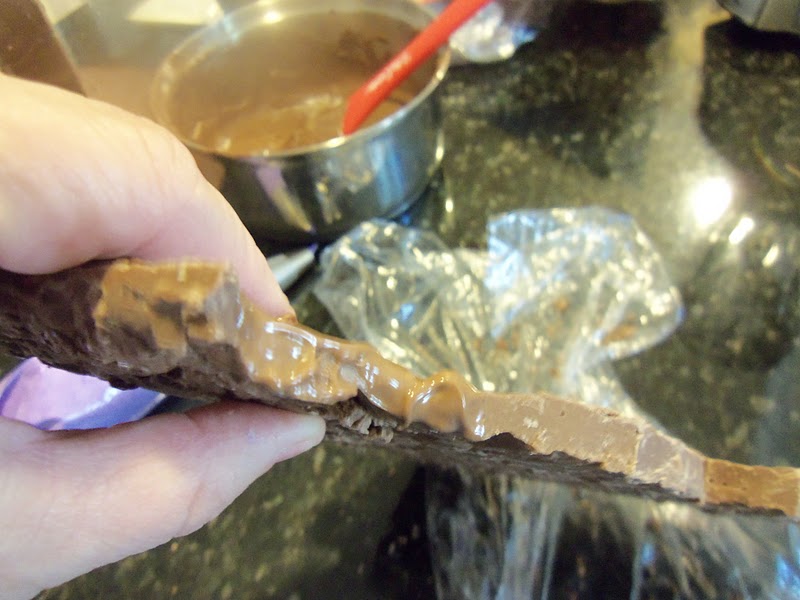
- If a chocolate piece cracks or breaks, repair it with a little melted chocolate. Attach the broken section with the melted chocolate and allow it to set for a few minutes.
- Melt additional chocolate and spread it over a cake circle. Allow it to dry for about 1 hour.
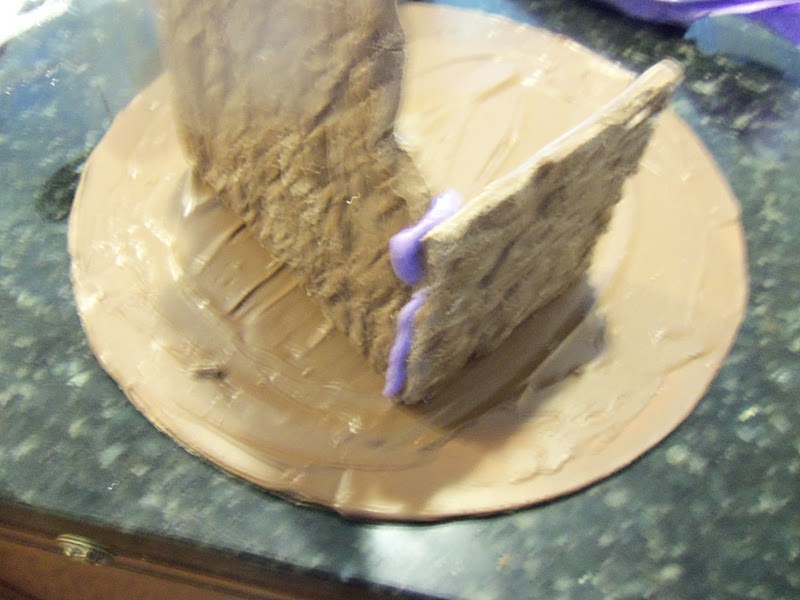
- Position the large front piece toward the back of the circle to leave room for a front yard. Pipe icing along the seams to attach the bottom side, front, and remaining side pieces.
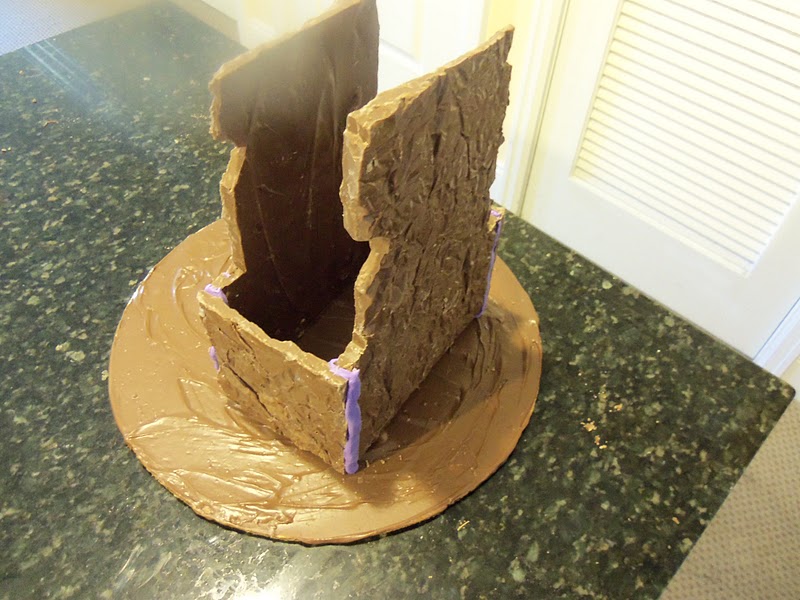
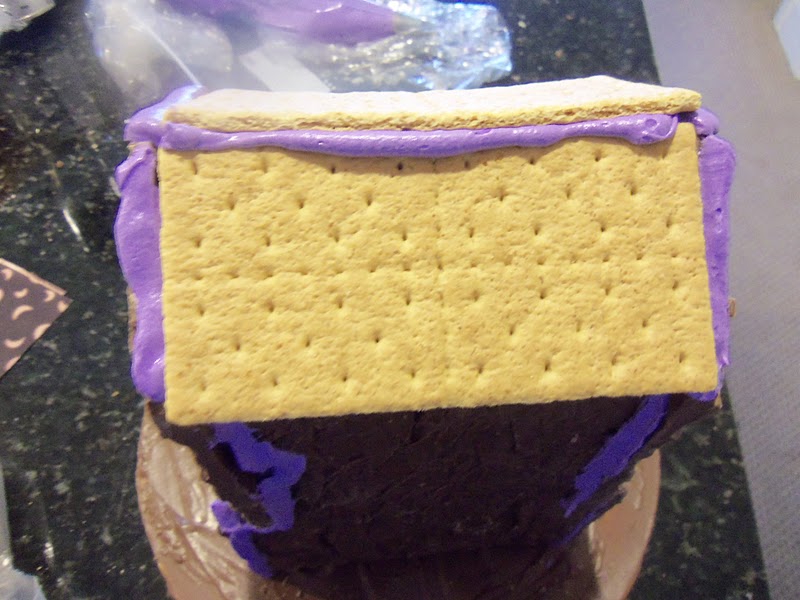
- Attach the top side pieces with icing. Add graham cracker pieces to create the roof, piping icing along the seams to secure everything firmly.
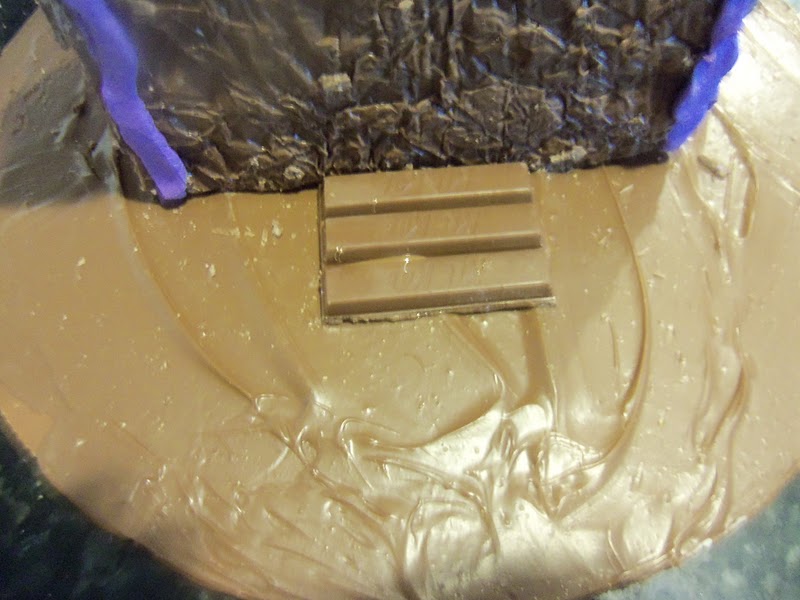
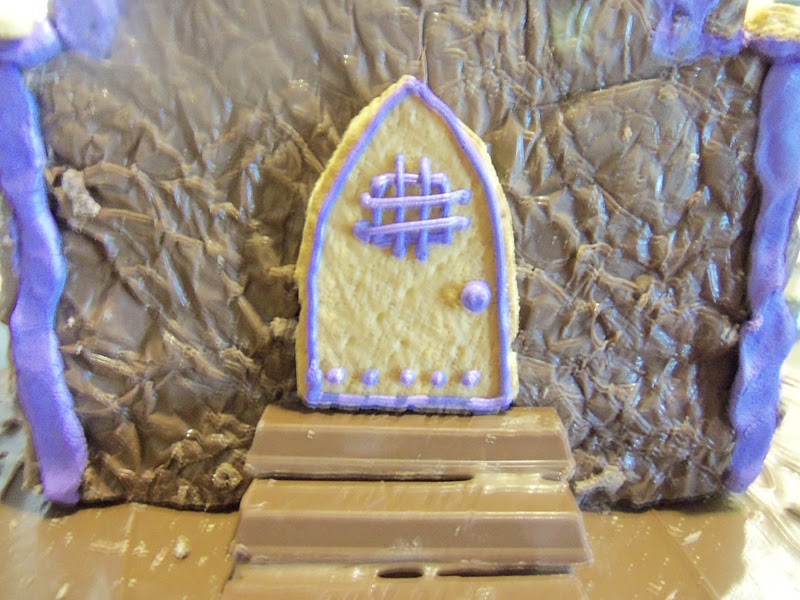
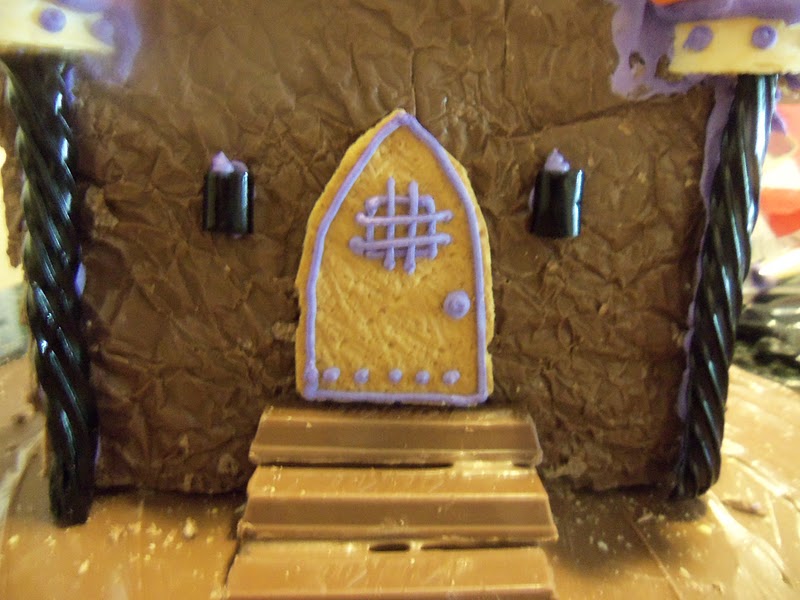
- Build the front steps with the mini Kit Kats, attaching them with icing or melted chocolate. Use 3 strips on the bottom, 3 above them, and 1 final strip on top.
- Cut the graham cracker door using the pattern. Pipe around the door and create a window using the #2 decorating tip.
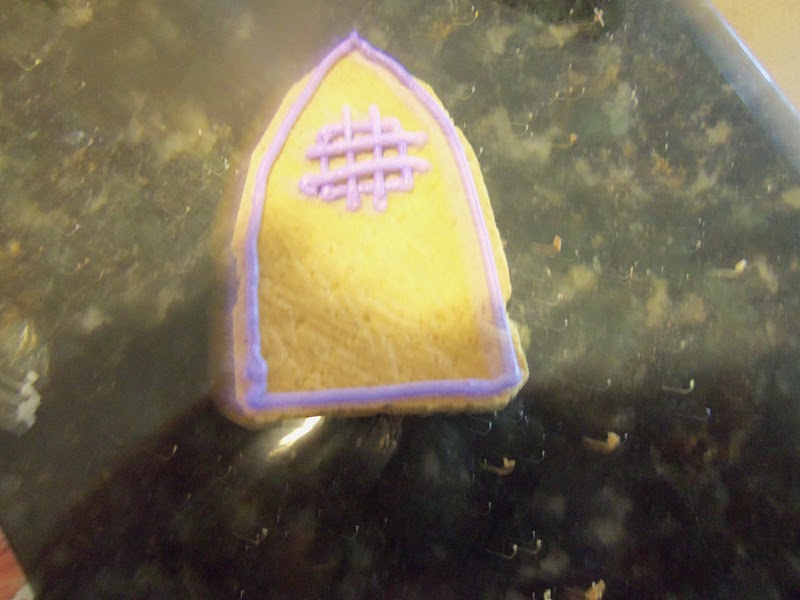
- Attach it to the front of the house above the steps.
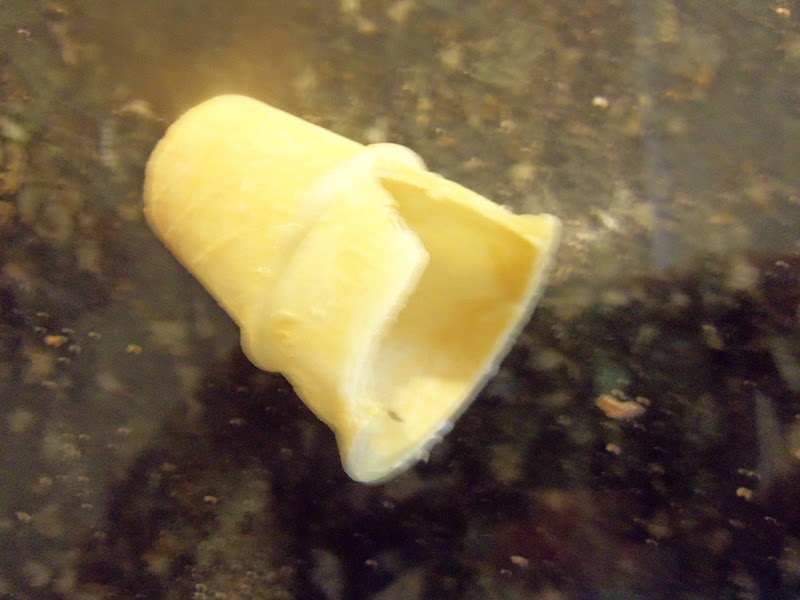
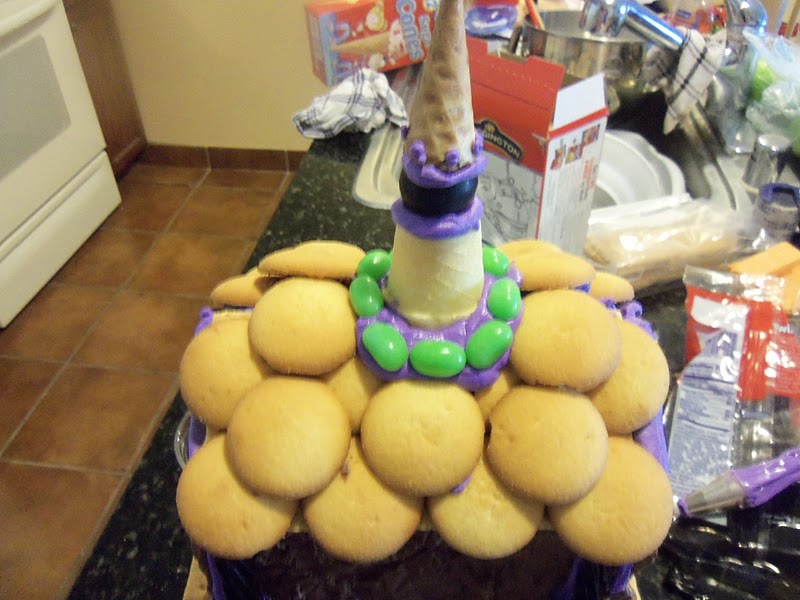
- Cut a section of a cake cone so it fits the roof and attach it with icing.
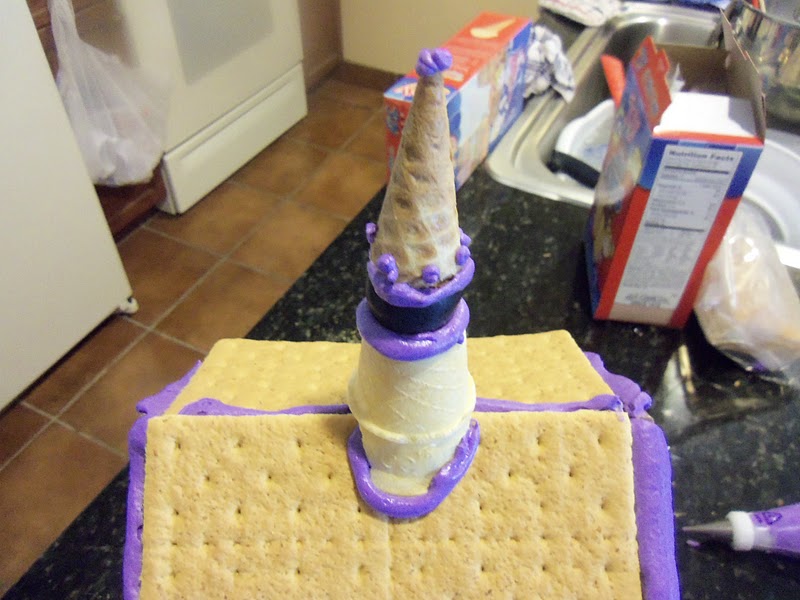
- Place a black gumball on top, then cut the tip from the sugar cone and attach it above the gumball. Decorate with icing and candies as desired.
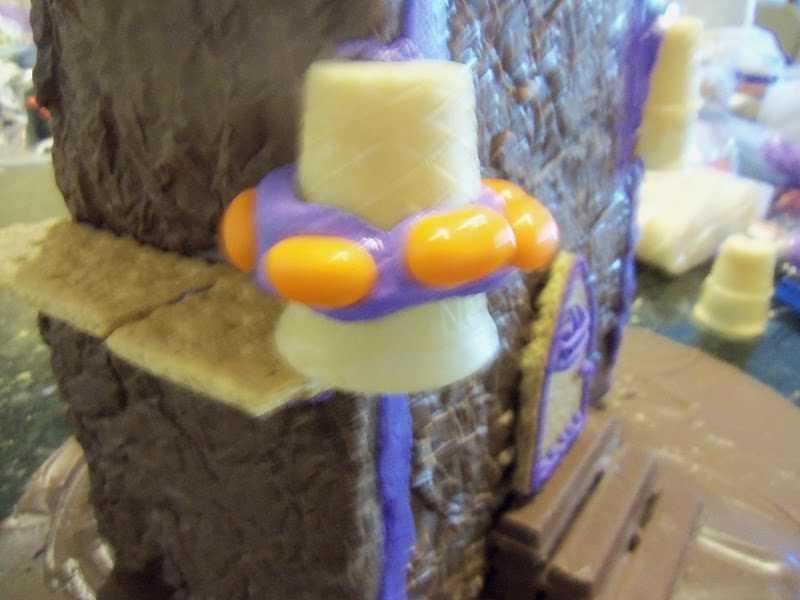
- Cut 2 cake cones to fit the front corners. Decorate them with icing and Jelly Belly candies.
- Add black licorice pieces along the top and bottom front seams and repeat on the back.
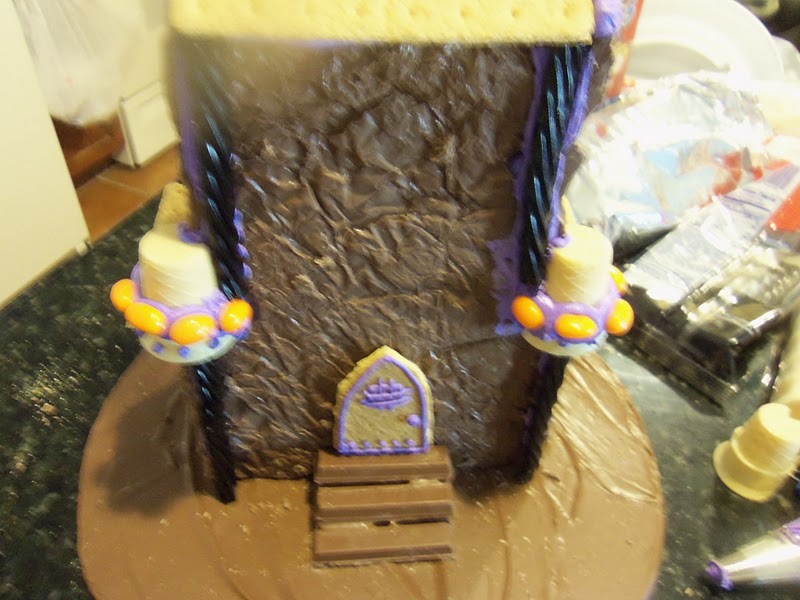
- Attach mini Nilla Wafers around the roof to create shingles and decorate around the tower.
- Add a black licorice bite to each side of the door, including the decorative swirl before attaching it.
- Add chocolate rocks around the edges of the house wherever desired. Cut orange wafer cookies so only the top portion remains and use them to create windows. Pipe windowpanes with icing and use the remaining wafer pieces, cut in half, as shutters.
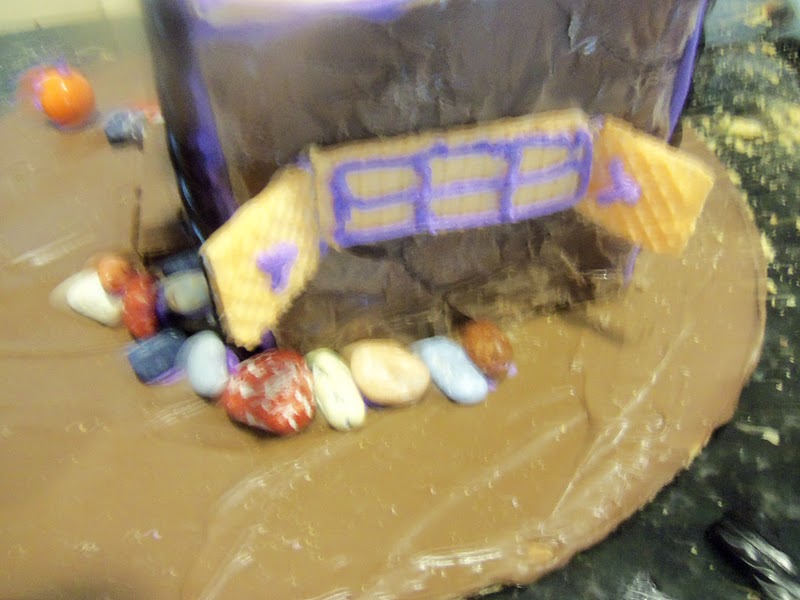
- Attach windows and shutters to the lower sides of the house. Add the upper windows on both sides, with the shutters running lengthwise.
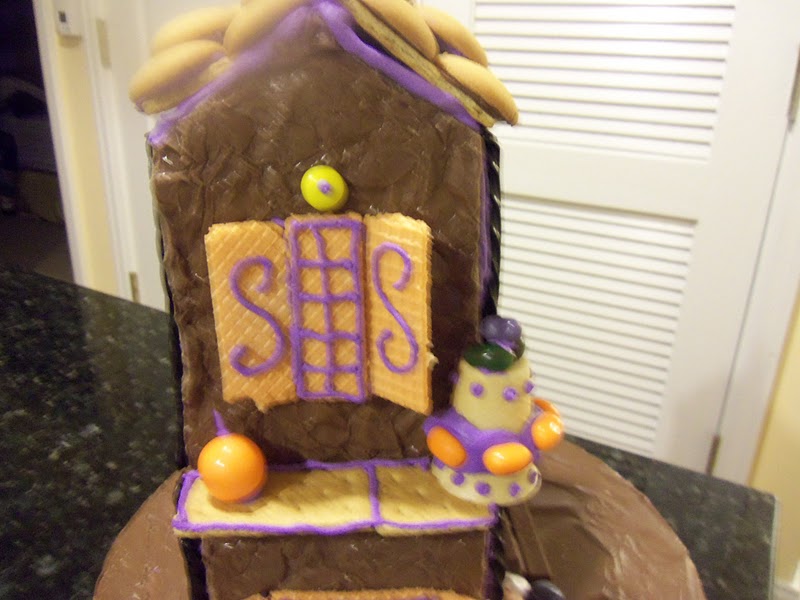
- Place a Reese's Piece at the top of each window and add an orange gumball to create a pumpkin detail.
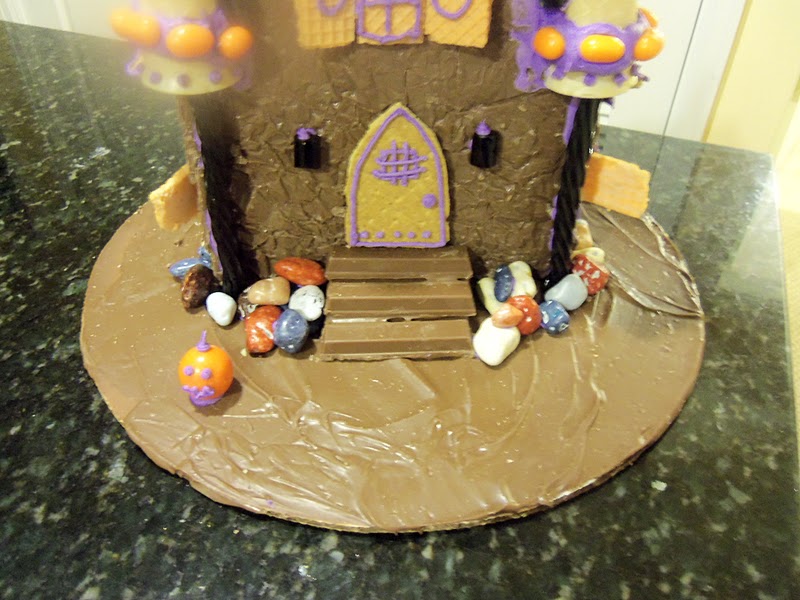
- Allow the icing and decorations to set firmly before displaying or serving. The house can be assembled over several days, allowing you to stop at any stage and continue later.
Notes
- Work slowly when cutting the hardened chocolate. Small imperfections can easily be covered with icing or decorations.
- Leftover chocolate can be remelted and reused.
- The haunted house can be completed over multiple days, making it a great family Halloween project.