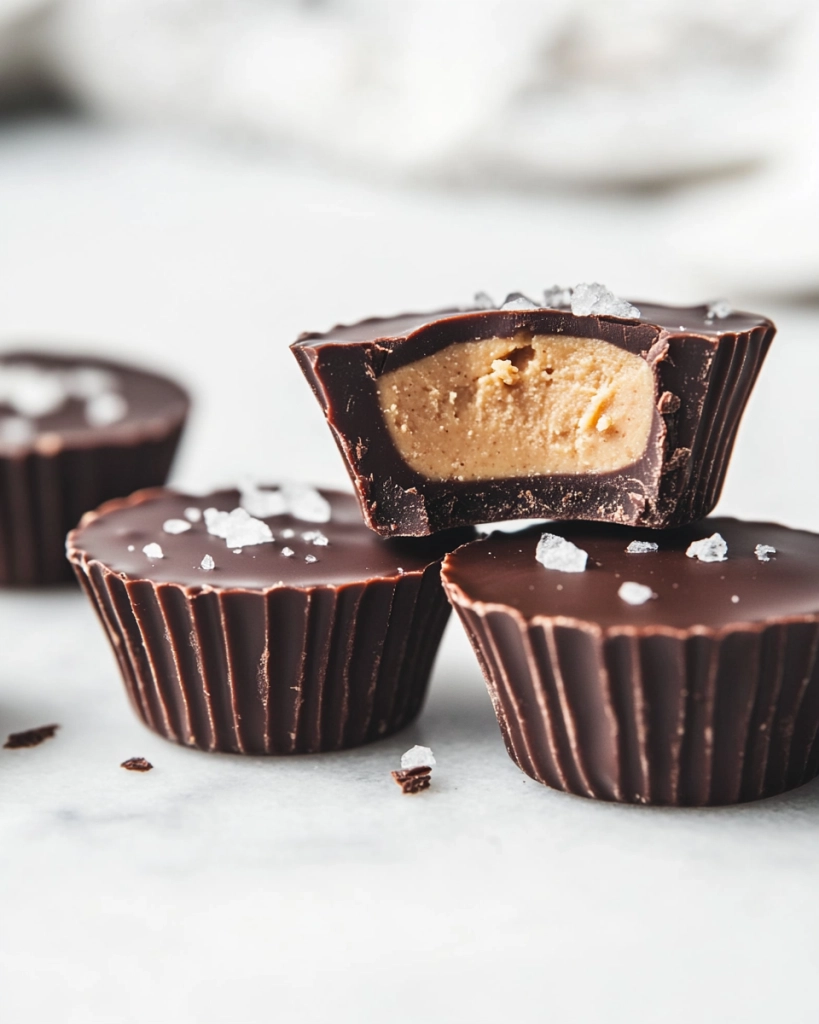
Making peanut butter cups at home has always been about capturing that perfect balance of creamy peanut butter and smooth chocolate. But I’ve learned over the years that it’s the little details—like temperature and texture—that turn a simple treat into something memorable.
This isn’t just about following a recipe; it’s about tuning into the sensory dance of melting chocolate, thick peanut butter, and the satisfying chill that sets everything just right. It’s a messy, honest process, but the result is worth every sticky finger.
A cook’s notes on making peanut butter cups with a focus on balancing the textures and flavors, highlighting personal tips and tricks.
Why I keep coming back to making peanut butter cups.
- I love how this recipe lets me control the sweetness and ingredients.
- It’s chaotic but satisfying to see those layers come together.
- Nothing beats the smell of melting chocolate filling the kitchen.
- Making these reminds me of childhood, sneaking bites while mom wasn’t looking.
- Sharing these with friends always sparks nostalgia and smiles.
A little history and fun facts about peanut butter cups.
These treats originated in the United States in the 1930s, originally as a homemade confection. The name ‘peanut butter cup’ is a registered trademark of Hershey’s, but homemade versions are all about personal tweaks. Chocolate and peanut butter were a natural pairing, thanks to their contrasting textures and complementary flavors. The classic combination gained popularity during the mid-20th century, especially with the rise of candy bars.
Make-ahead tips and storage secrets.
- Growing up, I remember my grandma’s kitchen smelling of roasted peanuts and rich chocolate. When I started making these myself, I wanted to recreate that warm, inviting aroma.
- Over the years, I’ve tweaked the recipe—adding a pinch of sea salt, experimenting with different chocolates. It’s a simple pleasure that feels like a small act of love.
- make_ahead_storage
Deep dive into the key ingredients.

- Chocolate: I prefer a high-quality dark variety with a hint of bitterness. If it’s too sweet, try bitter-sweet.
- Peanut Butter: Creamy, natural peanut butter sticks to the classic flavor but you can swap for almond or cashew.
- Honey: Adds just enough sweetness and helps hold the peanut butter together. Maple syrup is a good alternative.
- Sea Salt: Enhances flavor and balances sweetness. Use flaky sea salt for texture.
- Coconut Oil: Helps chocolate set smoothly and adds a shiny finish. Use neutral oil if you prefer less coconut flavor.
Spotlight on chocolate and peanut butter.
Chocolate:
- Melts smoothly, gives that glossy finish, and carries the flavor. Temper to avoid dullness.
- Chocolate behaves differently based on cocoa content; higher cacao means richer, less sweet.
Peanut Butter:
- Creamy, thick, and oozing with roasted peanut aroma. Stir well to prevent oil separation.
- Natural peanut butter needs a good stir, which releases a nutty, roasted scent—crucial for flavor.
Substitutions to customize your peanut butter cups.
- Dairy-Free: Use coconut or soy-based chocolate for a creamy, dairy-free option.
- Sweetener: Substitute honey with maple syrup or agave nectar for different flavor notes.
- Peanut Butter: Almond or cashew butter can add a different nutty twist.
- Chocolate: Unsweetened cocoa powder mixed with coconut oil can be a healthier alternative.
- Salt: Flavored salts like smoked or fleur de sel can add extra dimension.
Equipment & Tools
- Mini muffin tin: To shape and hold the cups
- Heatproof bowl: To melt the chocolate evenly
- Spatula: To spread chocolate smoothly
- Spoon or piping bag: To fill the molds neatly
Step-by-step guide to perfect peanut butter cups.
- Line a mini muffin tin with paper liners or silicone molds.
- Melt 200g dark chocolate in a heatproof bowl over simmering water, stirring until smooth. (Approx 3-4 min)
- Pour a small spoonful of melted chocolate into each mold, tilt to cover the bottom, then chill for 5 min.
- Mix 1 cup creamy peanut butter with 2 tbsp honey and a pinch of salt until smooth.
- Spoon a dollop of peanut butter mixture into each mold, pressing down slightly.
- Cover the peanut butter with more melted chocolate, ensuring it’s fully enclosed.
- Chill in the fridge for at least 30 min, or until the chocolate is set.
- Gently remove from molds; if using paper liners, peel away carefully.
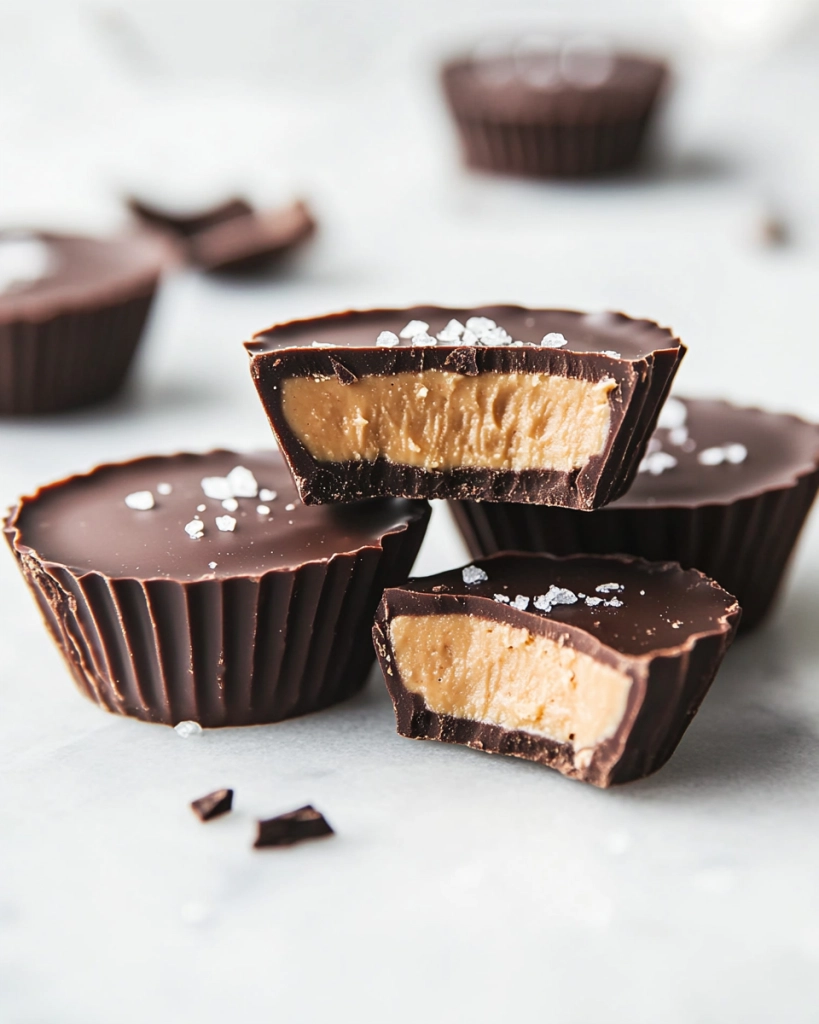
- Serve straight from the fridge for that firm bite, or let sit at room temperature for 10 min to soften slightly.
Chill the cups in the fridge until fully firm, about 30 min. Serve directly from fridge for best texture.
How to Know It’s Done
- Chocolate is shiny and firm when set.
- Peanut butter layer is firm but not crumbly.
- Chocolate crackles when tapped, indicating proper tempering.
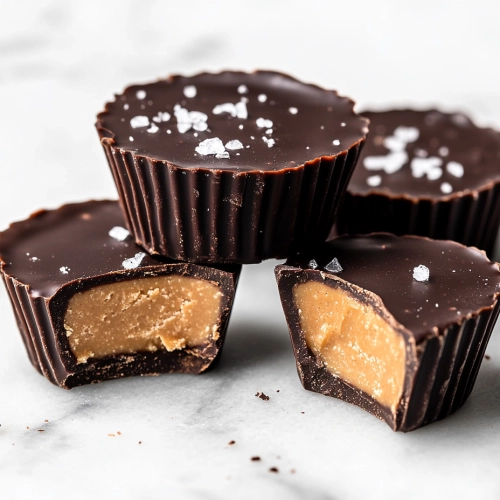
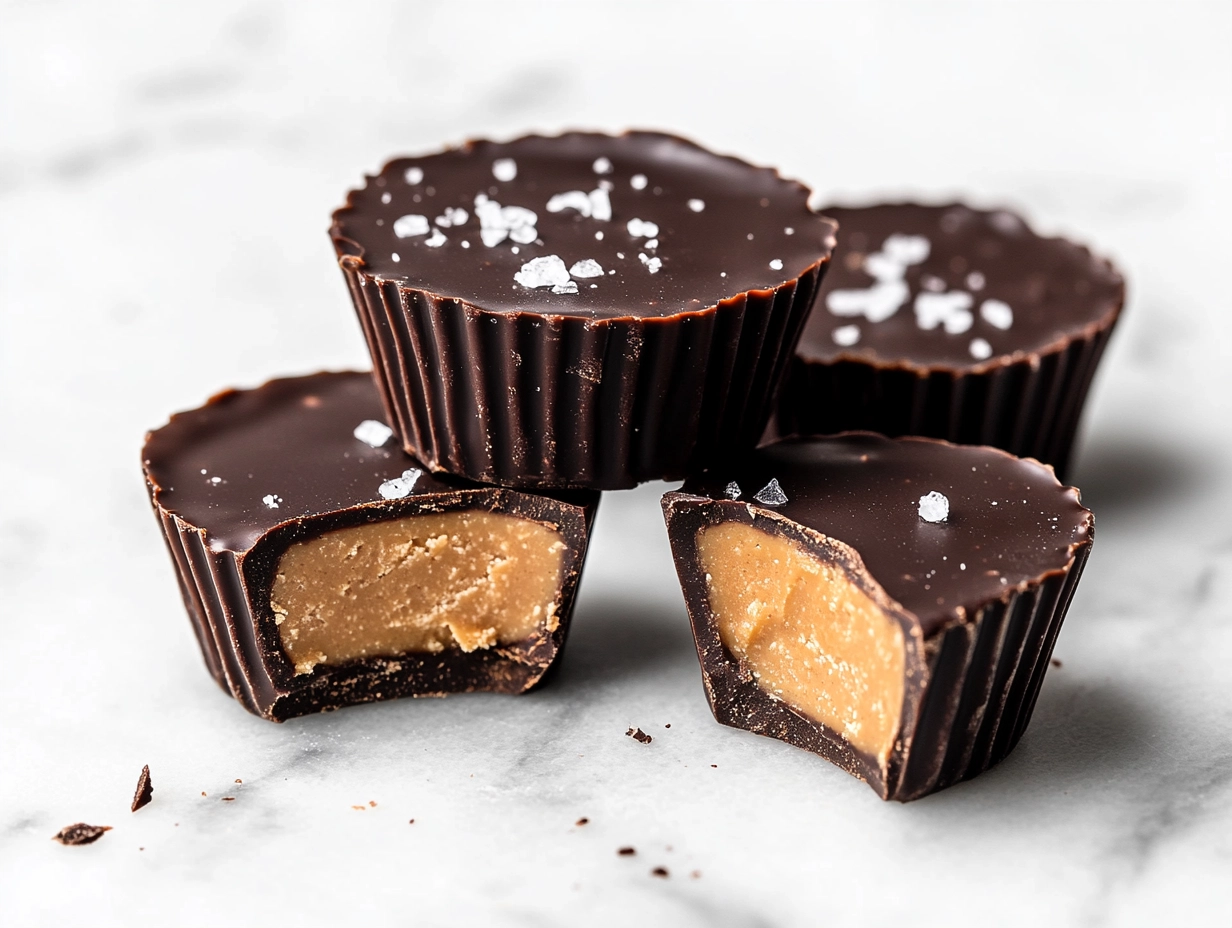
Homemade Peanut Butter Cups
Equipment
- Mini muffin tin
- Heatproof Bowl
- Spatula
- Spoon or piping bag
Ingredients
- 200 g dark chocolate high-quality, chopped
- 1 cup creamy peanut butter natural preferred
- 2 tbsp honey
- a pinch sea salt
- 1 tsp coconut oil optional, for shine
Instructions
- Line your mini muffin tin with paper liners or silicone molds to prepare for pouring.
- Melt the chopped dark chocolate in a heatproof bowl over simmering water, stirring gently until smooth and glossy. Smell the rich aroma as it melts.
- Pour a small spoonful of melted chocolate into each mold, tilting and swirling to evenly coat the bottom. Place in the fridge for about 5 minutes to firm up.
- In a bowl, stir together the creamy peanut butter with honey and a pinch of sea salt until smooth and slightly fluffy. You should smell roasted peanut notes as you mix.
- Spoon a dollop of the peanut butter mixture into each chocolate-lined mold, pressing down gently to fill the center.
- Cover the peanut butter layer with the remaining melted chocolate, ensuring all the peanut butter is sealed inside. Gently tap the mold to level the surface and release air bubbles.
- Place the filled molds in the fridge and chill for at least 30 minutes until the chocolate is set and glossy.
- Once firm, gently remove the peanut butter cups from the molds, peeling away liners if used. They should hold a shiny, smooth surface and a firm bite.
- Serve the peanut butter cups straight from the fridge for a crisp bite. For softer texture, let sit at room temperature for 10 minutes before enjoying.
Tips and tricks for perfect peanut butter cups.
- Melt chocolate slowly over low heat to prevent burning and achieve a glossy finish.
- Use room temperature peanut butter for easier mixing and smoother filling.
- Chill the molds before pouring to help set the chocolate quickly.
- Tap the filled molds gently to remove air bubbles and even out the surface.
- Add a sprinkle of sea salt on top just before chilling for a flavor boost.
Common mistakes and how to fix them.
- FORGOT to temper the chocolate? Gently re-melt and cool it to the right temperature.
- DUMPED too much peanut butter? Use a small spatula to scrape excess and smooth the top.
- OVER-TORCHED the chocolate? Add a small amount of vegetable oil and stir gently.
- CRACKED the chocolate coating? Reheat and pour over to patch up, then chill again.
Quick fixes for common issues.
- When chocolate is too thick, add a teaspoon of coconut oil to thin it.
- Splash a little warm water if the chocolate stiffens during melting.
- Patch cracks with a drizzle of melted chocolate, then chill quickly.
- Shield the chocolate from drafts, which can cause blooming or dullness.
- Rescue a sticky peanut butter layer by chilling it briefly before covering with chocolate.
What to Serve With Peanut Butter Cups
Preparing ahead and storing your peanut butter cups.
10 Practical Q&As about Peanut Butter Cups: A Personal Take.
1. What kind of chocolate should I use?
2. Can I use chunky peanut butter?
3. How long do I need to chill the peanut butter cups?
4. Do I need special equipment?
5. How should I store the peanut butter cups?
Store these in an airtight container in the fridge for up to two weeks. They may become softer at room temp.
6. What if the chocolate cracks or cracks after setting?
If the chocolate cracks, gently re-melt and pour over the top, then chill again.
7. How do I fill the cups neatly?
Use a small spoon or piping bag for precise filling. A small spatula helps spread the peanut butter evenly.
8. Can I tweak the sweetness?
Adjust the sweetness by adding a pinch of salt or a drizzle of honey to the peanut butter.
9. What’s the best mold to use?
Use a silicone mold for easy release and a professional look.
10. Why won’t my chocolate melt smoothly?
If the chocolate isn’t melting smoothly, check your heat—low and slow is best.
Once you get the hang of it, these peanut butter cups become your go-to for a quick sweet fix. The best part? Filling your kitchen with that warm, roasted peanut aroma while the chocolate melts—nothing beats it.
They’re perfect for sharing (or not sharing), and they keep well in the fridge, ready for any unexpected sweet cravings. Plus, they remind me that simple ingredients—chocolate and peanut butter—are all you need to make something truly special.
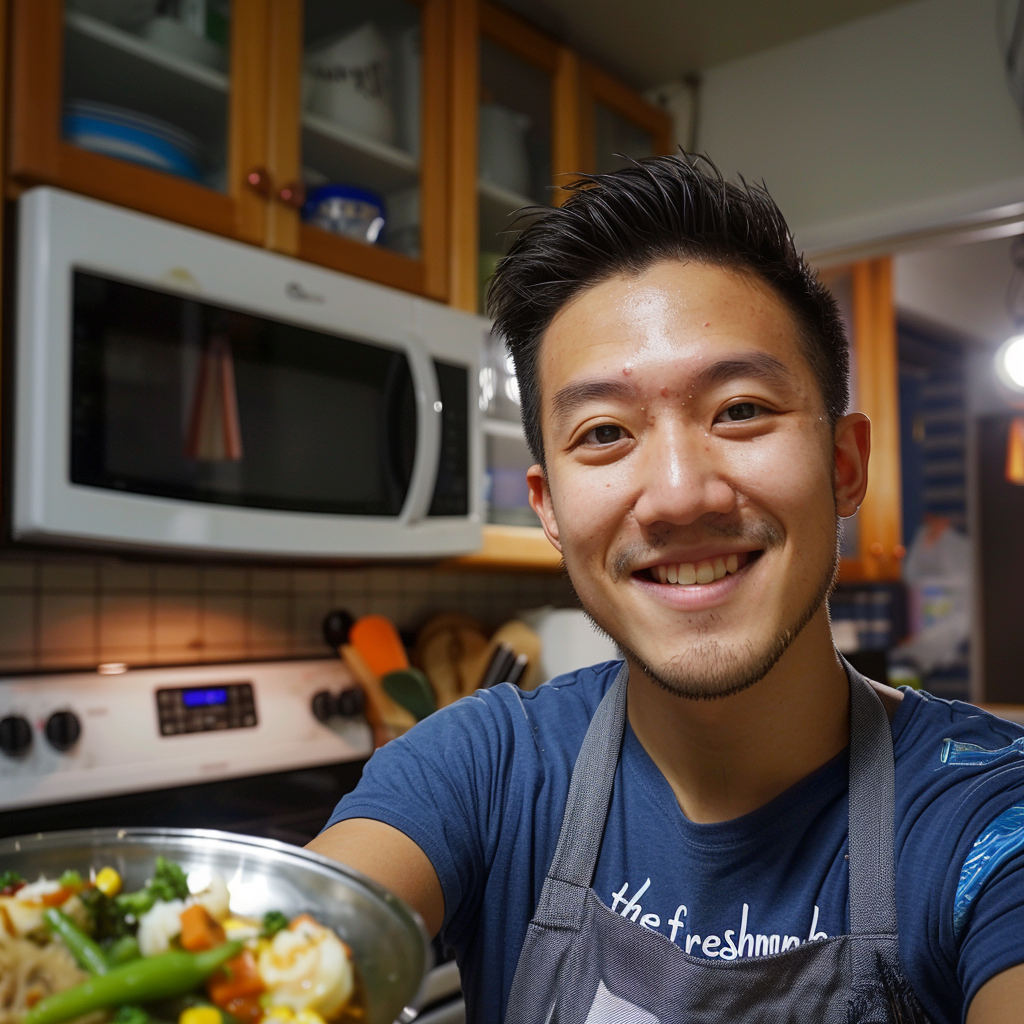
hi there,
i’m Noah
A California-born food blogger behind Freshman Cook, whose culinary journey began in his tiny apartment kitchen.