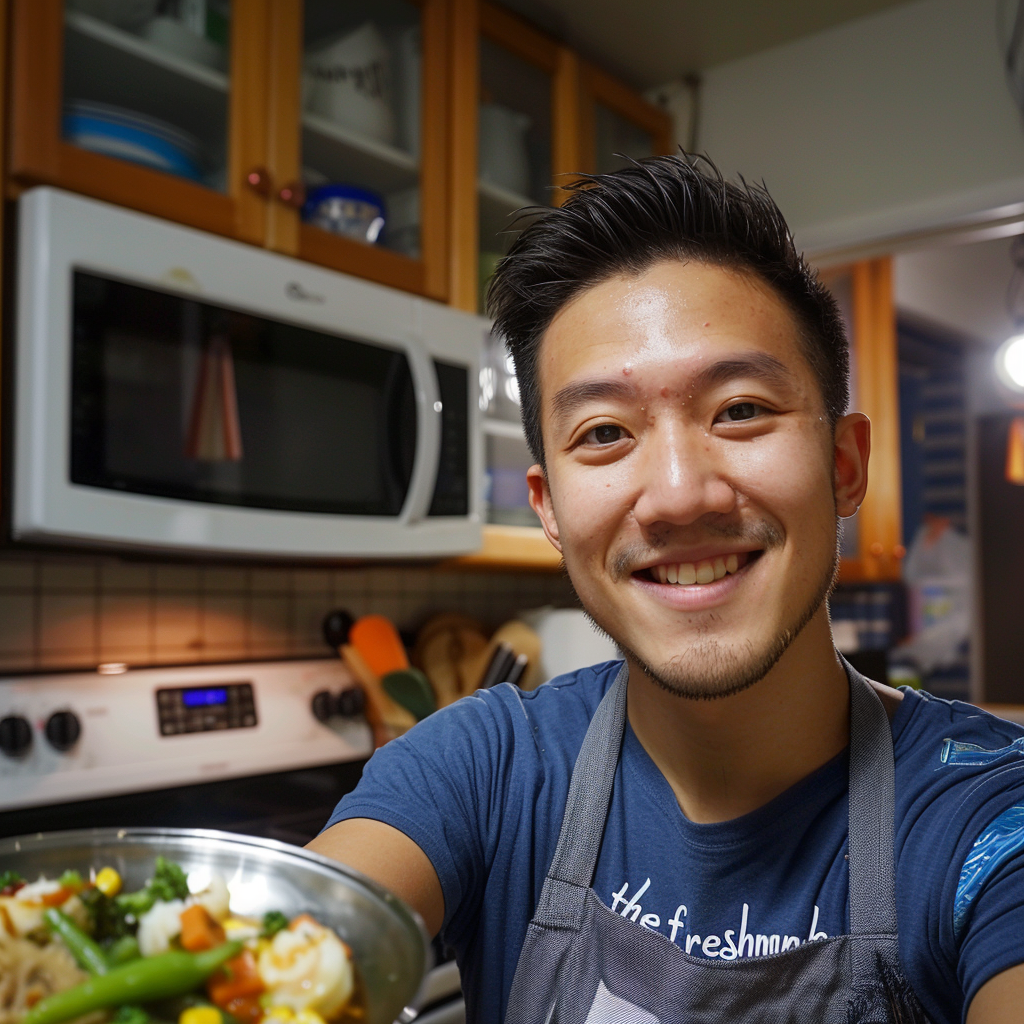
Hey there! I’m Noah Baker, the California-born creator behind FreshmanCook.com – a food blog that’s all about making delicious, approachable cooking feel like a totally achievable adventure.My culinary journey didn’t start in a fancy cooking school or with generations of family recipes. It began in a cramped apartment kitchen, armed with nothing but curiosity, a beat-up cutting board, and an endless appetite for trying new things. As a graphic designer by training, I’ve always been drawn to the art of creation – whether that’s designing a sleek website or crafting a meal that looks as incredible as it tastes.
In this free email series, you’ll learn exactly how yeast works (in easy-to-understand language), which bread beginner recipes are best, plus how to tackle pizza dough, sandwich bread, shaped dough, and more. There’s no homework or prior kitchen training needed.
We respect your privacy. Unsubscribe at any time.
Bread Baking 101: Complete Beginners' Guide
In this free email series, you’ll learn exactly how yeast works (in easy-to-understand language), which bread beginner recipes are best, plus how to tackle pizza dough, sandwich bread, shaped dough, and more. There’s no homework or prior kitchen training needed.
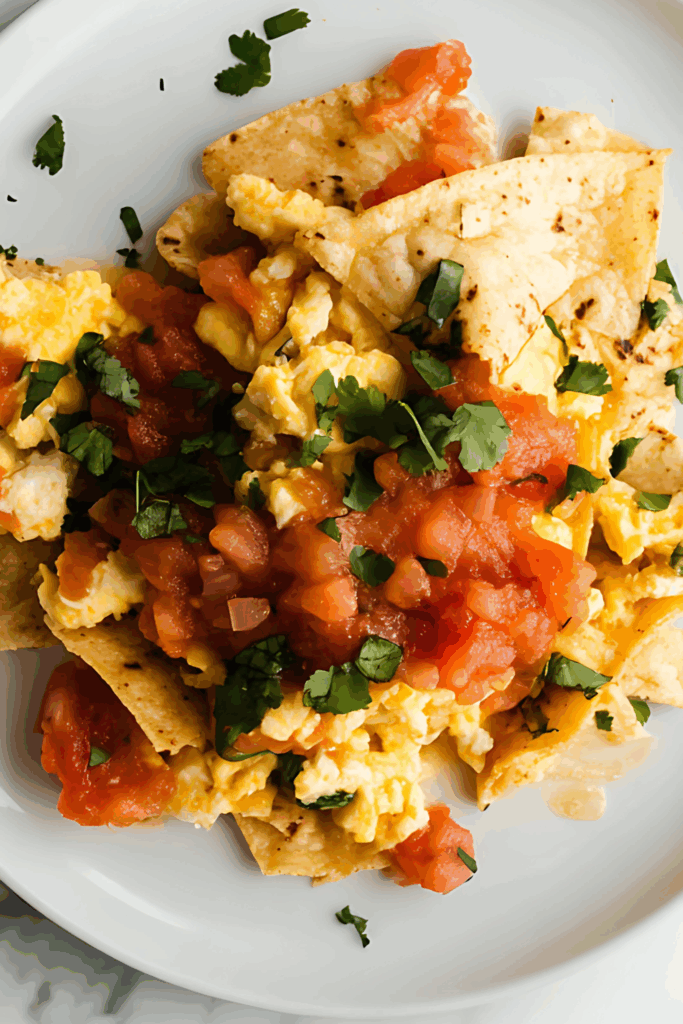
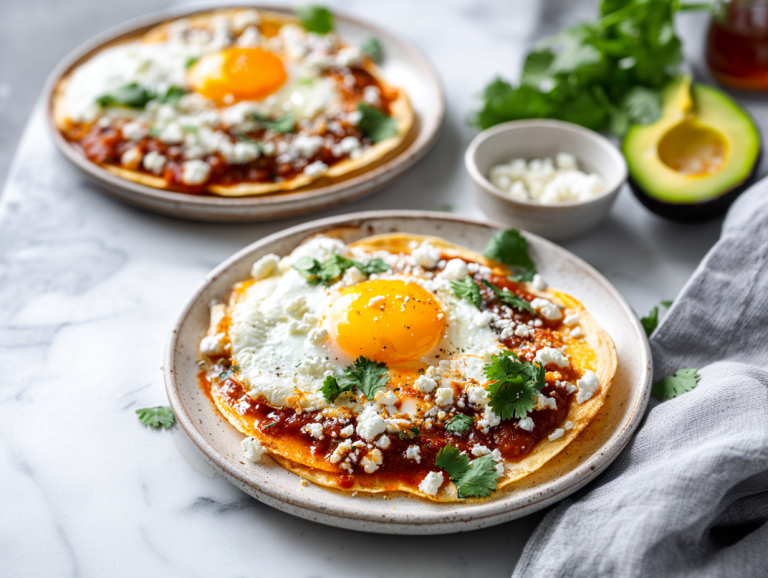
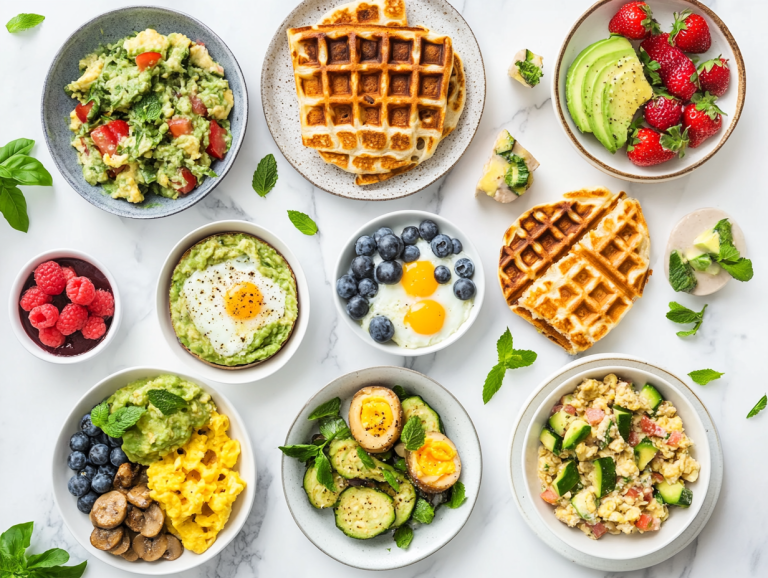
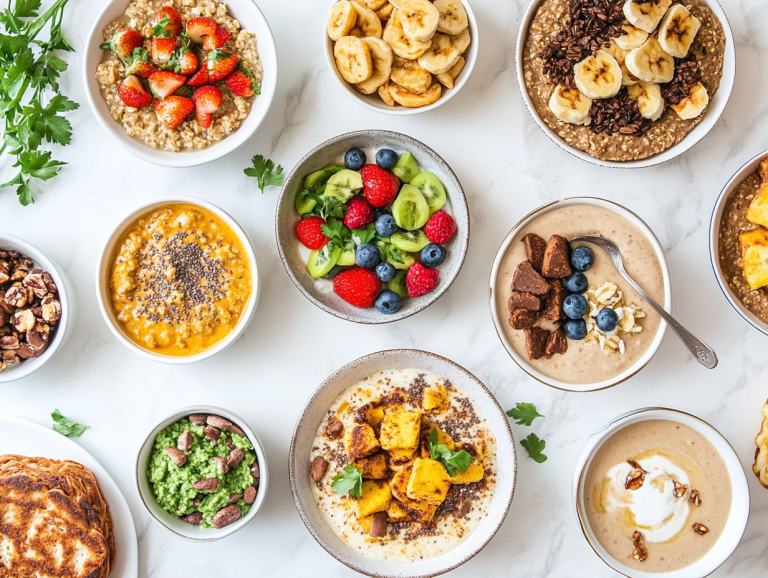
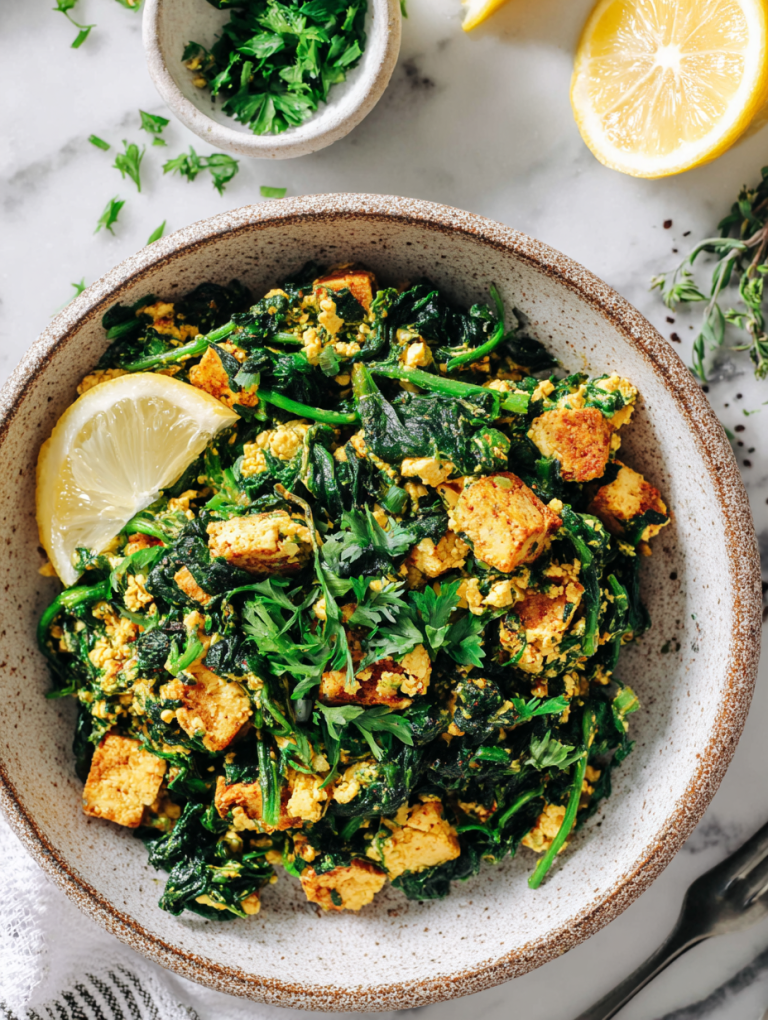
There’s nothing better than starting your day with a delicious homemade breakfast. Whether you’re new to cooking or a seasoned pro, you’ll enjoy my easy-to-follow recipes for fluffy pancakes, hearty omelets, and classic French toast.
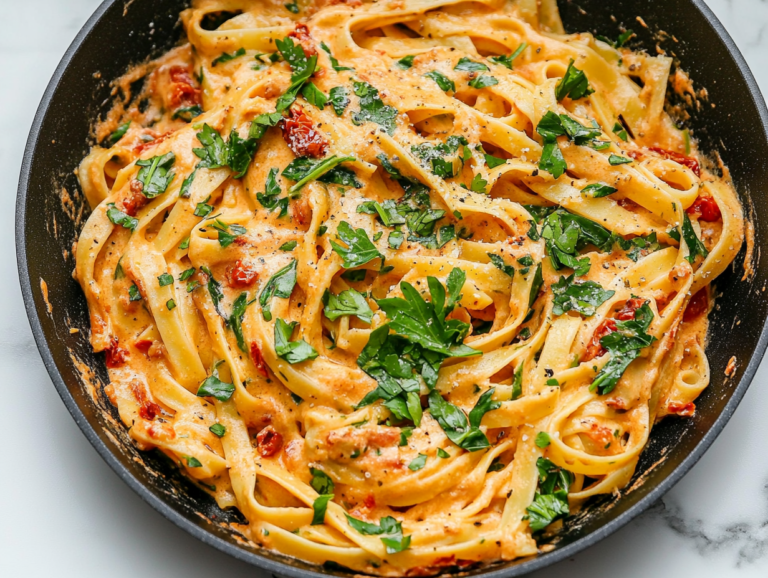
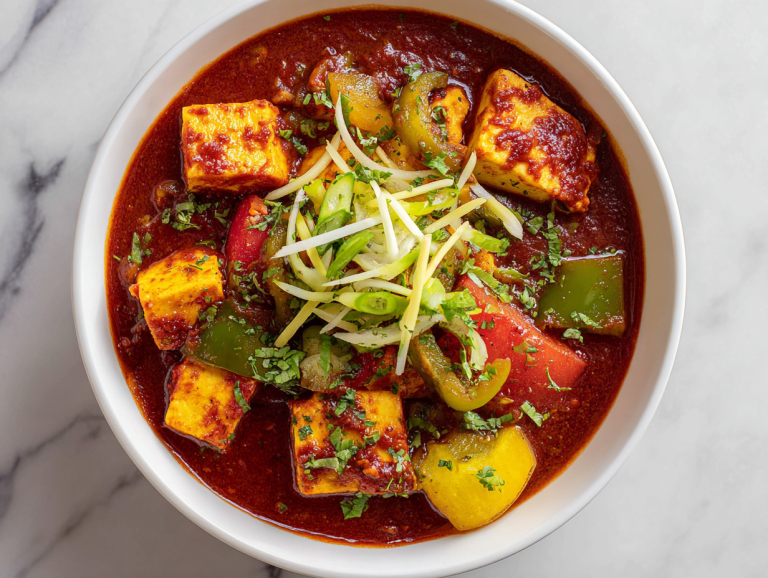
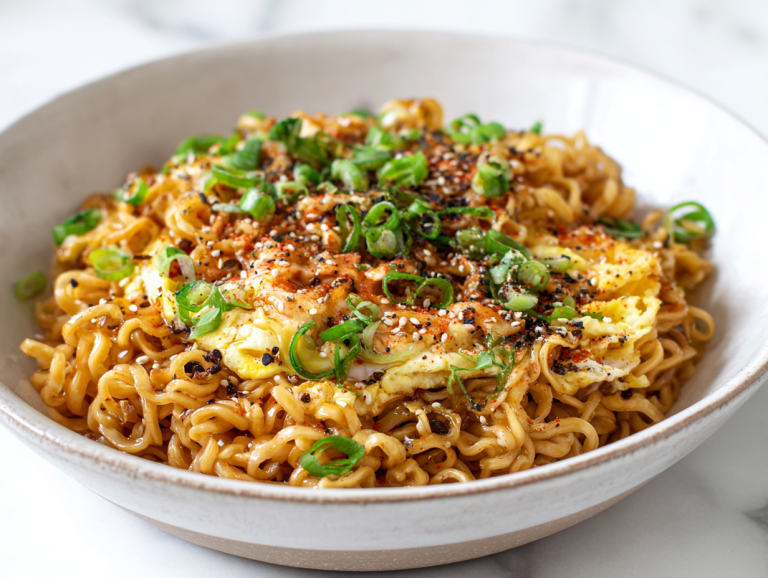
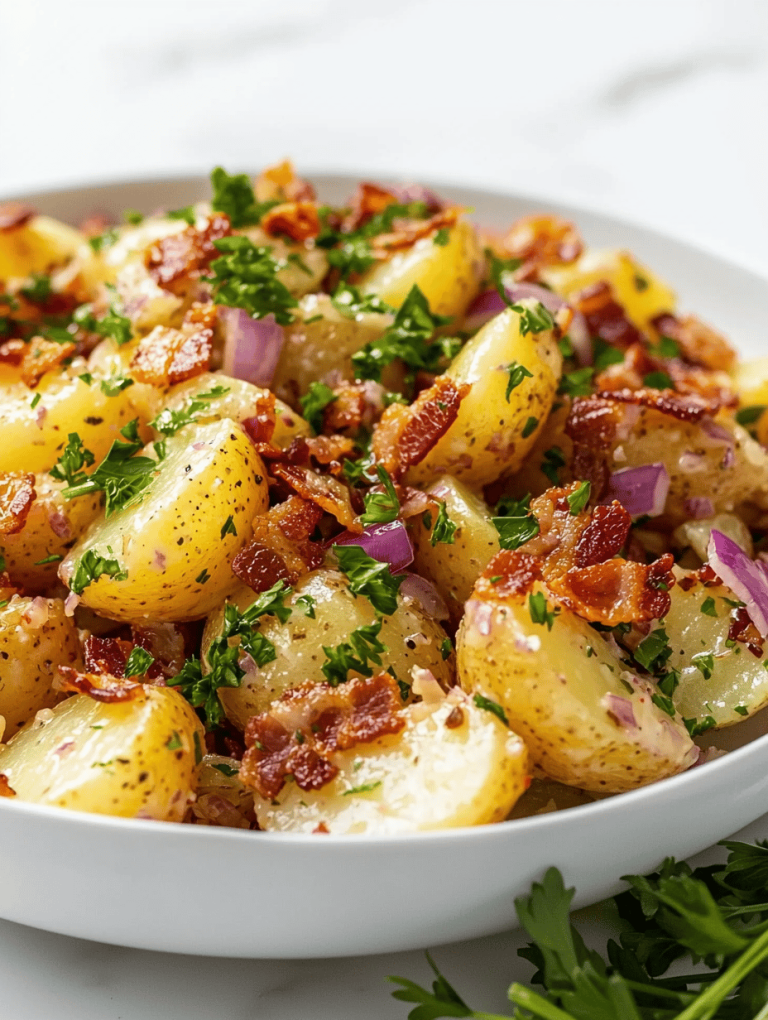
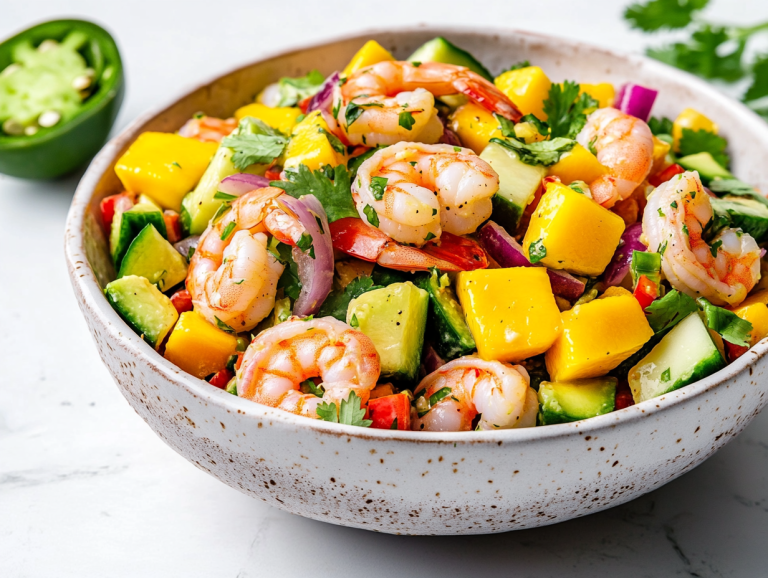
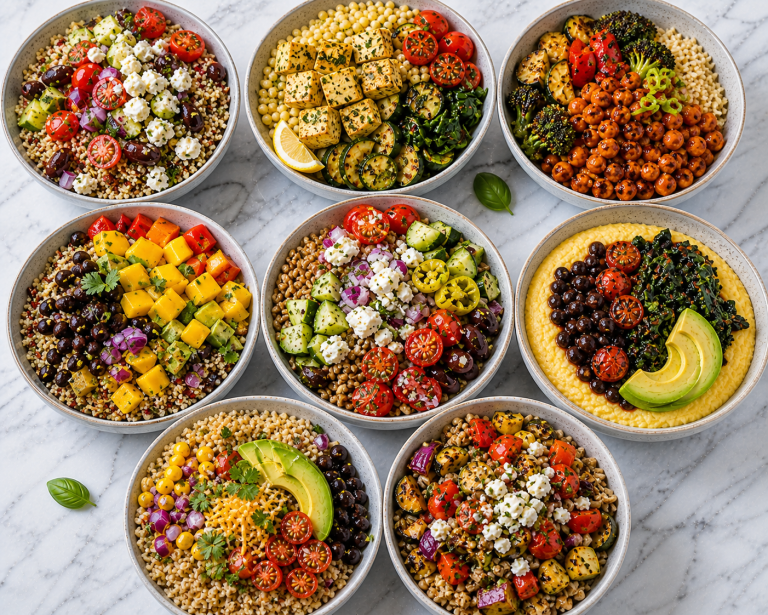
Dinner and lunch are the perfect times to enjoy comforting, hearty meals that fuel your day and satisfy your cravings. Whether you’re whipping up a quick and healthy salad, a cozy pasta bake, or a rich, slow-cooked stew, you’ll find plenty of delicious recipes to make mealtime something to look forward to every day.
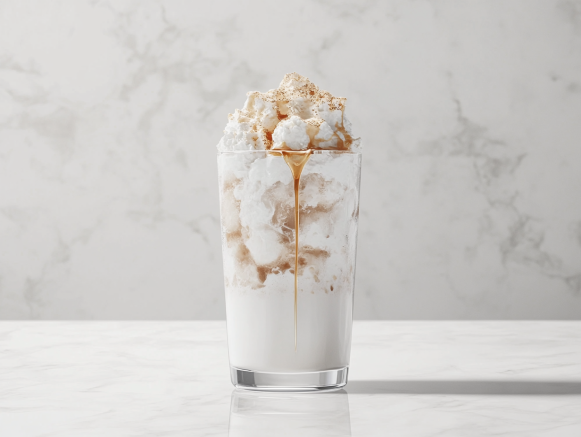
Cocktails and drinks are a fun way to relax, celebrate, or cool down on a warm day. From fruity mocktails and fizzy sodas to classic cocktails and refreshing smoothies, these easy drink recipes are perfect for any mood or moment.
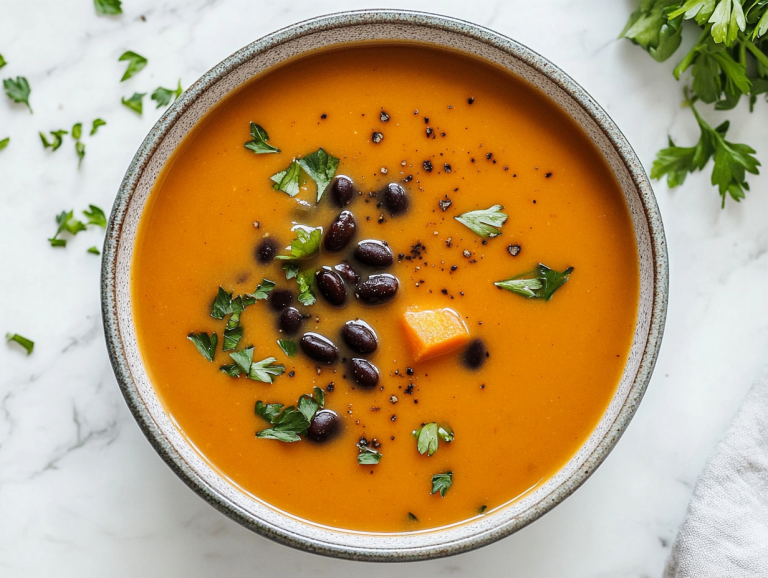
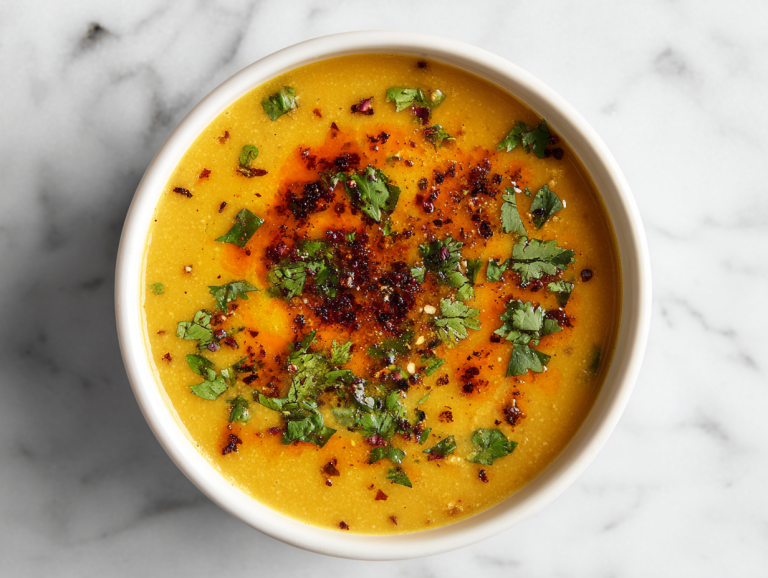
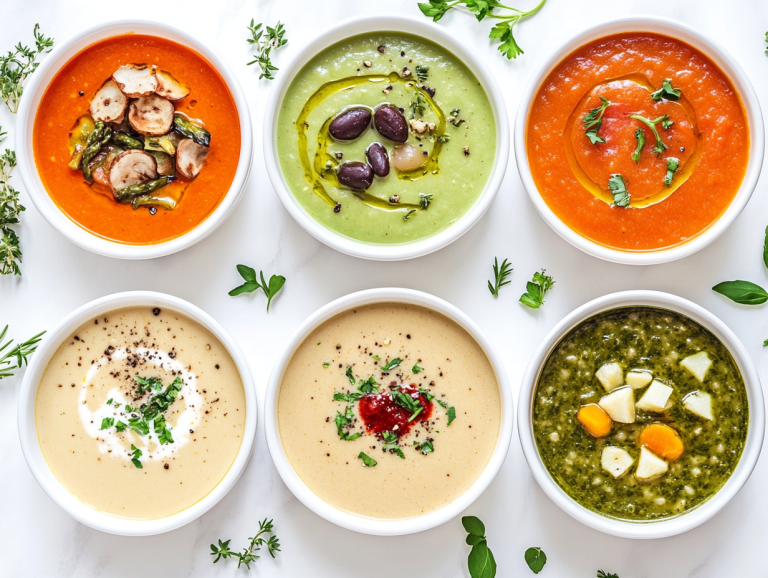
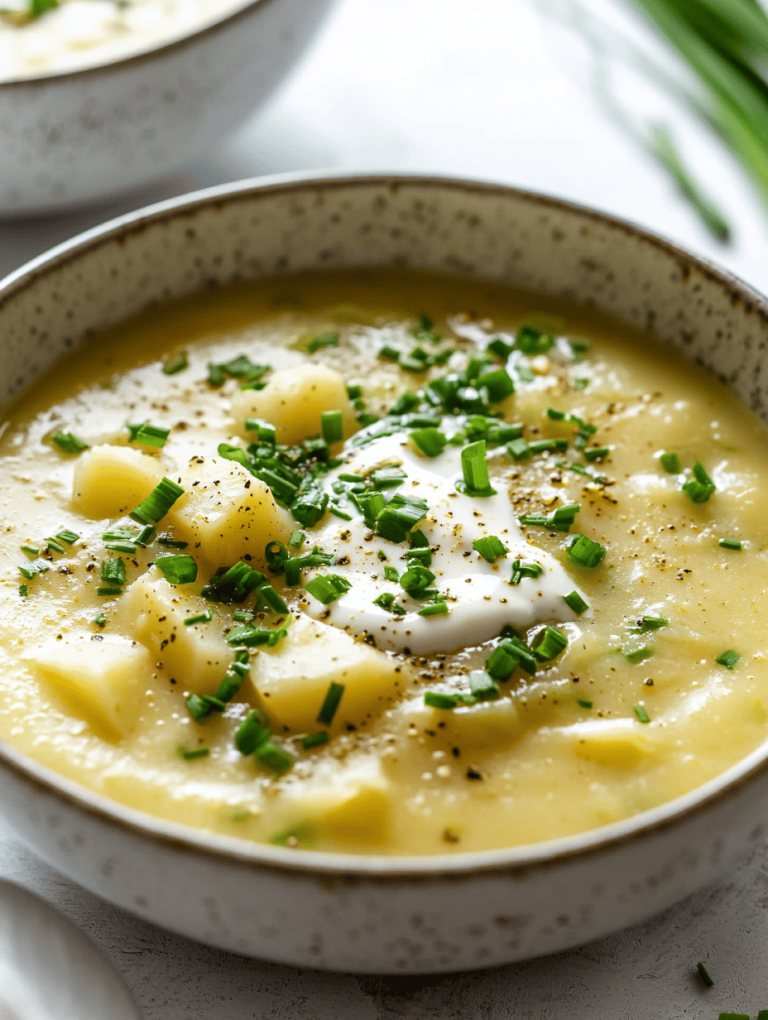
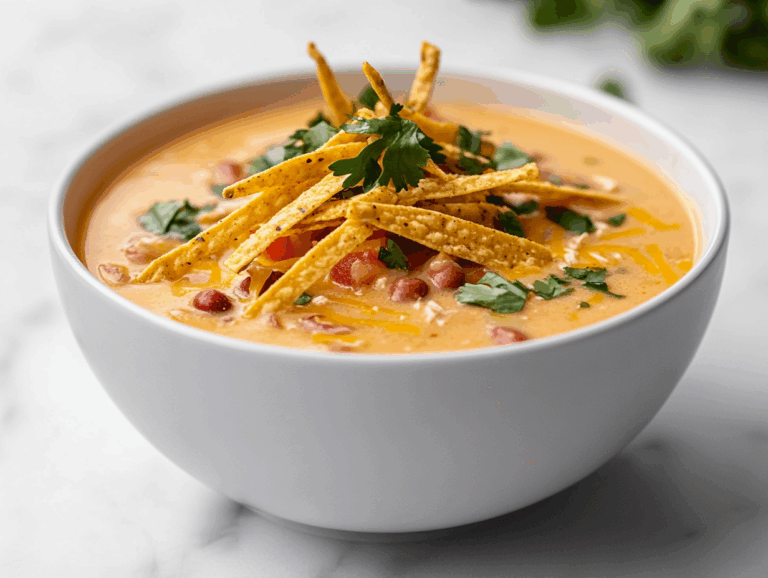
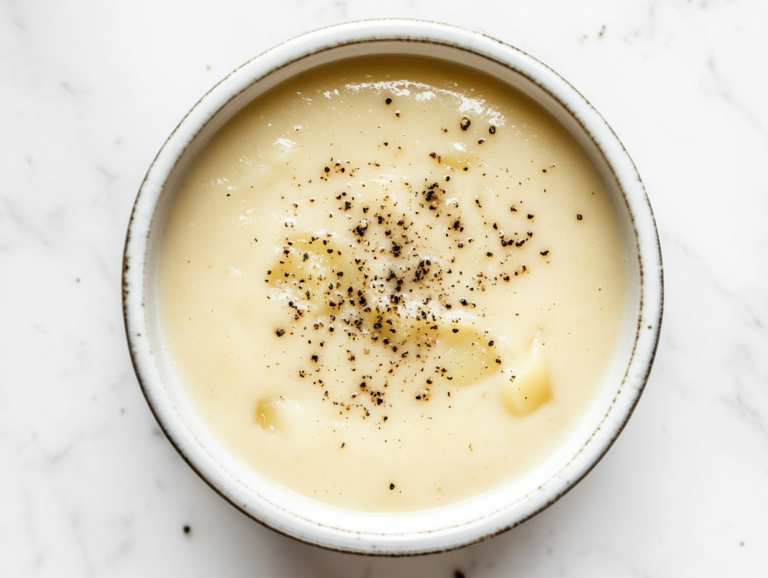
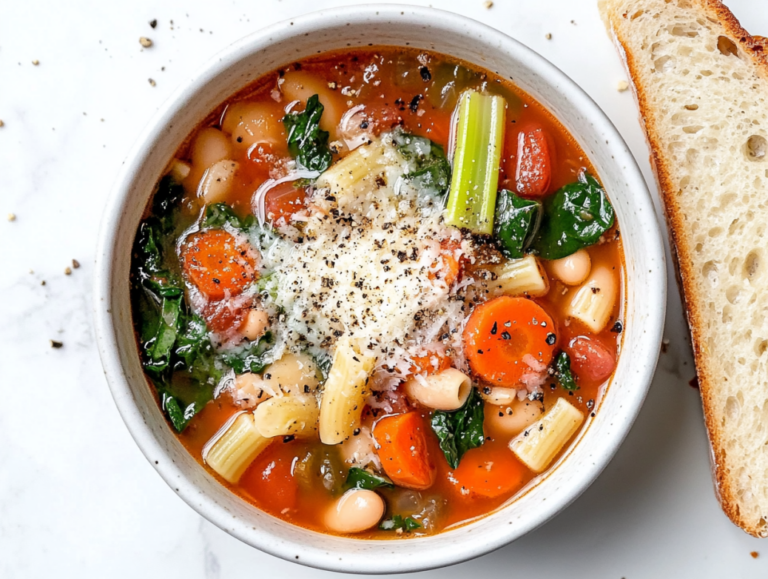
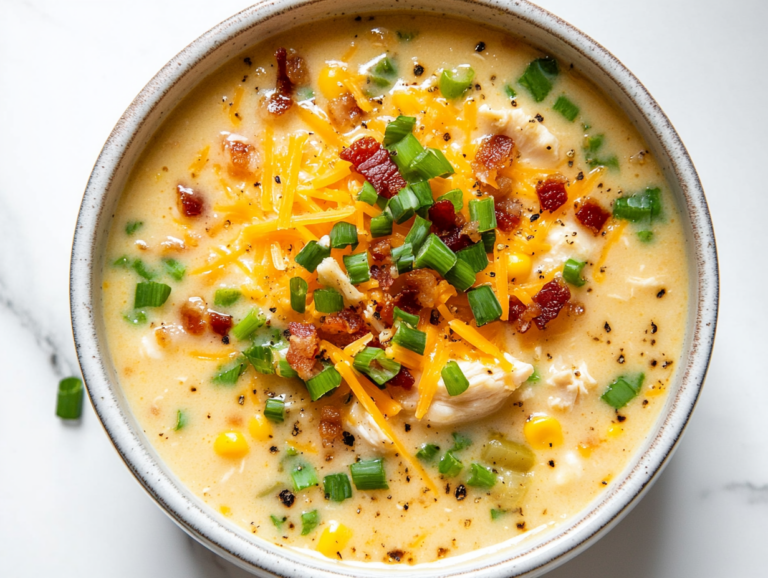
Soups are cozy, comforting, and perfect for any time of year. Whether you like rich and creamy or light and brothy, these easy soup recipes are great for warming you up, filling you up, and making any meal feel extra special.
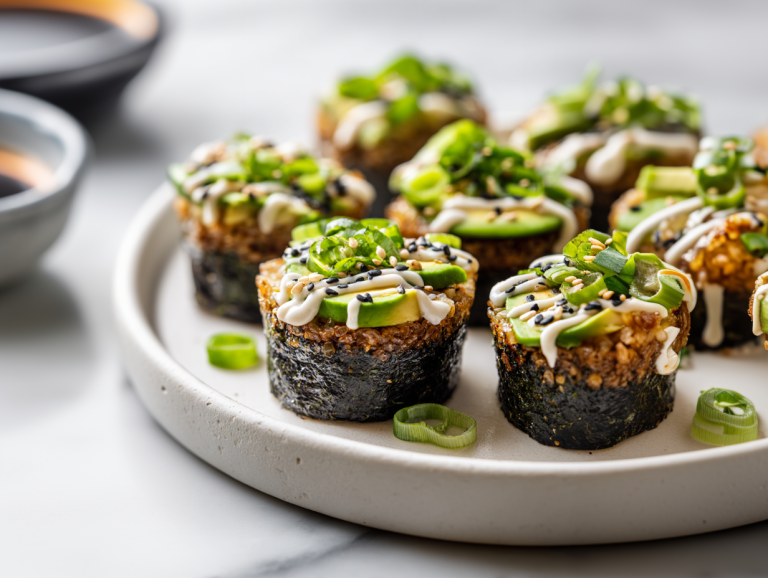
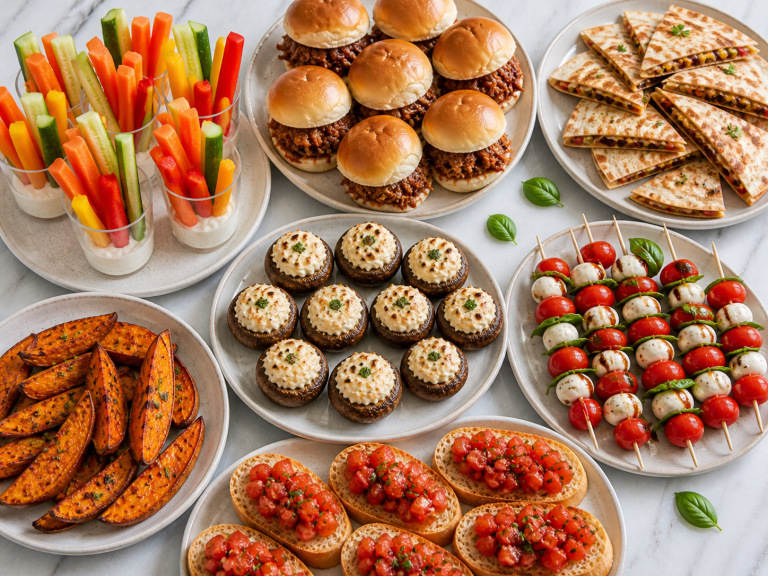
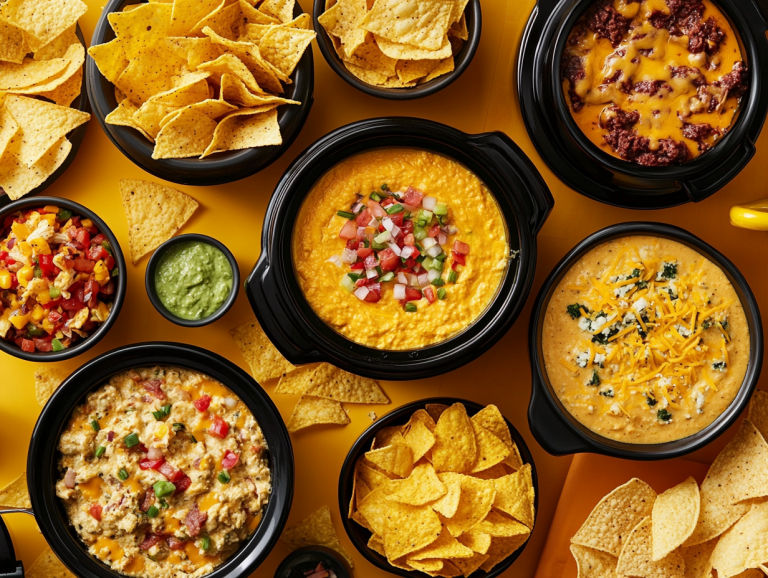
Appetizers are a great way to start any meal or enjoy a tasty snack. From crispy bites to cheesy dips and fresh finger foods, these easy recipes are perfect for sharing, snacking, or getting your guests excited for what’s next.
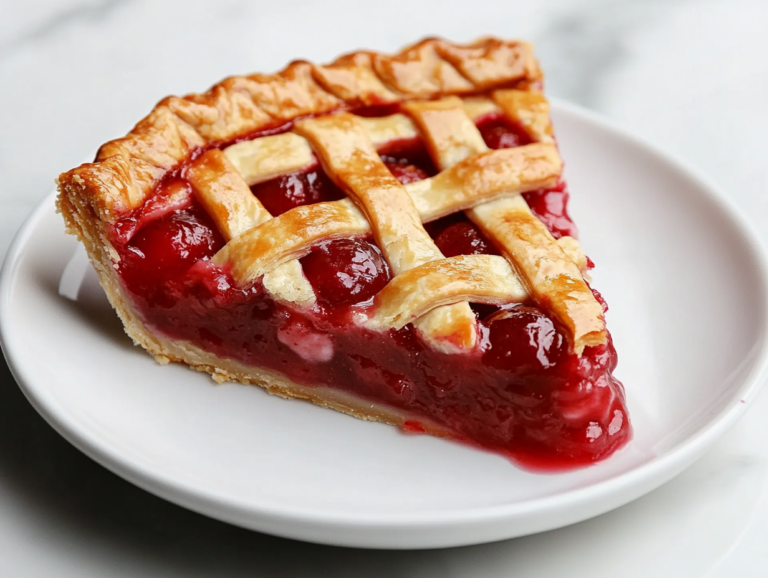
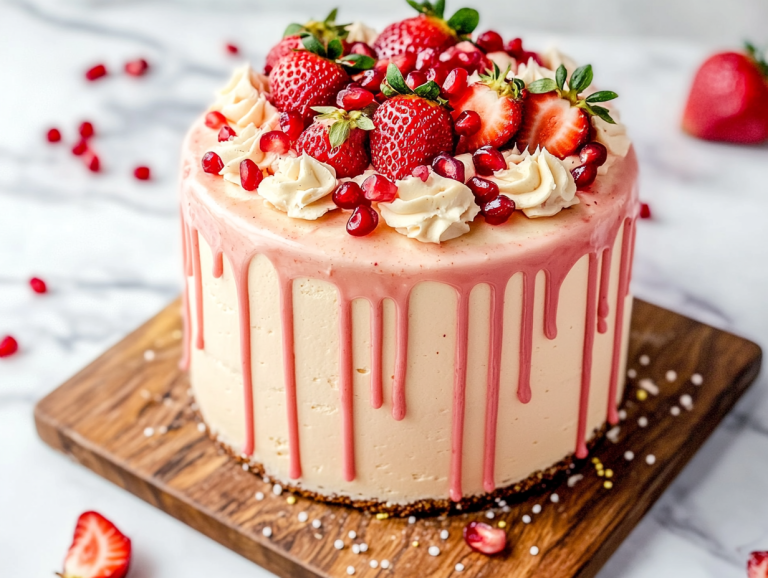
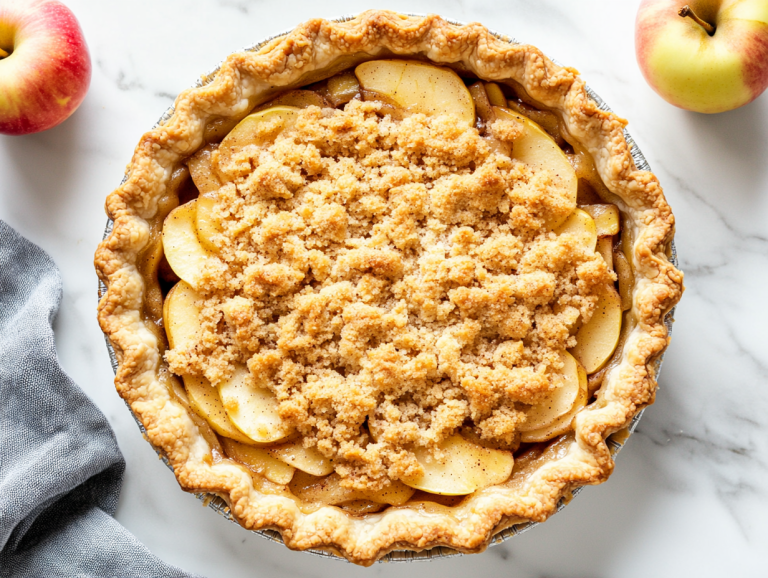
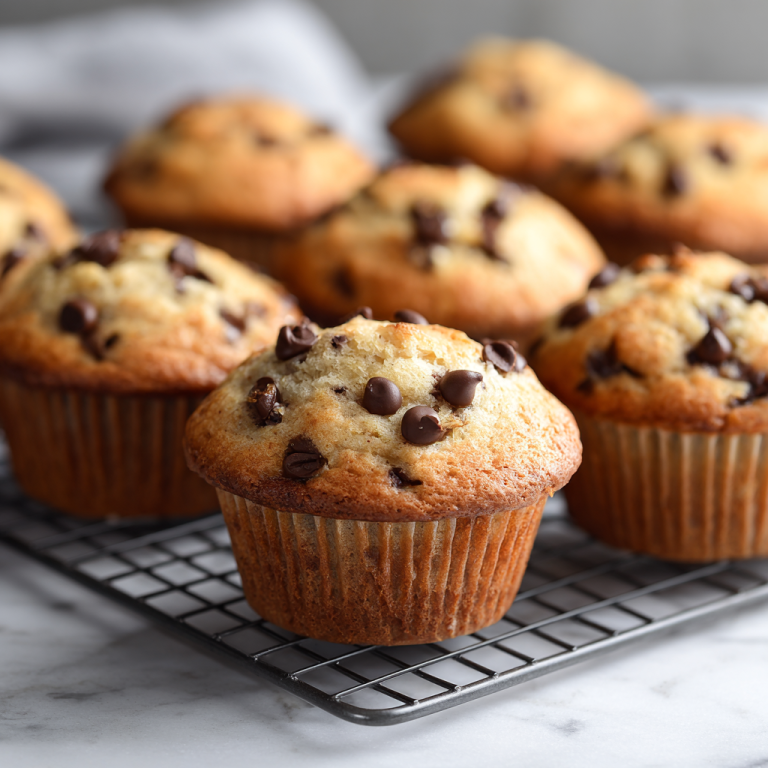
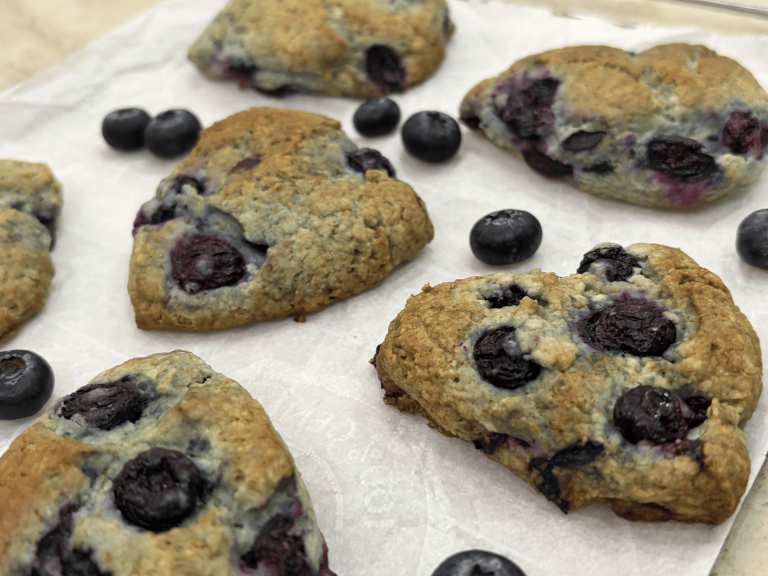
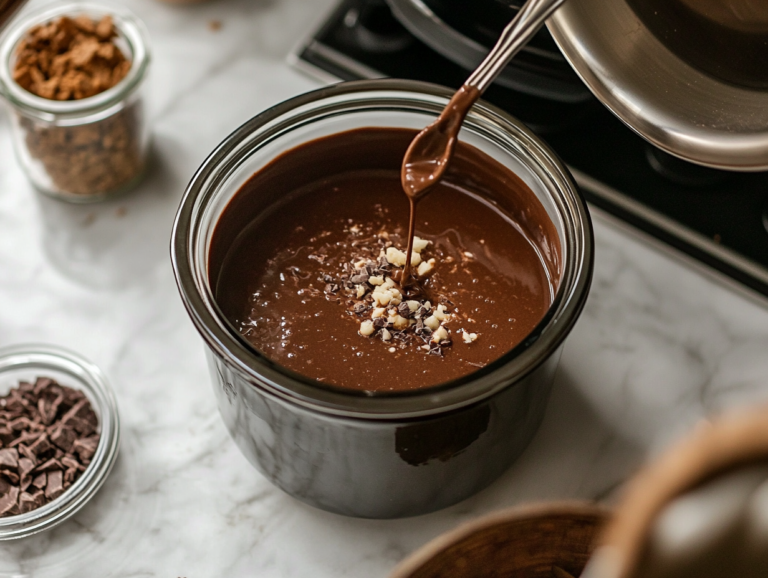
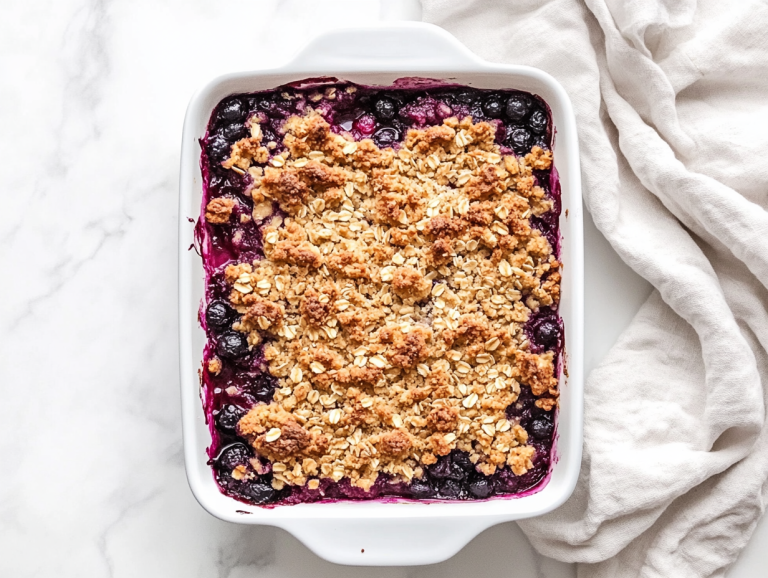
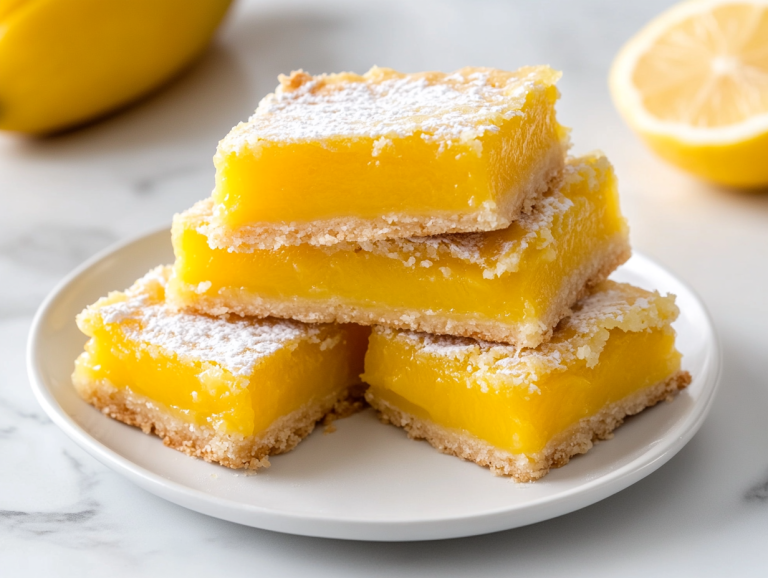
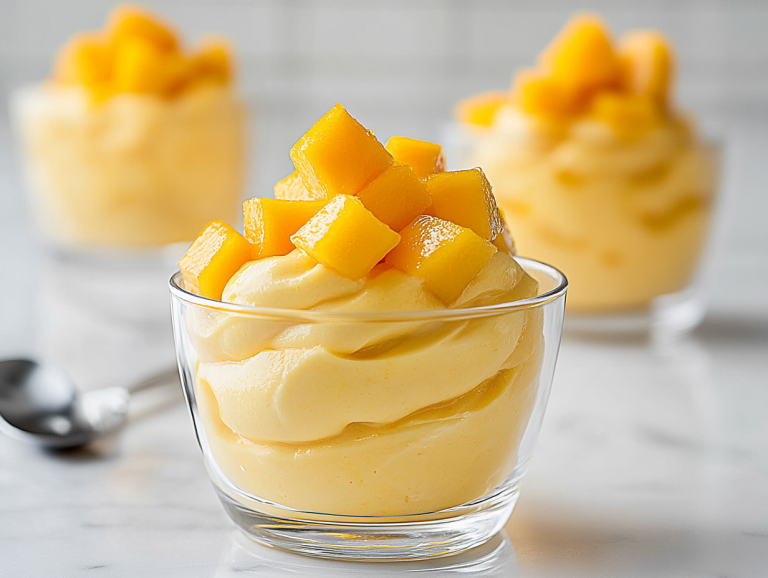
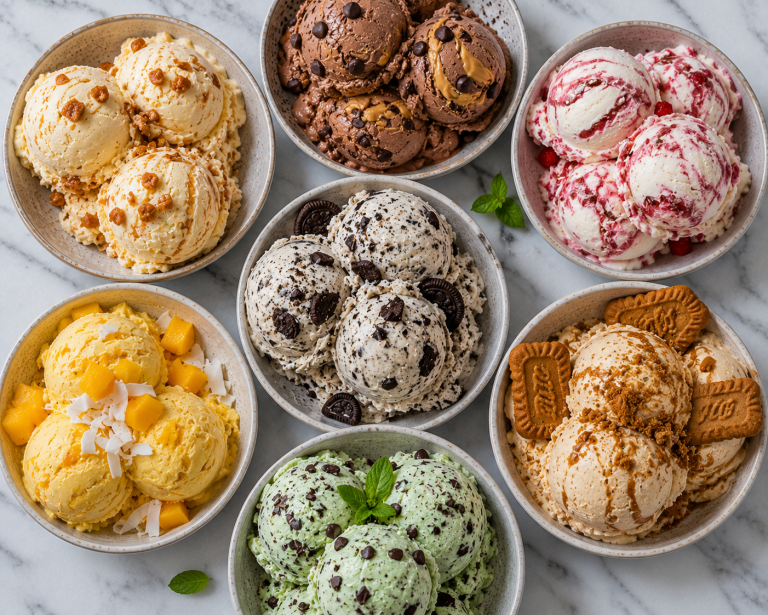
Desserts are a sweet way to end any meal or enjoy a little treat during the day. Whether you love rich chocolate, fresh fruit, or something cool and creamy, these easy dessert recipes are perfect for making you smile and sharing with family and friends.
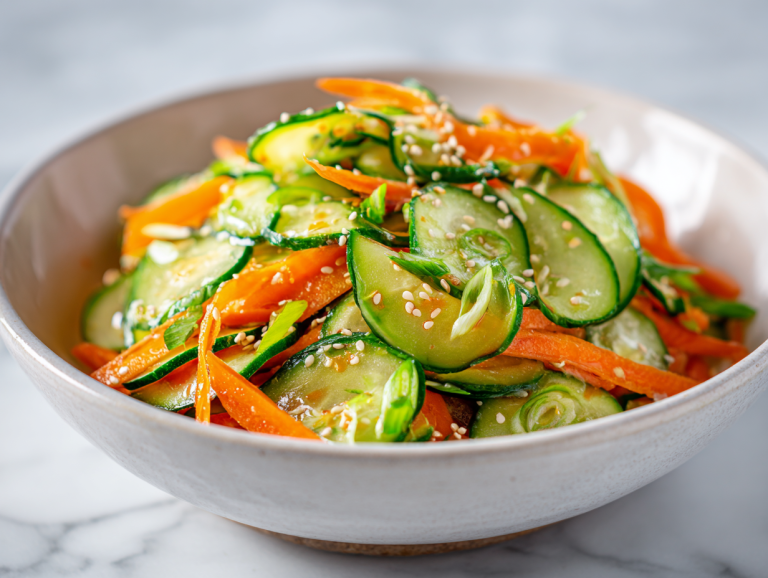
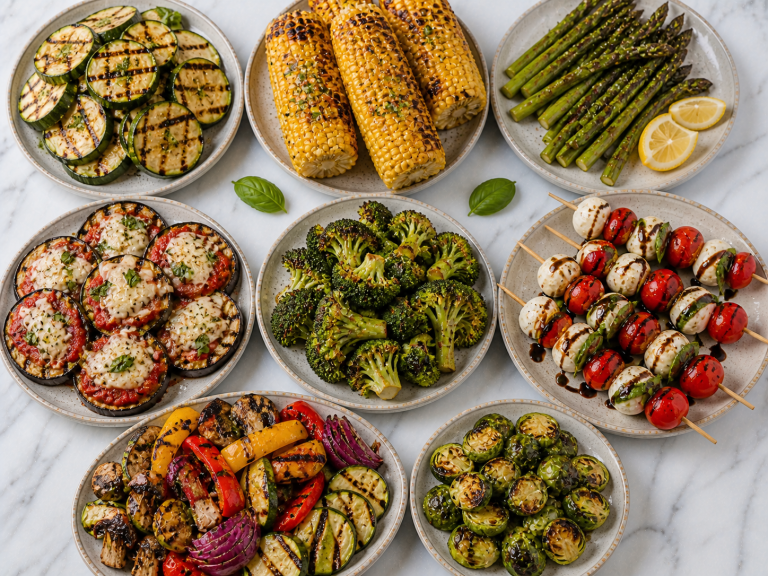
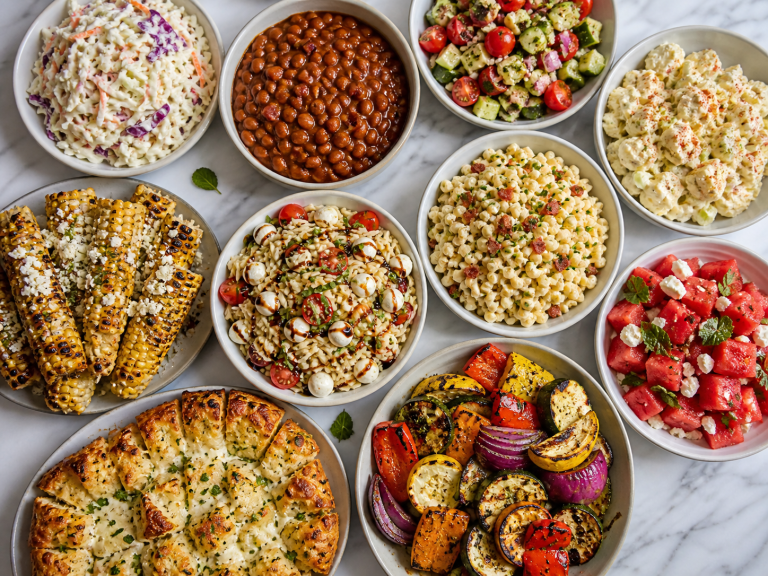
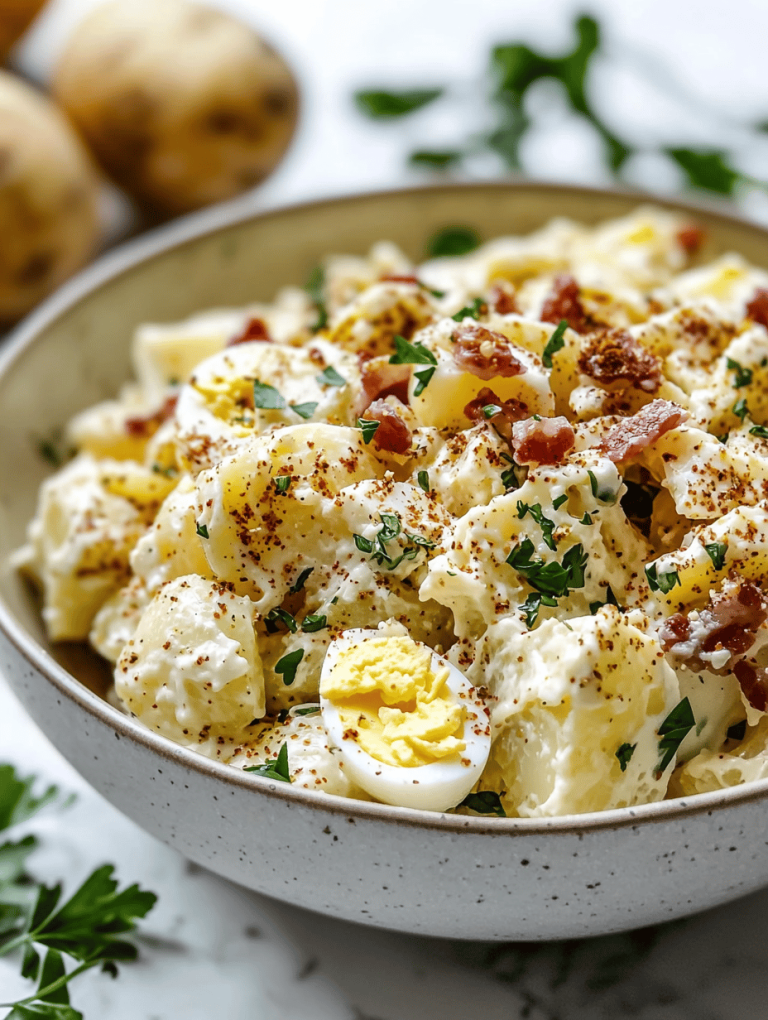
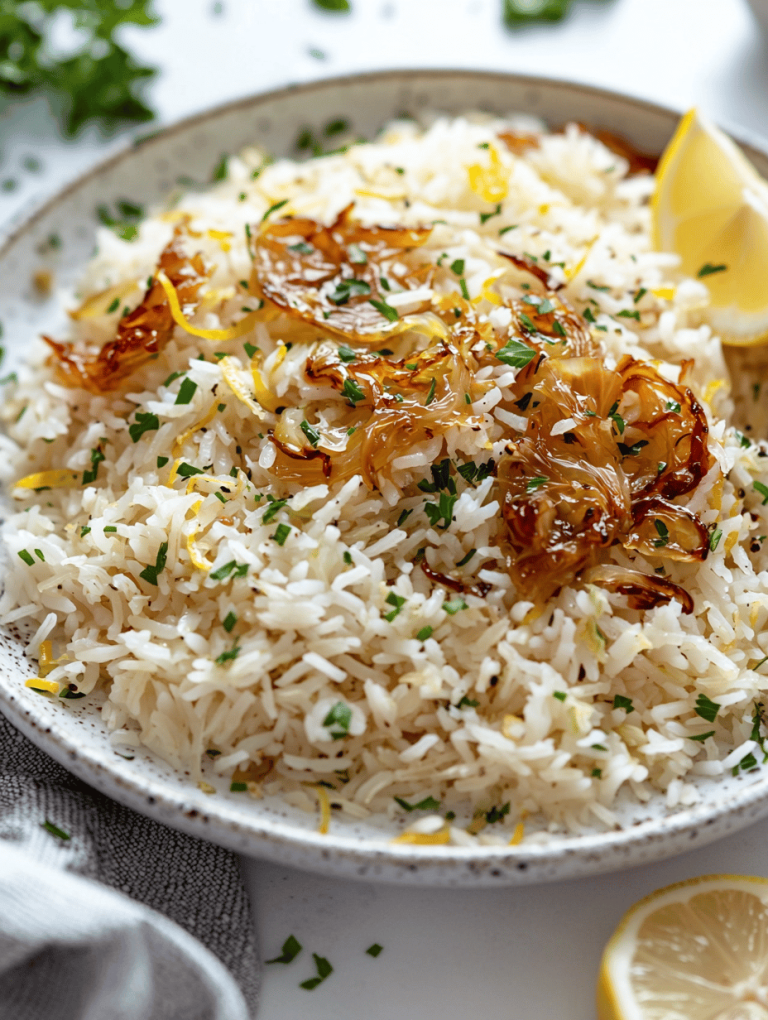
Side dishes are the unsung heroes of any meal, adding bursts of flavor, texture, and variety that elevate the entire dining experience. From crisp, refreshing salads to creamy mashed potatoes and roasted vegetables, these versatile recipes complement your main course and turn an ordinary meal into something truly special.