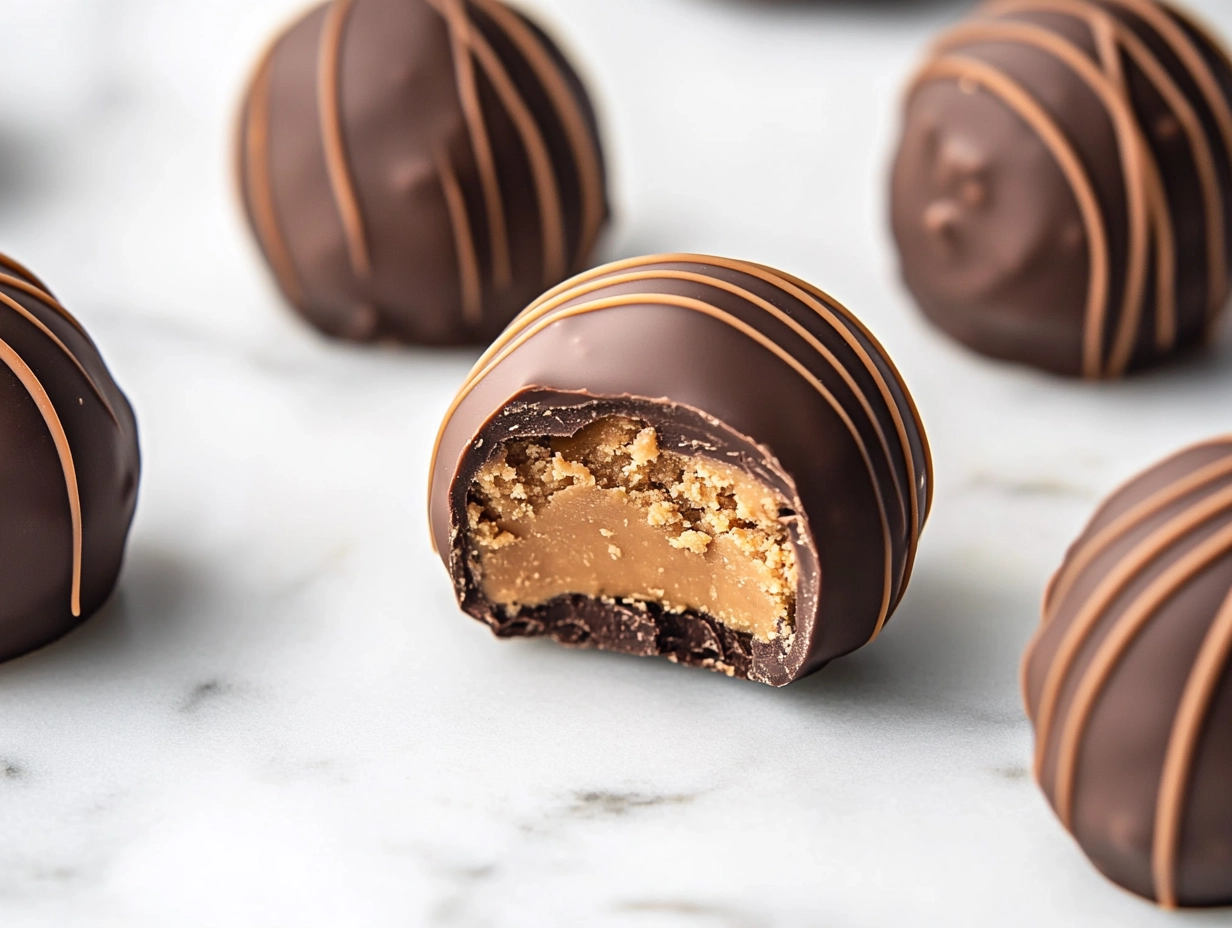
Making these Chocolate Peanut Butter Truffles isn’t about precision or fancy ingredients. It’s about capturing that simple, messy joy of peanut butter and chocolate melting together in your mouth.
I love the way the peanut butter’s salty, nutty punch plays off the rich, bittersweet chocolate. It’s a messy, satisfying process—one that reminds me of baking with my grandma, sticky hands and all.
Focus on the nostalgic, comforting appeal of homemade confections that evoke childhood memories and bring a moment of joy to the everyday.
Why These Truffles Matter to Me
- I love how forgiving this recipe is—no perfect shape needed, just good flavor.
- The smell of melting chocolate and roasted peanuts always lifts my mood.
- Sharing these truffles feels like passing around a secret happiness, tiny bites of comfort.
A personal story of comfort and creation
Growing up, my mom kept a jar of peanut butter and a block of chocolate on the counter a sign of comfort.
One rainy afternoon, I melted chocolate and stirred in peanut butter, realizing how well they paired.
This recipe is a reminder that some of the best treats are simple, a little messy, and made with love.
A brief history of chocolate and peanut butter
- The combination of chocolate and peanut butter dates back to the early 20th century, popularized by American candy companies.
- Truffles are originally a French delicacy, but the chocolate peanut butter variety is a modern American twist.
- Peanut butter was first introduced in the U.S. in the late 1800s, quickly becoming a household staple.
- Many confectioners add a splash of vanilla or a pinch of sea salt to enhance the flavor—feel free to experiment.
Ingredient quirks and tips

- Chocolate: I prefer dark, bittersweet chocolate for depth. It’s rich and melts smoothly—try milk chocolate for a sweeter, creamier finish.
- Peanut Butter: Natural, unsweetened peanut butter gives the best nutty flavor. For a saltier punch, add a tiny pinch of sea salt.
- Honey or Maple Syrup: Adds sweetness and helps bind. Use honey for a richer aroma, maple for a subtle caramel note.
- Salt: Just a pinch enhances all the flavors without overpowering.
- Optional toppings: Crushed peanuts, sea salt, or a drizzle of white chocolate add texture and visual appeal.
Spotlight on Key Ingredients
Chocolate:
- Dark chocolate: It’s the backbone—melts smoothly and gives a deep, bittersweet flavor that balances the peanut butter.
- Peanut butter: Creamy or chunky, it’s the star—salty, nutty, and satisfying with every bite. Watch out for added sugars.
Chocolate:
- Chocolate’s temperature sensitivity means it can seize if overheated—melt slowly and stir constantly.
- It develops a shiny, smooth surface as it cools—perfect for coating and visual appeal.
Substitution options for different diets and flavors
- Dairy-Free: Substitute coconut oil or coconut milk for a smooth, dairy-free coating—adds a subtle coconut aroma.
- Sugar-Free: Use sugar-free chocolate and natural sweeteners like stevia or erythritol for a lower-calorie treat.
- Nut-Free: Try sunflower seed butter instead of peanut butter—still nutty but safe for allergies.
- Vegan: Ensure chocolate and peanut butter are vegan-friendly—most dark chocolates are naturally vegan.
- Extra Flavor: Add a splash of bourbon or vanilla extract to the filling for a flavor twist.
Equipment & Tools
- Double boiler or microwave-safe bowl: To melt chocolate gently without scorching.
- Mixing bowl: To combine ingredients smoothly.
- Spoon or melon baller: To scoop and shape the truffles.
- Fork: To dip and coat the truffles evenly.
- Parchment paper: To prevent sticking and make cleanup easy.
Step-by-step guide to perfect truffles
- Chop 200g of dark chocolate into small pieces. Melt over a double boiler or in short bursts in the microwave, stirring every 20 seconds.
- In a mixing bowl, combine 1 cup peanut butter, 1/4 cup honey (or maple syrup), and a pinch of salt. Mix until smooth and shiny.
- Fold in the melted chocolate, stirring quickly until fully combined. The mixture should be thick but scoopable.
- Chill the mixture in the fridge for 30 minutes until firm enough to roll.
- Using a teaspoon or melon baller, scoop out small portions. Roll between palms into balls about 2 cm in diameter.
- Prepare a baking sheet lined with parchment paper. Place the balls on the sheet.
- Re-melt the chocolate if it’s cooled and thickened. Dip each ball into the chocolate, using a fork to lift and tap off excess.
- Place the coated truffles back on the parchment. Optional: sprinkle with crushed peanuts or sea salt.
- Chill in the fridge for at least 30 minutes to set the chocolate.
- Serve at room temperature or chilled, depending on your preference. Keep leftovers in an airtight container in the fridge.
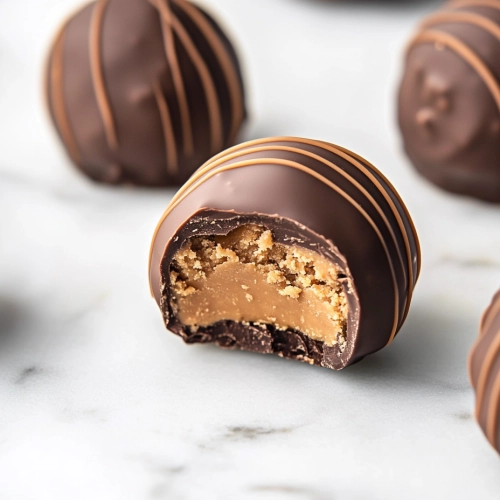
Let the coated truffles rest for 10 minutes at room temperature before serving. This allows the chocolate to set perfectly and develop a glossy finish.
How to Know It’s Done
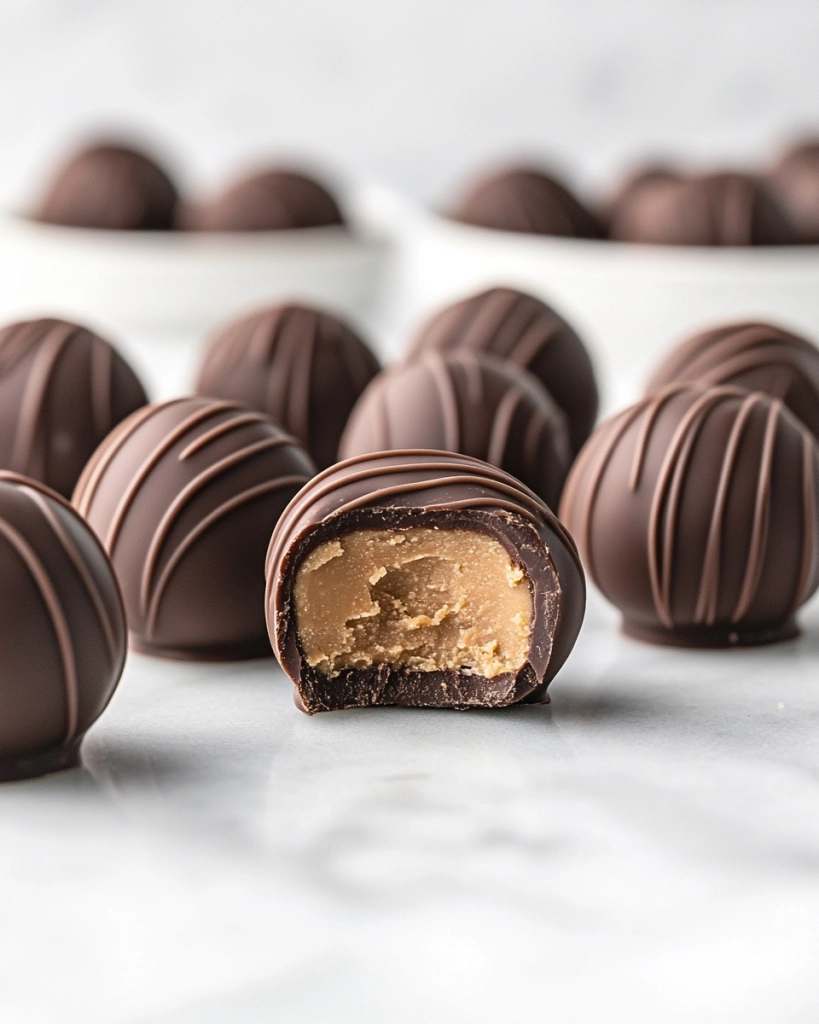
- Chocolate coating is shiny and firm to the touch.
- Center of the truffle feels firm but not hard when gently pressed.
- Chocolate is fully set around the truffle after chilling for 30 minutes.
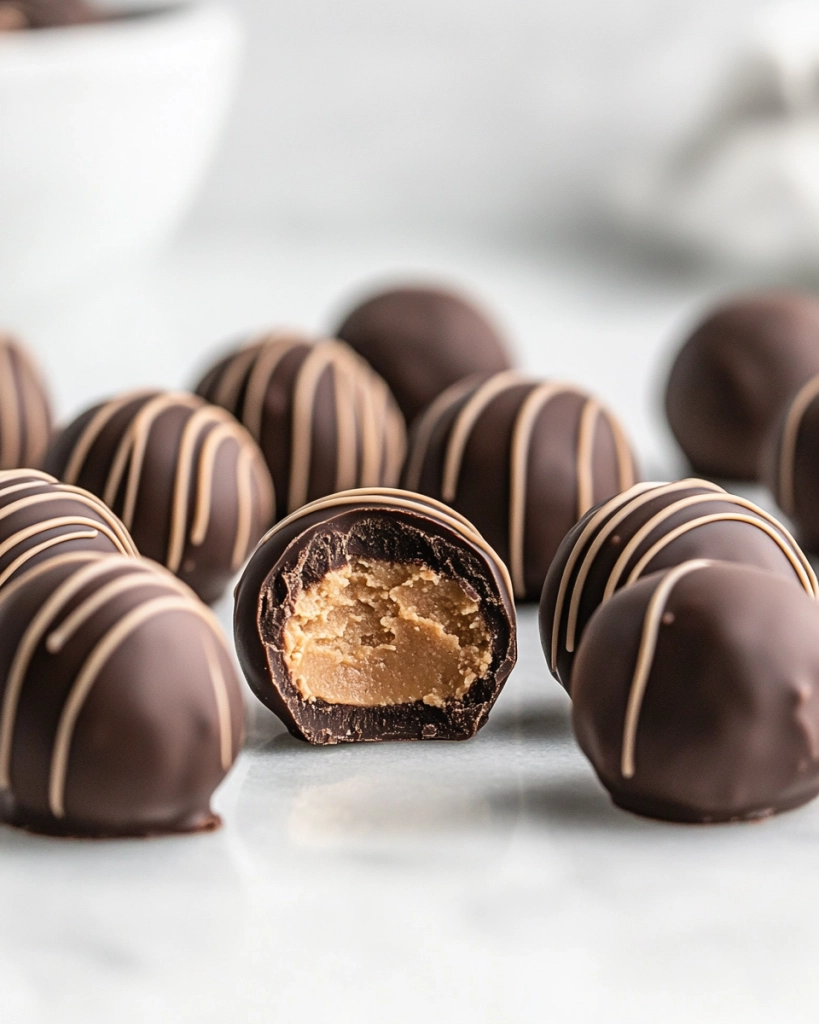
Chocolate Peanut Butter Truffles
Equipment
- Double boiler or microwave-safe bowl
- Mixing bowl
- Spoon or melon baller
- Fork
- Parchment paper
Ingredients
- 200 g dark chocolate preferably bittersweet
- 1 cup peanut butter natural, unsweetened
- 1/4 cup honey or maple syrup
- pinch salt optional, enhances flavor
- additional melted chocolate for coating about 200g, melted
Instructions
- Chop the dark chocolate into small, even pieces and place in a microwave-safe bowl.
- Melt the chocolate slowly in the microwave in 20-second bursts, stirring each time until smooth and glossy. The chocolate should be fully melted but not overheated.
- In a mixing bowl, combine the peanut butter with honey and a tiny pinch of salt. Stir until the mixture becomes smooth, shiny, and slightly thick.
- Pour the melted chocolate into the peanut butter mixture and fold together quickly and thoroughly until everything is well incorporated and the mixture is thick but scoopable.
- Cover the bowl with plastic wrap and chill in the refrigerator for about 30 minutes, or until the mixture is firm enough to scoop and roll.
- Once chilled, use a teaspoon or melon baller to scoop out small portions of the mixture. Roll each scoop between your palms into a round ball about 2 cm in diameter.
- Prepare a parchment-lined baking sheet. Place each rolled truffle onto the sheet, spacing them evenly.
- Reheat the remaining melted chocolate gently if it has cooled and thickened. Dip each truffle into the melted chocolate using a fork, turning to coat completely. Tap off any excess chocolate and place back on the parchment paper.
- Optional: sprinkle crushed peanuts, sea salt, or drizzle with white chocolate for extra texture and visual appeal.
- Refrigerate the coated truffles for at least 30 minutes to set the chocolate coating completely.
- Enjoy your homemade chocolate peanut butter truffles at room temperature or chilled. Store leftovers in an airtight container in the fridge for up to a week.
Tips and tricks for perfect truffles
- BE SURE TO MELT CHOCOLATE GENTLY to prevent seizing or burning.
- Use a small spoon to portion out the filling for consistency.
- Chill the mixture thoroughly—warm hands make it sticky and hard to work with.
- Add a pinch of salt or a dash of vanilla to enhance the flavor.
- Dip the truffles quickly to avoid chocolate thickening in the bowl.
Common mistakes and how to fix them
- FORGOT TO CHILL THE MIXTURE? → Return to fridge for 15-20 minutes until firm.
- DUMPED TOO MUCH CHOCOLATE? → Mix with a little warm coconut oil to loosen.
- OVER-TORCHED CHOCOLATE? → Add a spoonful of vegetable oil or butter to smooth it out.
- MISSED THE SALT? → Sprinkle flaky sea salt after coating for a flavor boost.
Quick fixes for common issues
- Splash hot water on the spoon for easier dipping.
- Shield delicate truffles from drafts to prevent the chocolate from cracking.
What to Serve With Chocolate Peanut Butter Truffles
Make-ahead tips and storage ideas
- Shape the balls and dip in chocolate just before serving for maximum freshness.
- Reheat dipped truffles briefly at room temperature or in a low oven (about 50°C/122°F) to soften slightly.
10 Practical Q&As About Making Chocolate Peanut Butter Truffles
1. What kind of chocolate should I use?
Use a good quality dark chocolate or semi-sweet for richness, and natural peanut butter for authentic flavor.
2. How long should I chill the mixture?
Chill the mixture for at least 30 minutes until firm enough to scoop, making rolling easier.
3. How do I prevent the peanut butter from melting when coating?
Dip the truffles quickly in melted chocolate to avoid melting the peanut butter filling.
4. How do I coat the truffles evenly?
Use a fork to lift the truffles out, tapping off excess chocolate gently.
5. How should I store the finished truffles?
Store in an airtight container in the fridge for up to a week or freeze for longer.
6. Should I serve the truffles cold or at room temperature?
Bring to room temperature before serving for the best texture and flavor.
7. How can I enhance the flavor of the truffles?
Add a pinch of sea salt or sprinkle crushed peanuts on top for extra flavor.
8. What if the chocolate is too thick to dip?
If the chocolate is too thick, warm it gently over a double boiler or in short bursts in the microwave.
9. What peanut butter is best for this recipe?
Use high-quality peanut butter with no added sugar or oils for the best flavor.
10. My mixture is too sticky, what do I do?
If the mixture is too sticky, refrigerate it longer or add a bit more crushed graham crackers.
These truffles are perfect for when you need a quick treat that’s both nostalgic and indulgent. They’re a small, sweet rebellion against the chaos of the day.
Once you get the hang of it, they come together fast—dipping, chilling, then devouring. No fancy tools needed, just a spoon, a bowl, and a moment of quiet satisfaction.
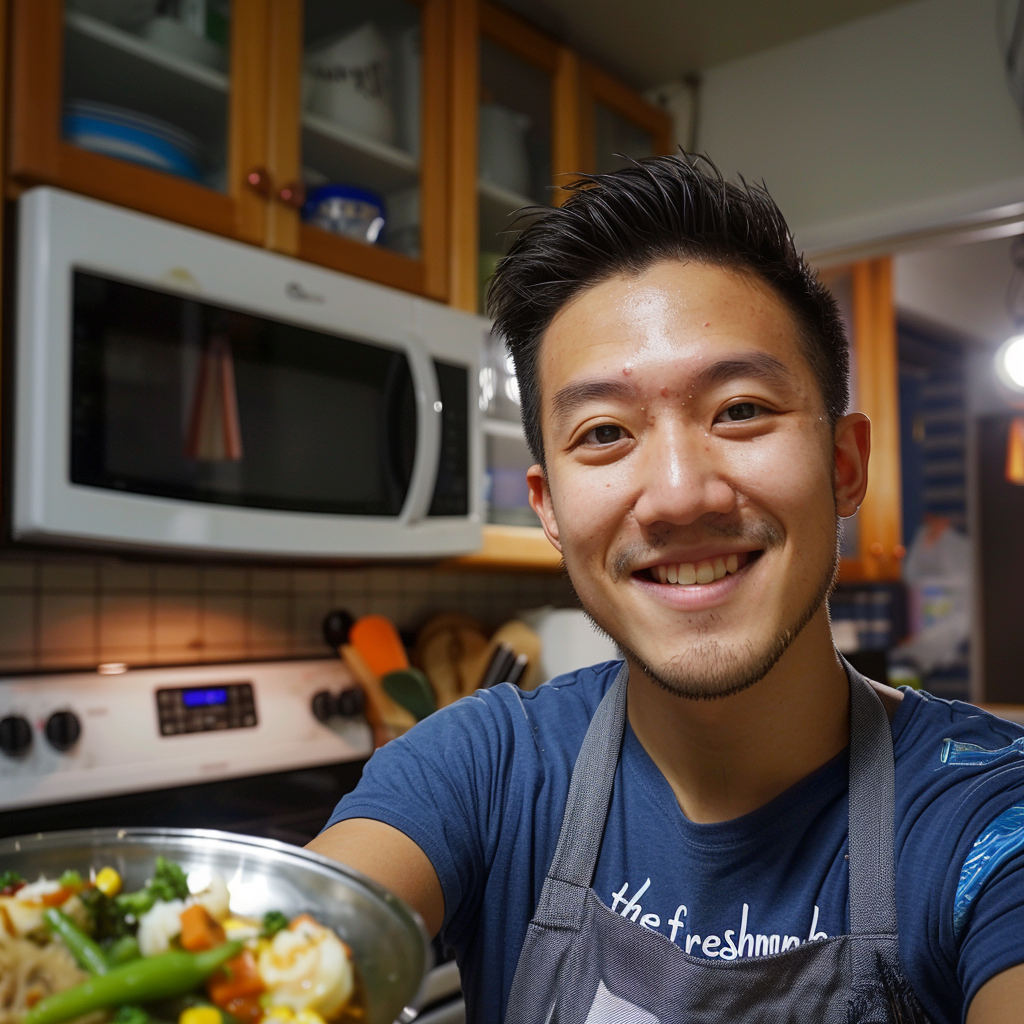
hi there,
i’m Noah
A California-born food blogger behind Freshman Cook, whose culinary journey began in his tiny apartment kitchen.