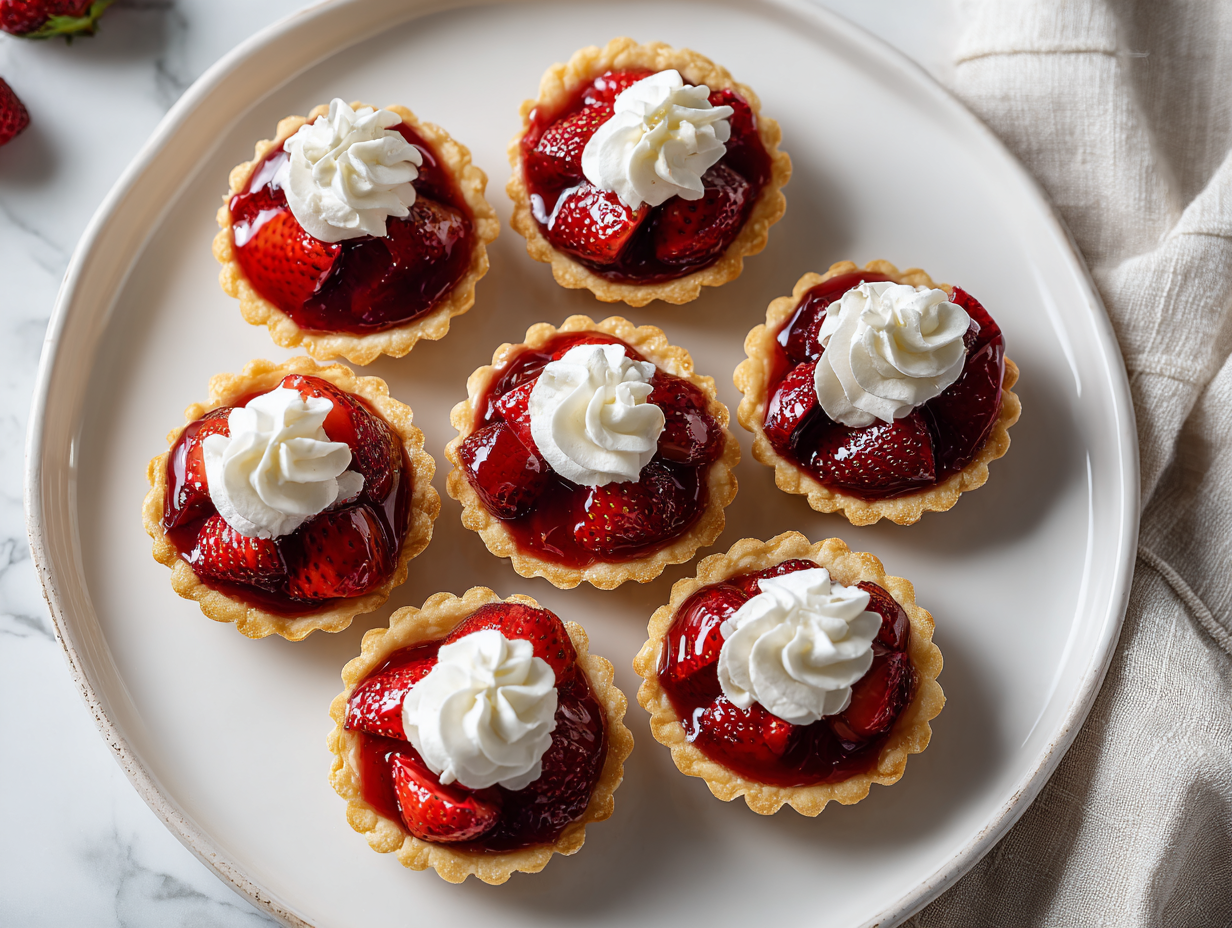
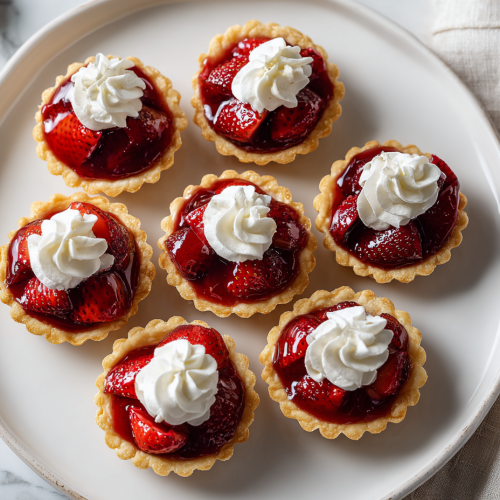
If there’s one recipe that truly brings together nostalgia, freshness, and a crowd-pleasing wow-factor, it’s these Mini Strawberry Tarts. I first made them for a family picnic when strawberry season was in full swing, and they disappeared faster than I could refill the platter. Think buttery, flaky crusts with a soft tang of cream cheese, filled with the sweetest strawberry glaze and topped with fresh, juicy slices of real strawberries.
No artificial shortcuts here just a dessert that looks and tastes like summer. They’re not just gorgeous. They’re surprisingly make-ahead friendly, which is a lifesaver when hosting or prepping for brunches and birthdays.
And the best part? They serve up beautifully in batches 35 servings per batch! That’s why they’ve become a go-to on Pinterest and party boards. Their rich color, glossy glaze, and pop of whipped cream on top make them totally Instagram-worthy too.
Pair them with Spiced Almonds for a crunchy, savory bite between sweets, or offer a refreshing sip of Sparkling Raspberry Lemonade to round out the spread. Every bite is a burst of strawberry bliss.
So if you’re looking to impress without stressing, these mini tarts are calling your name.
Why This Recipe Is a Keeper?

These Mini Strawberry Tarts have earned a permanent spot in my recipe box and here’s why they might just win you over too:
- Perfect for a Crowd: Whether it’s brunch, baby showers, or backyard picnics, this recipe delivers 35 servings in one batch no extra stress, just extra smiles.
- Easy to Personalize: I’ve played around with the sugar and even swapped in fresh whipped cream. The result? A dessert that’s adaptable to your tastes and still a hit every time.
- Looks Fancy, Feels Easy: They look like they came from a bakery window, but they’re surprisingly simple to make, even if you’re not a pro in the kitchen.
- Make-Ahead Friendly: I usually prep the tart shells the night before one less thing to do on party day, and they stay perfectly crisp.
- Light Yet Indulgent: These tarts hit that sweet spot: refreshing, fruity, and satisfying without being overly rich or heavy.
Mini Strawberry Tarts Recipe
Equipment
- Mixing bowls
- Hand mixer or stand mixer
- Measuring cups and spoons
- Saucepan
- Tart pans or mini muffin tins
- Spatula
- Whisk
- Pastry cutter (optional)
- Piping bag or spoon (for whipped cream)
Ingredients
- 2 8 ounce packages cream cheese, softened
- 2 cups butter
- 4 ½ cups all-purpose flour
- 3 3 ounce packages strawberry flavored Jell-O® mix
- 1 cup white sugar
- 3 drops red food coloring
- 3 ½ cups boiling water
- ¼ cup cornstarch
- ¼ cup water
- 3 pounds fresh strawberries sliced
- 1 ½ cups whipped cream or to taste (Optional)
Instructions
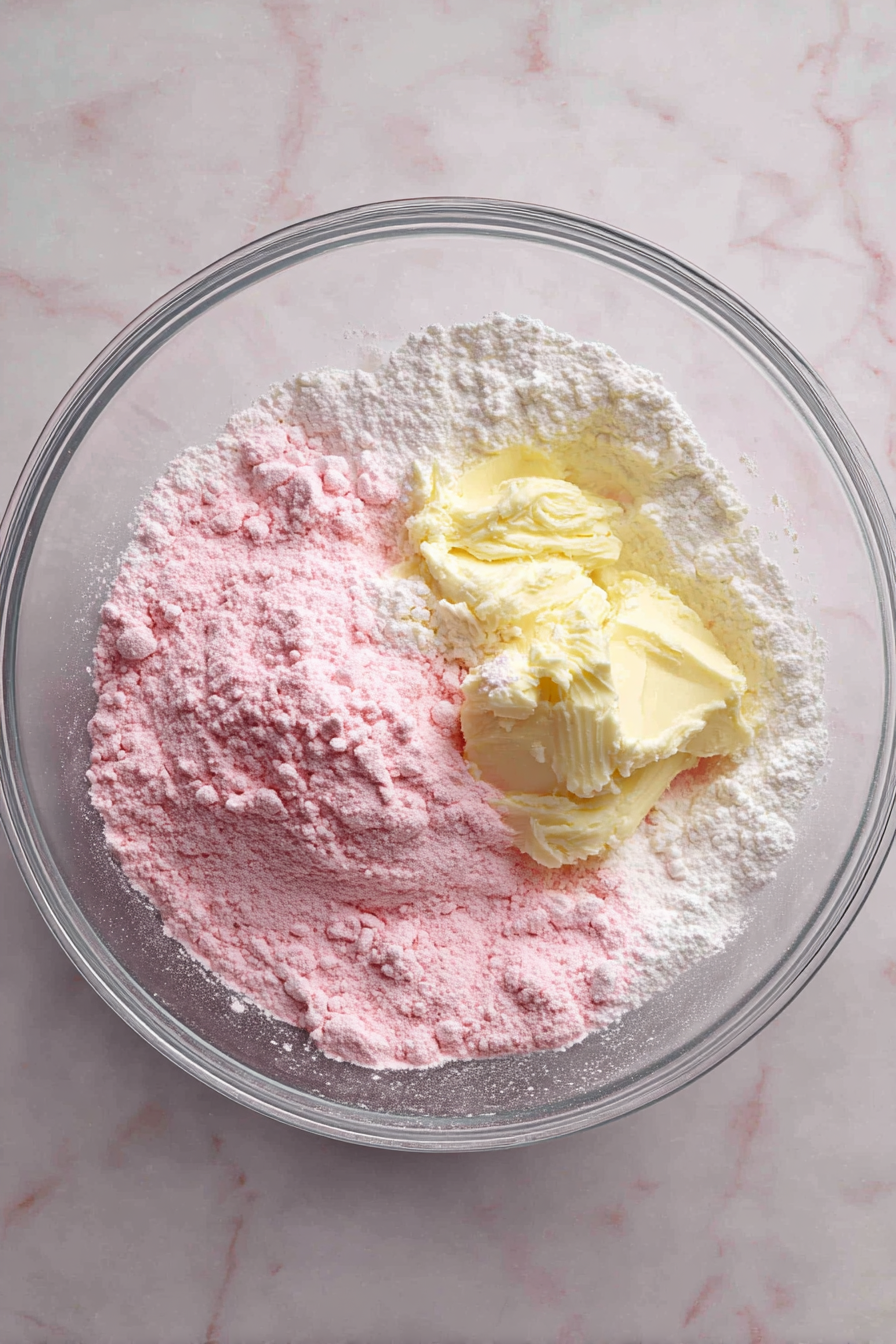
- Make the Dough: Cream together softened butter and cream cheese. Mix in flour and strawberry gelatin powder until a soft dough forms.
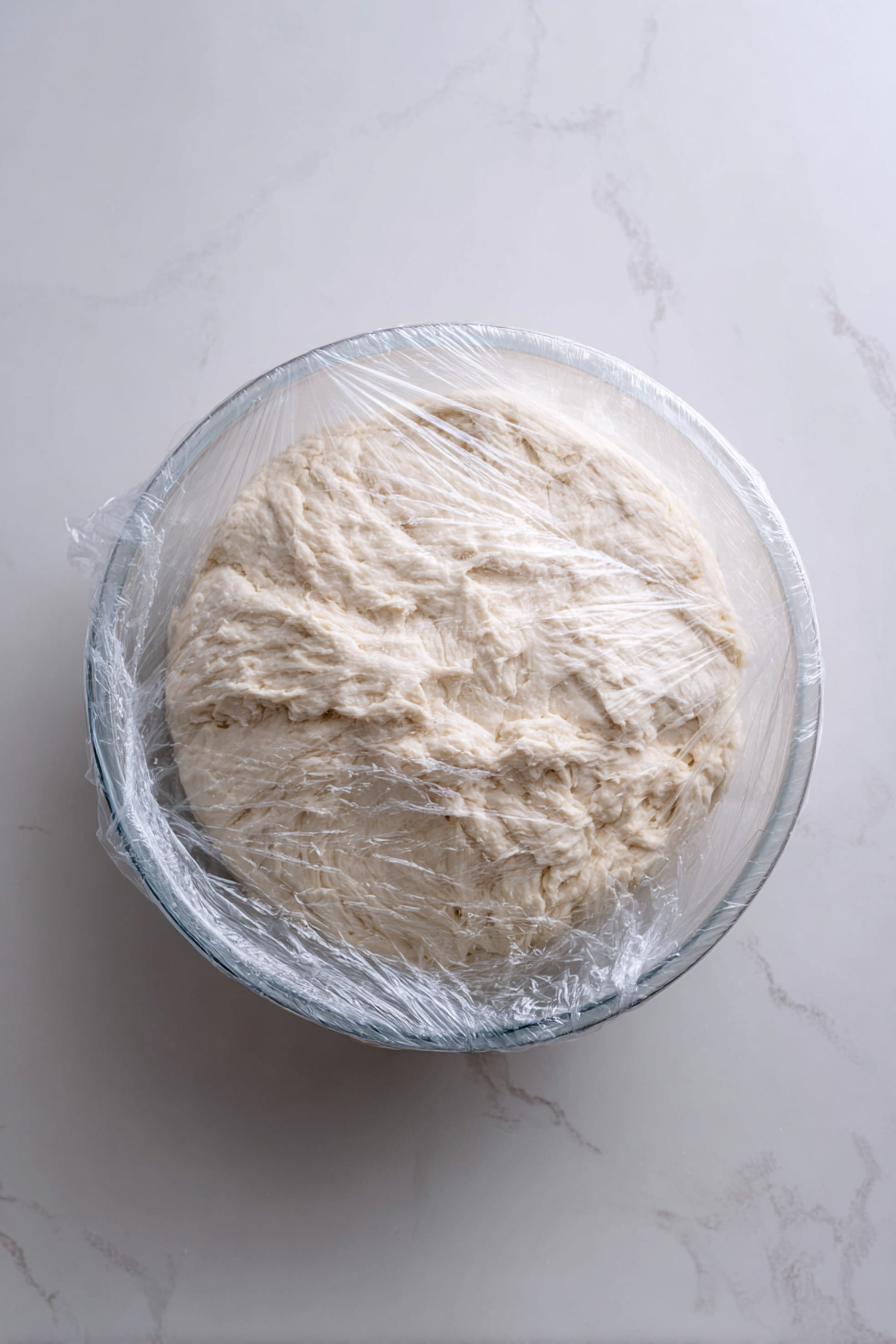
- Chill: Cover the dough and refrigerate for 30–45 minutes to make it easier to handle.
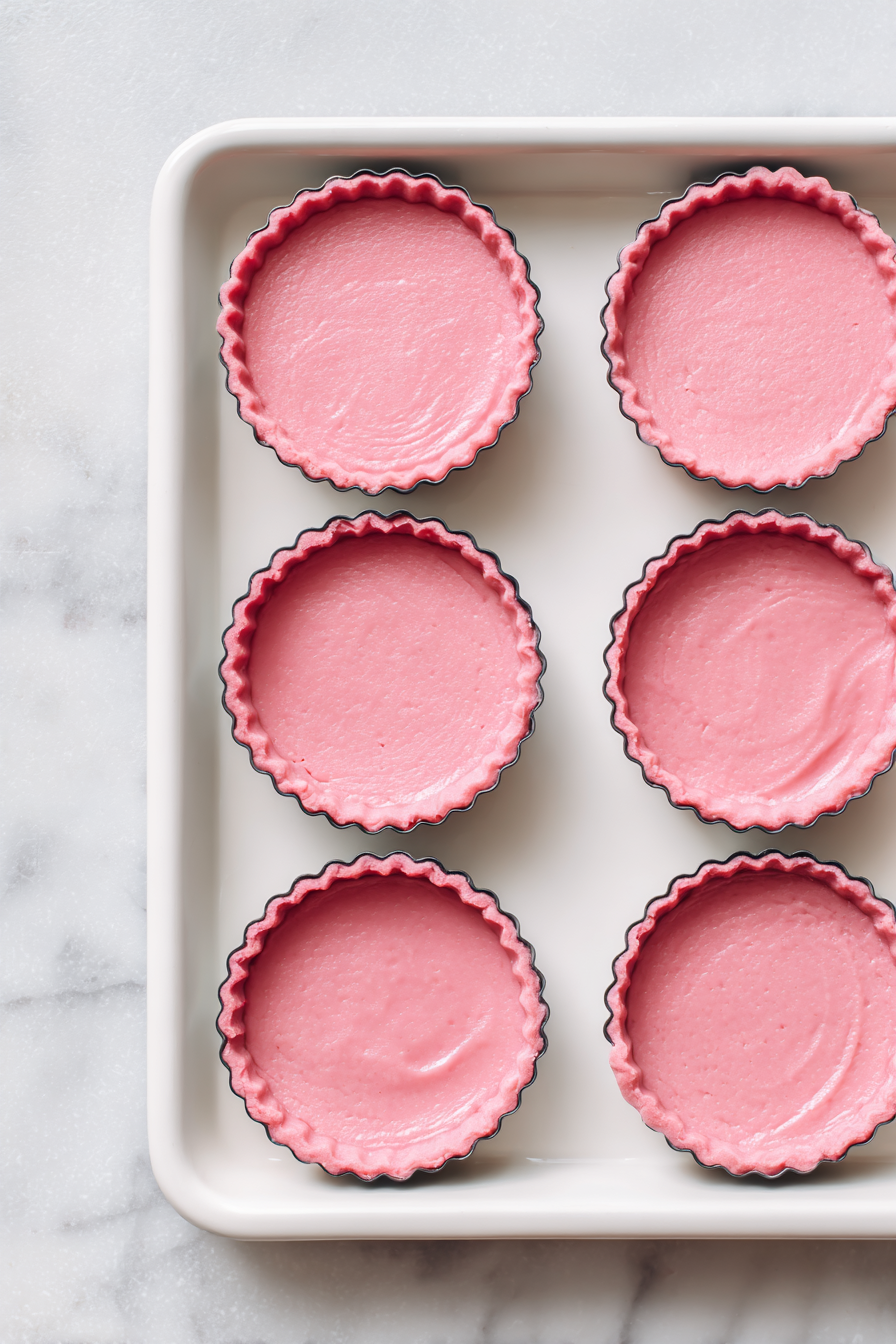
- Shape & Bake: Press small dough balls into tart pans or mini muffin tins. Bake at 350°F (175°C) for 18–20 minutes. Let them cool completely.
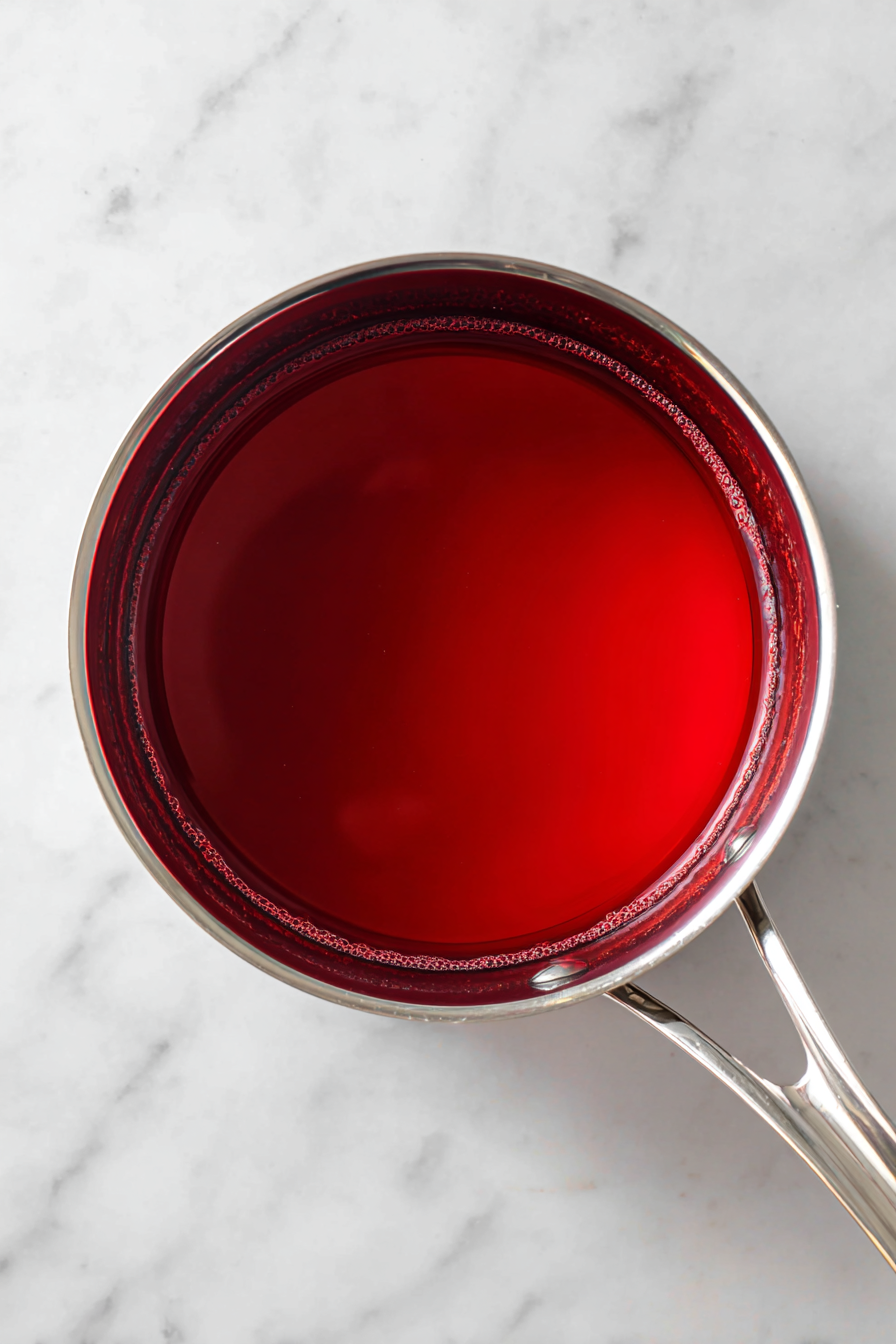
- Prepare the Filling: In a saucepan, dissolve gelatin, sugar, and food coloring in boiling water. Mix cornstarch with cold water and stir into the gelatin. Cook until slightly thickened.
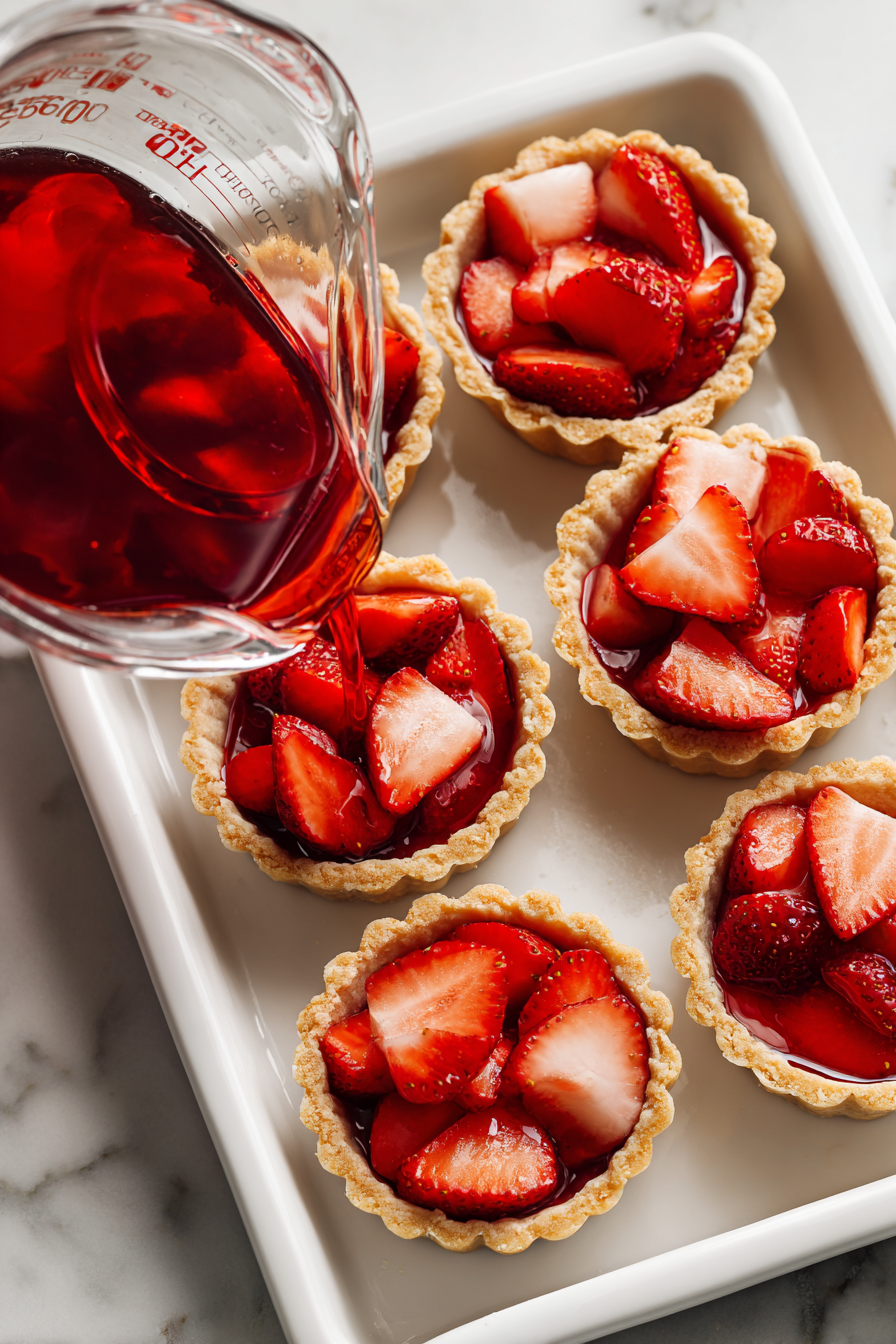
- Assemble: Place sliced strawberries into each tart shell. Pour the cooled gelatin mixture over the strawberries.
- Chill Again: Refrigerate the tarts until the gelatin sets—about 1 hour.
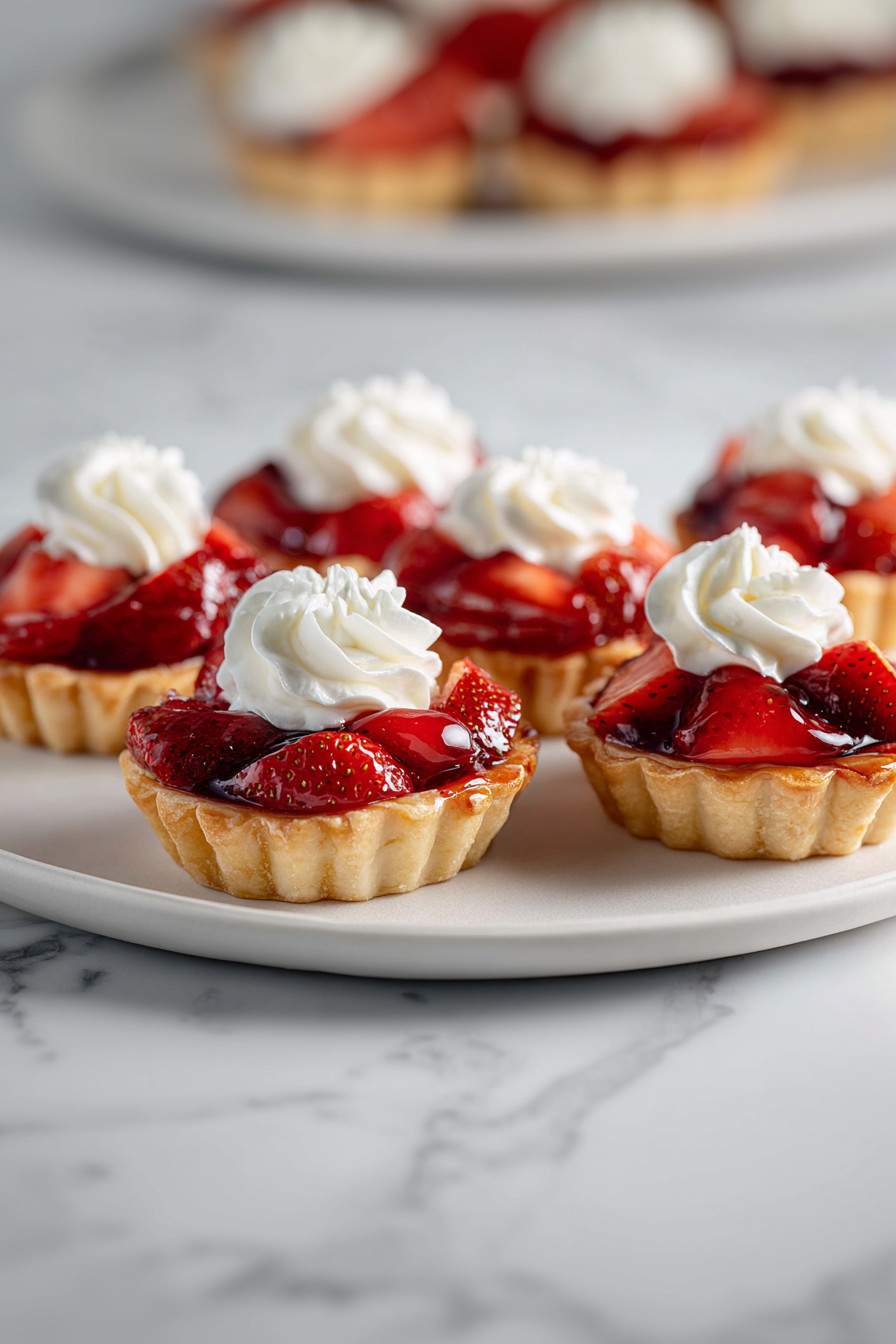
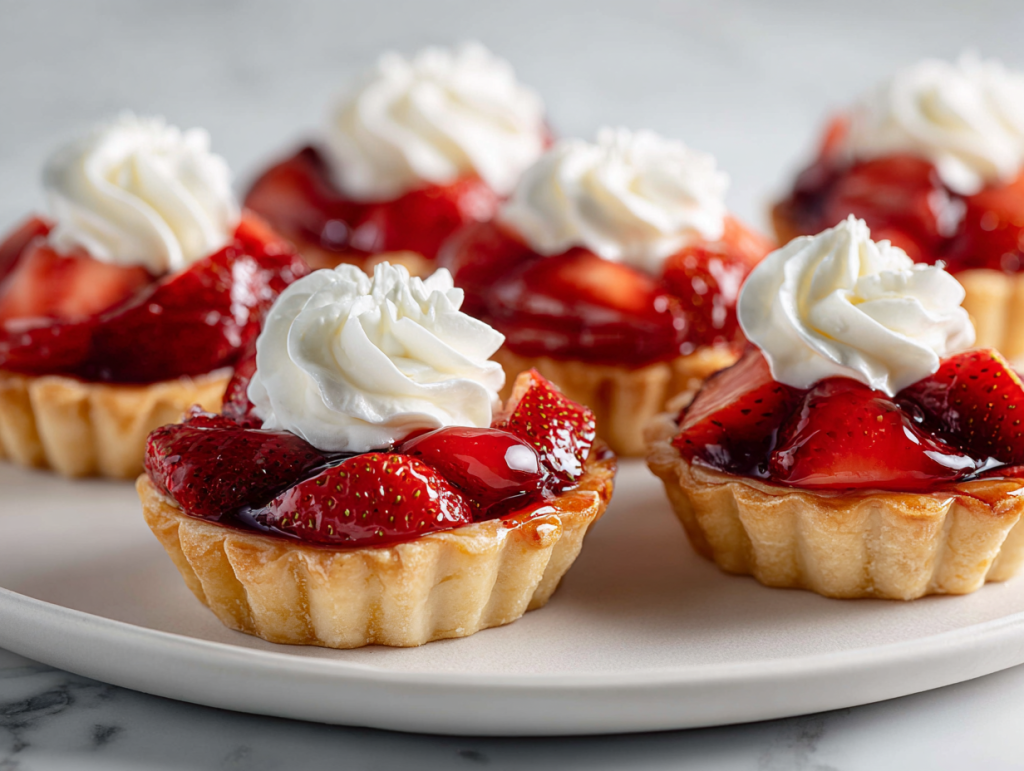
- Top It Off: Just before serving, top each tart with whipped cream, if desired.
- Serve & Enjoy: Fresh, fruity, and delicious!
Nutrition Info:
Tips For Perfect Mini Strawberry Tarts!
- Use chilled tart dough for clean shaping: The dough is super soft thanks to the cream cheese and butter combo pop it in the fridge for at least 45 minutes so it molds neatly into tins without sticking.
- Don’t skip docking or pressing air out of the tart base: Before baking, gently prick the bottom of each tart shell with a toothpick or press it down again halfway through baking to prevent puffing.
- Let the gelatin mixture cool but not set before pouring: Pouring it while too hot can soften the crust or partially cook the strawberries. Cool it until it’s just slightly warm but still pourable.
- Toss strawberries in a bit of lemon juice before layering: It enhances their natural flavor and keeps them from darkening if you’re prepping ahead of time.
- Mix up the whipped topping with flavored extracts: A tiny drop of vanilla, almond, or even lemon extract in the whipped cream gives it a gourmet touch without extra effort.
- Bake tart shells a day ahead: They stay crisp if stored airtight and save loads of time if you’re entertaining or making a large batch.
- Sift a bit of gelatin powder over the strawberries before pouring glaze: It helps the glaze grip the fruit better, especially if they’re very juicy.
Quick Questions?
1. Can I make the tart shells ahead of time?
Ans: Yes, absolutely! You can bake them a day or two in advance just store them in an airtight container to keep them crisp.
2. Can I use frozen strawberries?
Ans: It’s better to stick with fresh for this recipe. Frozen ones tend to get mushy and watery, which won’t give you that beautiful tart texture.
3. How do I keep the glaze from getting runny?
Ans: Make sure your cornstarch mixture thickens properly before adding it to the gelatin. Let it cool slightly before pouring over the fruit to avoid soaking the tart shell.
4. Can I make them less sweet?
Ans: Definitely! Cut back a bit on the sugar in the glaze or use unsweetened whipped cream—it still tastes amazing and lets the strawberries shine.
5. Can I freeze these tarts?
Ans: Not really. The fresh strawberries and gelatin glaze don’t hold up well in the freezer. They’re best enjoyed fresh within a day or two.
6. What’s the best way to serve these?
Ans: Pair them with Spiced Almonds or a chilled glass of Sparkling Raspberry Lemonade for a refreshing and classy combo.

hi there,
i’m Noah
A California-born food blogger behind Freshman Cook, whose culinary journey began in his tiny apartment kitchen.