Making these peanut butter chocolate chip chewy bars isn’t just about throwing ingredients together. It’s a mini science lab at my kitchen counter, where I tweak the texture and chewiness with each batch. I love how a little patience and some sensory cues make all the difference.
These bars are my go-to for packed lunches, post-gym snacks, or just a sweet fix that doesn’t feel like a cheat. The best part? They’re forgiving—once you understand the ‘feel’ of the dough and the ‘look’ of a perfect bake, you’re almost there. It’s a quiet victory every time I pull them out of the oven, warm and slightly sticky, ready to be sliced.
The Unlikely Science of Achieving Perfectly Chewy Bars: How Timing, Temperature, and Texture Interact
Why these bars matter to me
- I love how these bars come together quickly and don’t require fancy ingredients.
- There’s something satisfying about pressing the mixture into the pan—like crafting a little edible sculpture.
- Baking these is always a sensory experience—watching them turn golden, smelling the toasted oats and chocolate, waiting to cut that first warm square.
- Every time I make these, I feel a small rush of pride—like I’ve cracked a little kitchen code.
Personal story behind the chewy bars
The idea came from wanting a chewy, nutty snack that’s easy to customize and pack in lunches. I experimented with different ratios of peanut butter and oats until I found the perfect chew. A batch of these always reminds me of lazy weekend mornings and the smell of baking oats and chocolate. They’re my go-to when I need a quick, satisfying treat that feels homemade and honest.
A little history and fun facts about these chewy bars
- Inspired by childhood snack bars, but upgraded with real peanut butter and dark chocolate.
- The first version was a kitchen experiment that turned out way better than expected.
- These bars mimic the chewy texture of popular commercial brands but with a homemade twist.
- Using quick oats helps create that dense, chewy bite—rolled oats give a slightly different texture.
- Chocolate chips are best added when the mixture is just cooled to prevent melting — a small detail that makes a big difference.
Ingredient insights and tweaks

- Peanut Butter: I prefer creamy, but crunchy gives a nice texture—try both to see what you like.
- Chocolate Chips: Choose dark for richness or semi-sweet for balanced sweetness—use mini chips for more surface area, melting more evenly.
- Oats: Quick oats blend smoothly, but rolled oats give a chewier bite—experiment based on your texture preference.
- Honey: Adds sweetness and helps bind—maple syrup works as a natural substitute.
- Butter: Adds richness, but coconut oil can replace it for dairy-free version—note the subtle coconut aroma.
Spotlight on peanut butter and chocolate chips
Peanut Butter:
- It’s the binder and flavor base—go for natural for a richer, roasted note.
- It melts slightly during baking, creating a creamy, gooey texture that’s irresistible.
Chocolate Chips:
- They soften but don’t fully melt, providing bursts of sweetness with every bite.
- They add a slight crunch and a rich, cocoa aroma—choose dark or milk based on your preference.
Ingredient substitutions for different diets and tastes
- Dairy-Free: Swap regular butter for coconut oil—adds a subtle coconut scent and chewy texture.
- Sweetener: Use agave or maple syrup instead of honey—altering flavor slightly but keeping it sweet.
- Gluten-Free: Ensure oats are certified gluten-free—no change in flavor, just peace of mind.
- Add-ins: Mix in chopped nuts or dried fruit for variety—keep in mind they may extend baking time.
- Vegan: Use vegan chocolate chips and maple syrup—no compromise on sweetness or texture.
Equipment & Tools
- 8×8 inch baking pan: To shape and bake the bars evenly.
- Parchment paper: To prevent sticking and make removal easier.
- Spatula or back of a spoon: To press down the mixture evenly.
- Mixing bowls: To combine ingredients separately and then mix.
- Measuring cups and spoons: To ensure accurate ingredient quantities.
Step-by-step for chewy perfection
- Preheat your oven to 175°C (350°F). Line an 8×8 inch pan with parchment paper, leaving overhang for easy lifting.
- In a large bowl, mix the softened peanut butter, honey, and vanilla until smooth. Add the melted butter and stir well.
- In a separate bowl, combine oats, salt, and chocolate chips. Fold into the wet mixture until evenly coated.
- Transfer the mixture to your prepared pan. Press down firmly with a spatula or the back of a spoon to create an even, compact layer.
- Bake for 15-20 minutes. The edges should turn golden and smell toasted.
- Remove from oven and let cool in the pan for at least 20 minutes. This helps set the structure.
- Once cooled, lift out using the parchment overhang. Slice into bars or squares.
- For a firmer bite, let the bars rest uncovered at room temperature for an hour before storing.
Let the bars cool completely in the pan before slicing. Store in an airtight container for up to 3 days at room temperature, or freeze for longer storage.
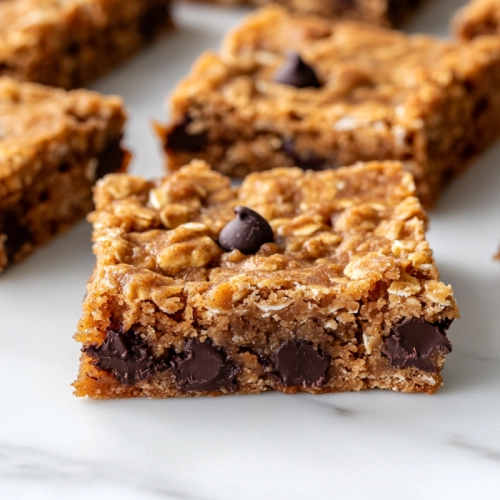
How to Know It’s Done
- Edges are golden brown and slightly crisp.
- Smell toasted peanut butter and chocolate—rich and inviting.
- Bars are firm but still slightly sticky when pressed in the center (use your finger for a quick test).
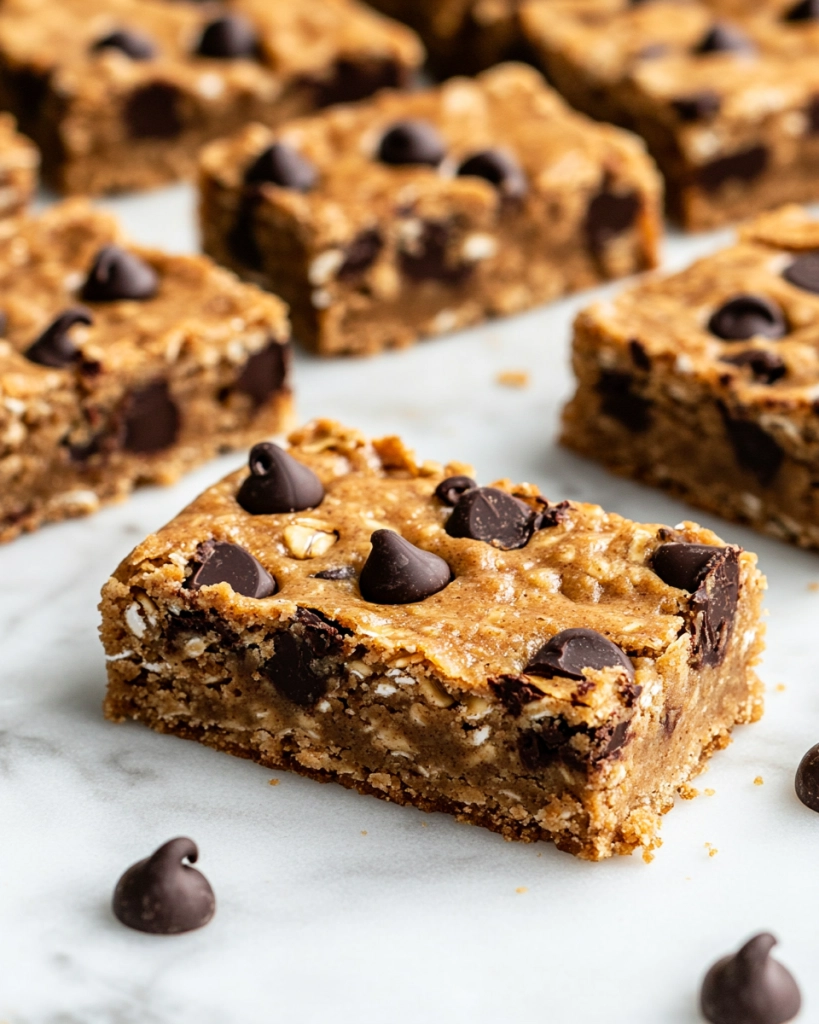
Peanut Butter Chocolate Chip Chewy Bars
Equipment
- 8×8 inch baking pan
- Parchment paper
- Spatula or back of a spoon
- Mixing bowls
- Measuring cups and spoons
Ingredients
- 1/2 cup unsalted butter melted
- 1/2 cup honey
- 1 teaspoon vanilla extract
- 1 1/2 cups quick oats lightly toasted for extra flavor
- 1/2 cup peanut butter natural, creamy preferred
- 1/2 cup chocolate chips dark or semi-sweet, mini chips for more surface area
Instructions
- Preheat your oven to 175°C (350°F). Line your 8×8 inch pan with parchment paper, leaving overhang on the sides for easy removal.
- In a large bowl, whisk together the melted butter, honey, and vanilla until smooth and fragrant, about 1-2 minutes. The mixture should look slightly glossy and well-blended.
- Add the peanut butter to the wet mixture and stir until fully incorporated, creating a creamy, homogeneous base.
- In a separate bowl, combine the toasted oats and chocolate chips. Gently fold the dry ingredients into the wet mixture until everything is evenly coated and sticky, feeling slightly thick and cohesive.
- Transfer the mixture into your prepared pan. Use a spatula or the back of a spoon to press it down firmly and evenly, creating a compact layer that fills the pan completely.
- Bake for 15-20 minutes, or until the edges turn golden brown and smell toasted. Listen for a gentle bubbling and watch for a slight crispness around the edges.
- Remove the pan from the oven and let the bars cool in the pan for at least 20 minutes. This helps them set and prevents crumbling when slicing.
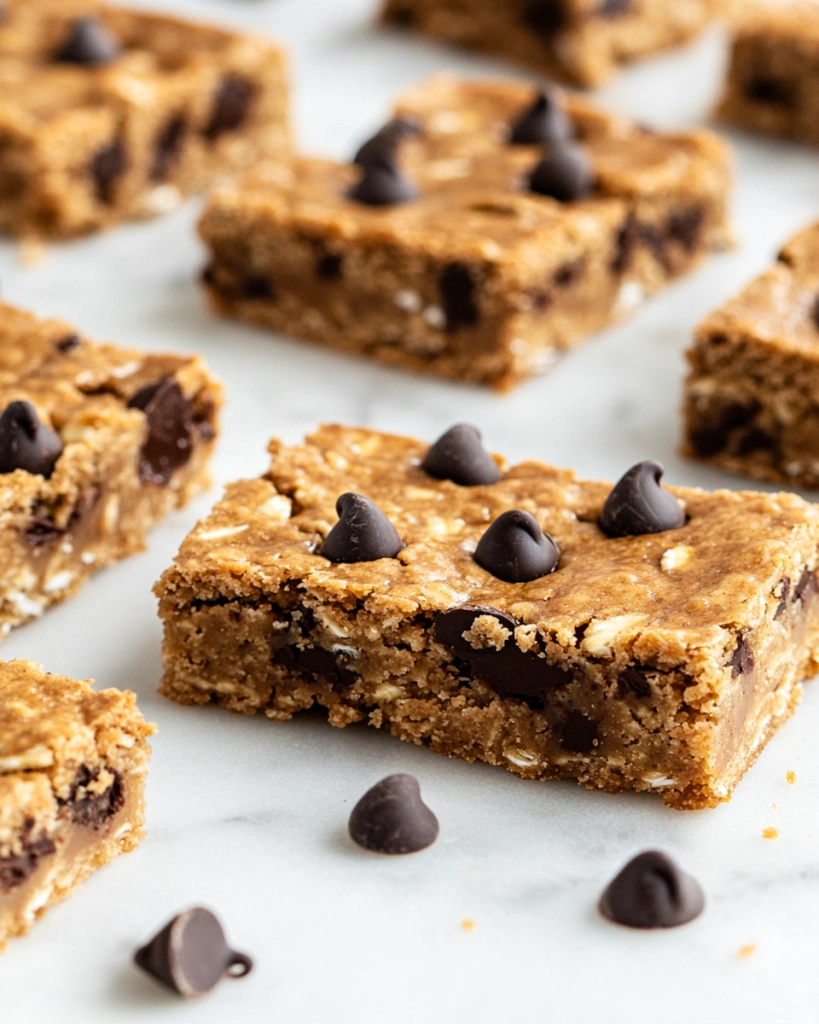
- Once cooled, lift the entire slab out of the pan using the parchment overhang. Slice into 12 evenly sized bars or squares.
- Enjoy your chewy bars warm or at room temperature. Store leftovers in an airtight container for up to 3 days, or freeze for longer storage.
Notes
Cooking tips and tricks for perfect bars
- Use softened peanut butter for even mixing—no need to microwave, just leave out for 15 mins.
- Press the mixture firmly into the pan—this helps achieve that chewy, dense texture.
- Toast the oats lightly before mixing—brings out nutty aroma and richer flavor.
- Mix chocolate chips in last—keeps chips from melting completely, adding texture.
- For extra chewiness, refrigerate the bars for an hour before slicing.
Common mistakes and how to fix them
- FORGOT TO PRESS THE MIXTURE FIRMLY? Use the back of a spatula or glass to press more firmly.
- DUMPED TOO MUCH CHOCOLATE? Next time, fold chips gently and evenly into the mixture.
- OVER-BAKED? Remove earlier; bars will be chewy and moist, not dry and crumbly.
- MISSED THE COOLING? Cool completely before slicing—hot bars will crumble.
Quick kitchen fixes to rescue your bars
- When mixture is too dry, splash in a teaspoon of honey or maple syrup.
- If bars are too crumbly, patch with a dab of melted peanut butter and press again.
- Shield edges with foil if they brown too quickly.
- Splash a little milk if the chocolate chips aren’t melting—gives a smoother blend.
- Patch cracks with extra melted chocolate or peanut butter for a glossy finish.
What to Serve With Peanut Butter Chocolate Chip Chewy Bars
- Cold milk
- Chocolate milk
- Coffee
- Hot chocolate
- Vanilla ice cream
Make-ahead and storage tips
- Prepare and bake the bars a day ahead; they taste just as good the next day.
- Store in an airtight container at room temperature for up to 3 days—keep them sealed to avoid staleness.
- For longer storage, freeze individually wrapped bars for up to 3 months.
- Reheat in the microwave for 10-15 seconds if you want a warm, gooey treat—watch for steam and melted chips.
10 Practical Q&As about Peanut Butter Chocolate Chip Chewy Bars
1. Can I use natural peanut butter?
Use room temperature peanut butter for easier mixing and a creamier texture.
2. What if my peanut butter is too thick?
Yes, but add a tablespoon of honey or syrup to help bind the bars.
3. When do I add the chocolate chips?
Chocolate chips should be added after the mixture has cooled slightly, to prevent melting.
4. Can I substitute oats with something else?
Use quick oats for a chewier texture, but rolled oats work fine too.
5. How do I know when they’re baked enough?
Bake at 175°C (350°F) for about 15-20 minutes until golden around edges.
6. What if the bars stick to the pan?
Line your pan with parchment paper for easy removal and less sticking.
7. How long should I wait before cutting?
Let the bars cool completely in the pan before slicing for cleaner cuts.
8. How do I keep them fresh?
Store in an airtight container at room temperature for up to 3 days, or freeze for longer.
9. Can I warm them up?
Reheat in the microwave for 10-15 seconds if you want a warm, gooey treat.
In the end, these chewy bars are more than just a snack—they’re a small experiment in flavor and texture, shaped by timing and technique. Every bite brings a bit of that homemade comfort, with a hint of nostalgia for simpler treats.
They’re flexible, forgiving, and just a little bit unpredictable—like all good baking. I find myself reaching for them when I need a quick sweet fix that’s satisfying yet honest in flavor. No matter how many I make, I always end up feeling a little proud of these unpretentious, chewy little squares.
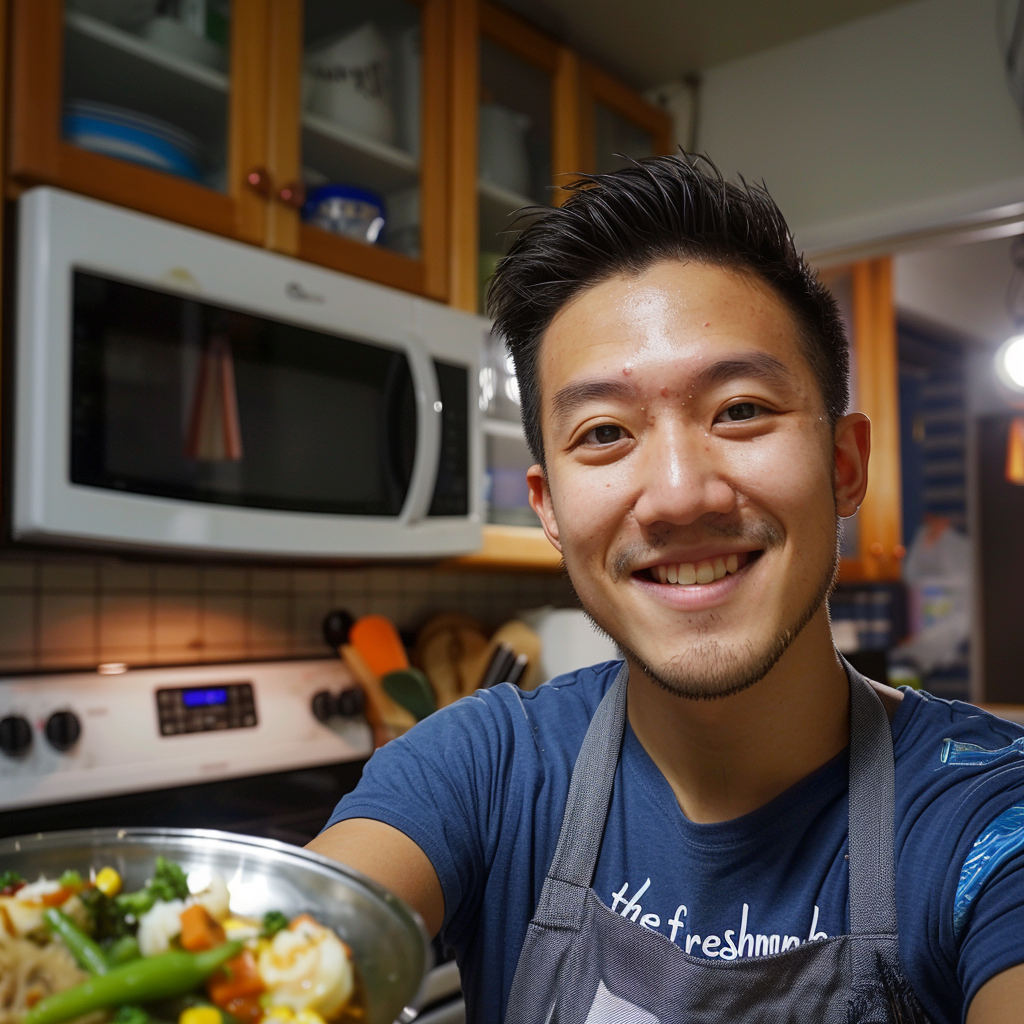
hi there,
i’m Noah
A California-born food blogger behind Freshman Cook, whose culinary journey began in his tiny apartment kitchen.