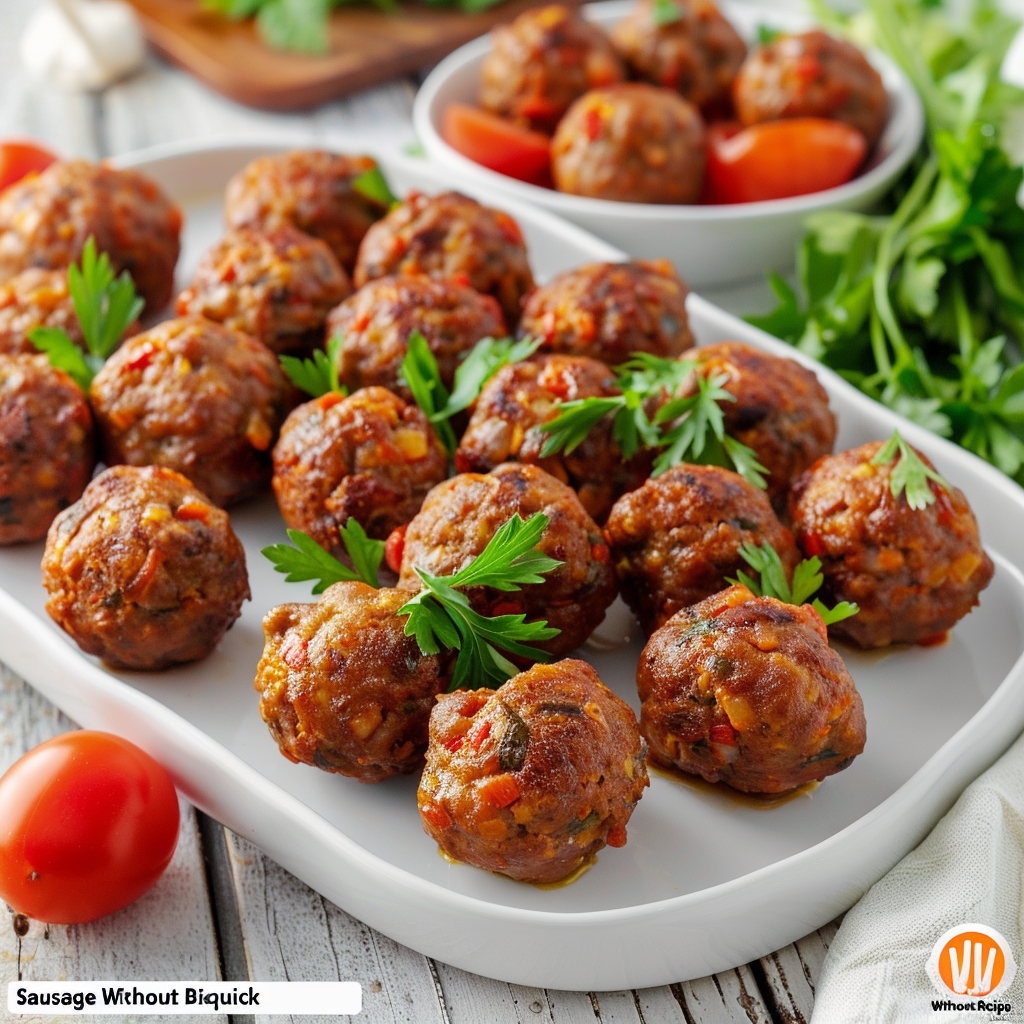
Elevate your appetizer game with our delicious Sausage Balls recipe, made entirely from scratch—no Bisquick required! These bite-sized savory treats are a perfect blend of spicy sausage, sharp cheddar cheese, and a few pantry staples, creating a mouthwatering flavor explosion. Whether you’re hosting a party, attending a potluck, or just craving a delightful snack, these homemade sausage balls are guaranteed to be a hit.
Sausage Balls without Bisquick Recipe
Equipment
- 1 Rimmed baking sheet
- Parchment paper
- Cookie scoop
- Pastry Cutter
- Grater (for shredding cheese)
- Spatula
- Oven
- Wire cooling rack
Ingredients
- 1 pound ground pork sausage uncooked
- 2 cups all-purpose flour
- 1 tablespoon baking powder
- 1 teaspoon seasoned salt
- 1/2 teaspoon black pepper
- 1/2 teaspoon onion powder
- 1/4 teaspoon garlic powder
- 3 cups shredded cheddar cheese
- 1/4 to 1/2 cup milk
- maple syrup for serving
Instructions
- Warm the oven up to 350 degrees.
- Put parchment paper on a baking sheet and set it aside.
- Mix the flour and salt together in a big bowl.
- Add the butter and cream cheese to the flour and mix it in until it becomes crumbly.
- Add the sausage and use your hands to start mixing it into the flour. – For even less work, you can use a food grinder.
- Grated cheese should be added and worked into the mixture until it is well mixed. Get a mini-ice cream scoop and take out some of the mixture. Then, use your palms to roll it into a ball. Put them on the baking sheet.
- Put them in the oven and bake for 20 minutes, or until they turn golden brown. Brush with melted butter and, if you want, sprinkle with parsley. Serve!
Notes
- Sausage: Instead of Italian or breakfast sausage, find a plain bulk sausage. You can make sausage balls with pork, turkey, or chicken meat.
- Milk: This method works with any kind of milk, no matter how much fat it has. If you choose to use nondairy milk, make sure it is plain and not sweetened.
Cheese: The anti-caking agents in shredded cheese that comes in a bag can dry out your sausage balls. To avoid this, cut the cheese yourself. - Sausage Balls without Gluten: Make sure the sausage doesn’t have gluten, and use gluten-free flour instead of all-purpose flour.
Nutrition Facts
| Nutrition | Value |
|---|---|
| Calories | 133kcal |
| Carbohydrates | 7g |
| Protein | 6g |
| Fat | 9g |
| Saturated Fat | 4g |
| Sodium | 267mg |
| Iron | 1mg |
| Calcium | 110mg |
| Vitamin C | 138IU |
| Potassium | 107mg |
What Can I Use if I Don’t Have Bisquick?
If you don’t have Bisquick, you can make a homemade substitute by mixing 1 cup of all-purpose flour, 1 1/2 teaspoons of baking powder, 1/2 teaspoon of salt, and 1 tablespoon of cold butter or shortening. Blend the mixture until it resembles coarse crumbs, and it’s ready to use as a Bisquick alternative in your recipes.
How Long Can Sausage Balls Sit Out?
Sausage balls can sit out at room temperature for up to 2 hours. After this time, they should be refrigerated to prevent the growth of harmful bacteria. If you need to keep them out longer, consider using a warming tray to maintain a safe temperature.

hi there,
i’m Noah
A California-born food blogger behind Freshman Cook, whose culinary journey began in his tiny apartment kitchen.