Have you ever had a great sandwich when you were dining out, and thought, “I could make this, and make it better”? That is my inspiration for this Chipotle Chicken Sandwich. I recently had a delicious sandwich at a local restaurant, and I loved it. But instead of going back to the restaurant, I decided to make it at home. It is quicker, less expensive, and simple to make! And that’s what we are celebrating today for #SundaySupper~Simple Sandwich Recipes!  Chipotle Chicken Sandwich (printable recipe at end of post)
Chipotle Sauce
3 1/2 ounces Chipotle Peppers in Adobo Sauce
10 ounces Sour Cream
1/2 teaspoon Minced Garlic
2 tablespoon Milk
2 teaspoon Lemon Juice
Sandwich
7 ounces raw chicken breast
Dry Chipotle Seasoning
1-2 teaspoon Butter
onion
4 Cheese Mix
red leaf lettuce, tomato, mayonnaise
avocado
Bakery Style Bun 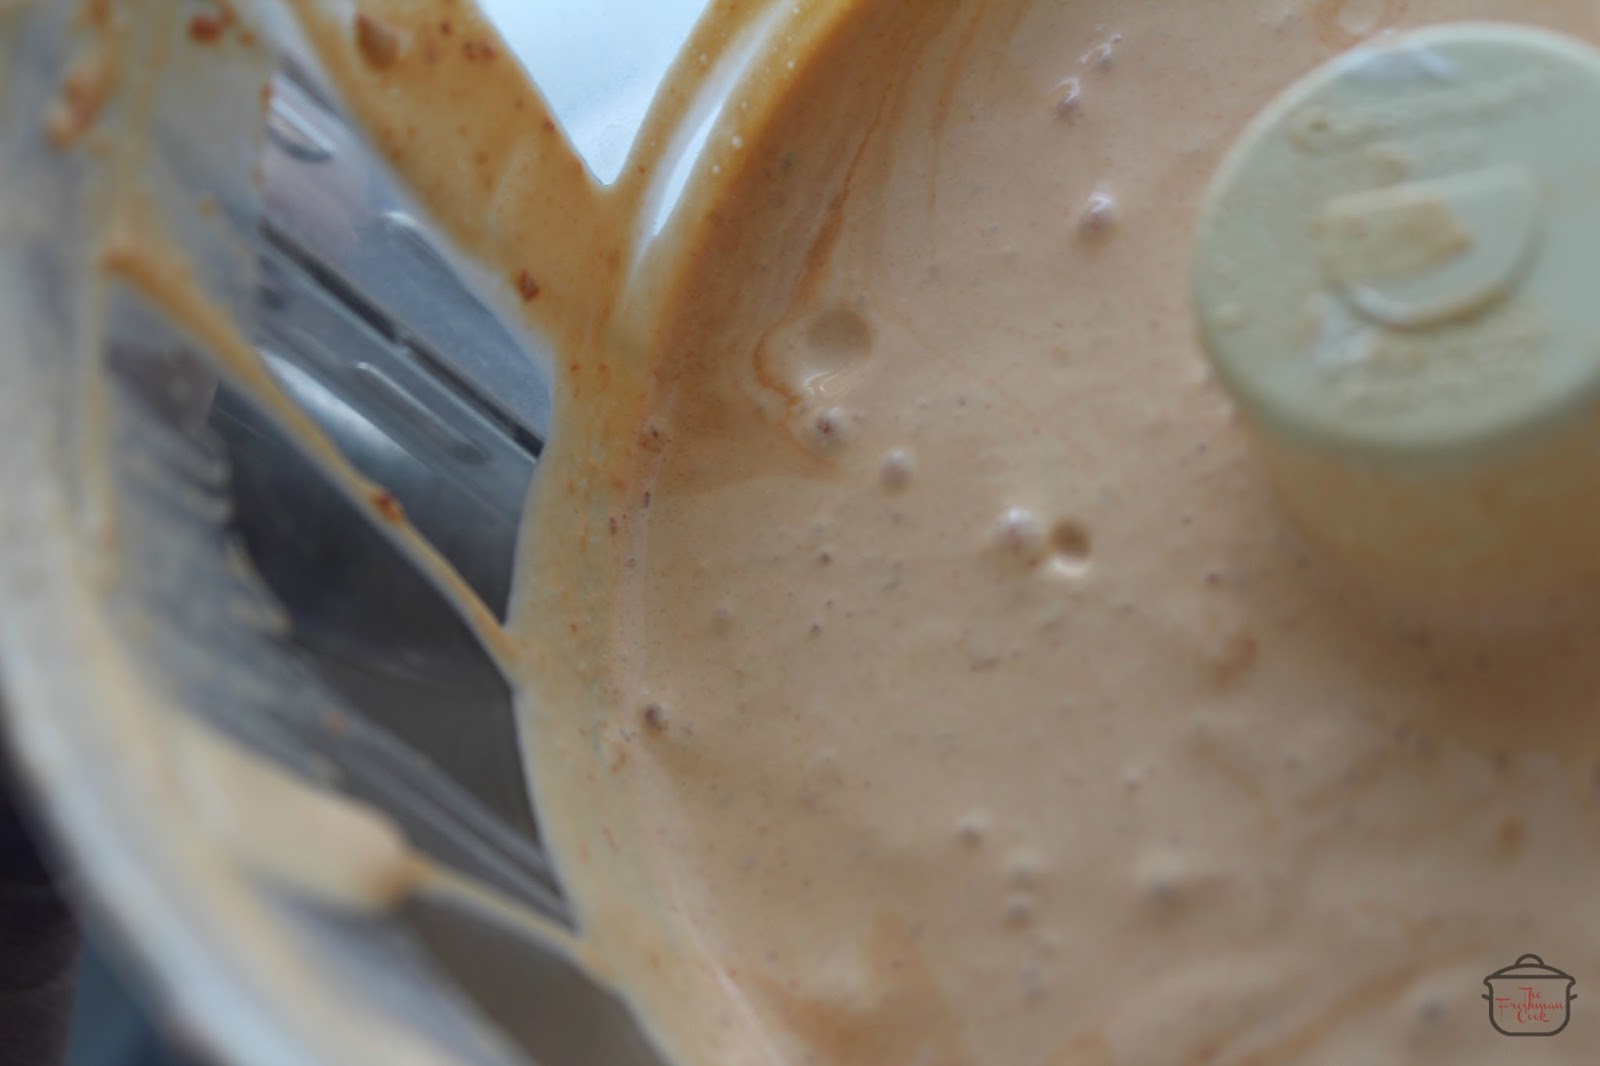 Place all the sauce ingredients in to a food processor or blender. Mix until smooth. Set aside sauce.
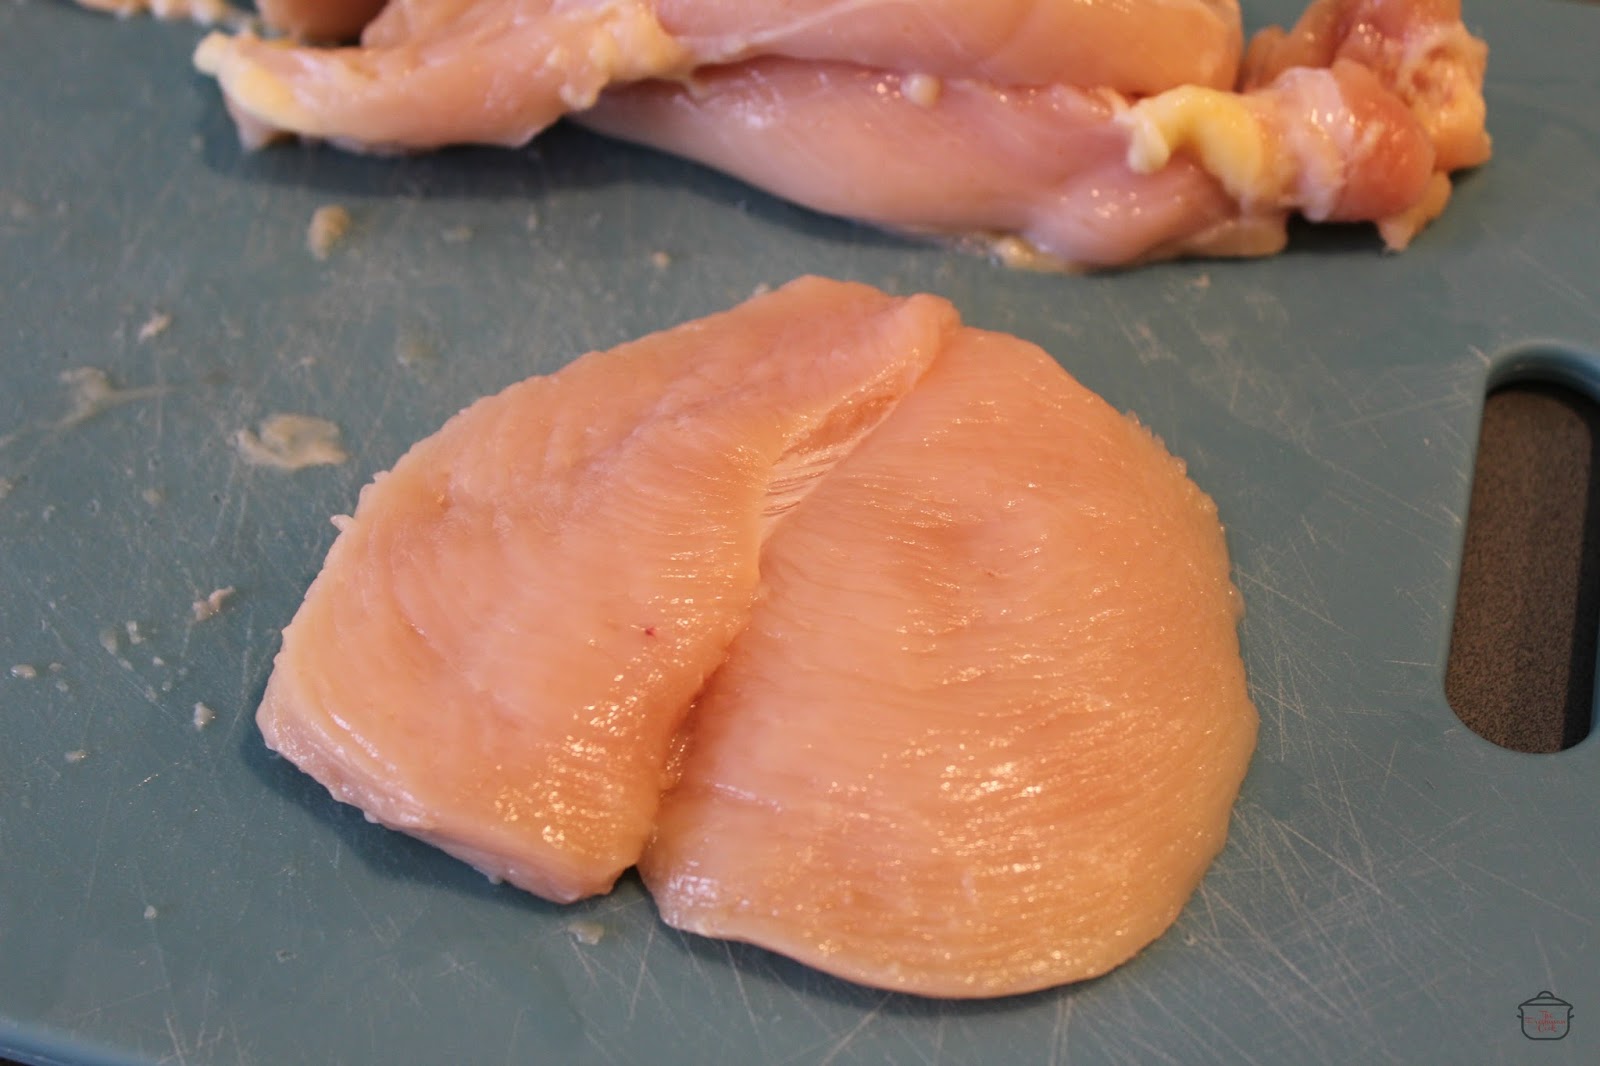
Cut chicken breast to the desired weight. It can be smaller or larger than in the ingredient list. It depends on how much you want. I cut this one to 7 ounces because it would fill up the bun and look nice. Butterfly the chicken breast so it looks like the above picture. To butterfly the chicken, lay it flat on a cutting board. Cut away the small filet that is to the side. You can use it later. Use a sharp knife to cut through the middle of the chicken parallel with the cutting board. Don’t cut all the way to the end. Stop right before the edge. Fold open the chicken.

Sprinkle both sides of the chicken with the southwest seasoning. Melt butter in a medium frying pan on medium heat. Cook the chicken breast on both sides until cooked through to 165℉.

While the chicken is cooking, melt more butter in another pan. Thinly slice a couple onion slices. Separate the onions and saute them in the melted butter. Pull them off the stove when done.

As your chicken is almost done, within a few degrees, sprinkle the cheese all over the top. Cover the pan with an upside down pan, and turn off the heat. The cheese will melt and the chicken will cook to temperature.

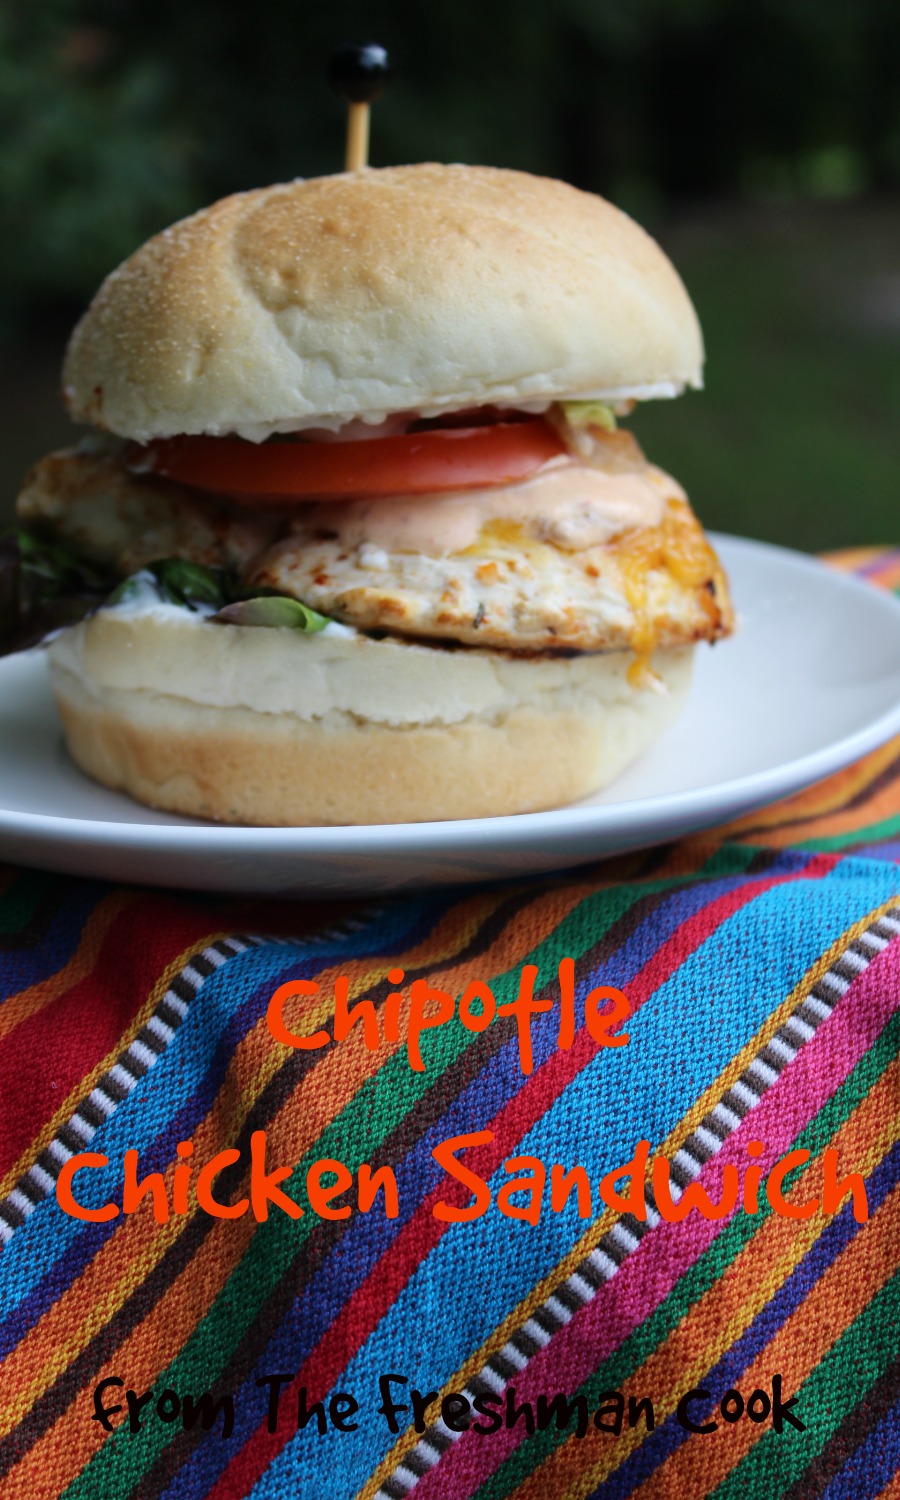
Place mayonnaise on both sides of the bun. On the top side place avocado and onion. On the bottom side, place lettuce, chicken, chipotle sauce and tomato.

Enjoy!
Thank you for joining me today! I am so glad you stopped by!
Find The Freshman Cook on these pages:
Thank you to our hostess today, Christie from A Kitchen Hoor’s Adventures!
Check out all these yummy Simple Sandwich Recipes from #SundaySupper members!

Author: The Freshman Cook
Chipotle Sauce
- 3 1/2 ounces Chipotle Peppers in adobo sauce
- 10 ounces Sour Cream
- 1/2 teaspoon Minced Garlic
- 2 tablespoon Milk
- 2 teaspoon Lemon Juice
Sandwich
- 7 ounces raw chicken breast
- Dry Chipotle Seasoning
- 1-2 teaspoon Butter
- raw onion
- 4 Cheese Mix
- red leaf lettuce
- tomato
- mayonnaise
- avocado
- Bakery Style Bun
- Place all the sauce ingredients in to a food processor or blender. Mix until smooth. Set aside sauce.
- Cut chicken breast to the desired weight. It can be smaller or larger than in the ingredient list. It depends on how much you want. I cut this one to 7 ounces because it would fill up the bun and look nice. Butterfly the chicken breast so it looks like the above picture. To butterfly the chicken, lay it flat on a cutting board. Cut away the small filet that is to the side. You can use it later. Use a sharp knife to cut through the middle of the chicken parallel with the cutting board. Don’t cut all the way to the end. Stop right before the edge. Fold open the chicken.
- Sprinkle both sides of the chicken with the southwest seasoning. Melt butter in a medium frying pan on medium heat. Cook the chicken breast on both sides until cooked through to 165℉.
- While the chicken is cooking, melt more butter in another pan. Thinly slice a couple onion slices. Separate the onions and saute them in the melted butter. Pull them off the stove when done.
- As your chicken is almost done, within a few degrees, sprinkle the cheese all over the top. Cover the pan with an upside down pan, and turn off the heat. The cheese will melt and the chicken will cook to temperature.
- Place mayonnaise on both sides of the bun. On the top side place avocado and onion. On the bottom side, place lettuce, chicken, chipotle sauce and tomato.Enjoy!