

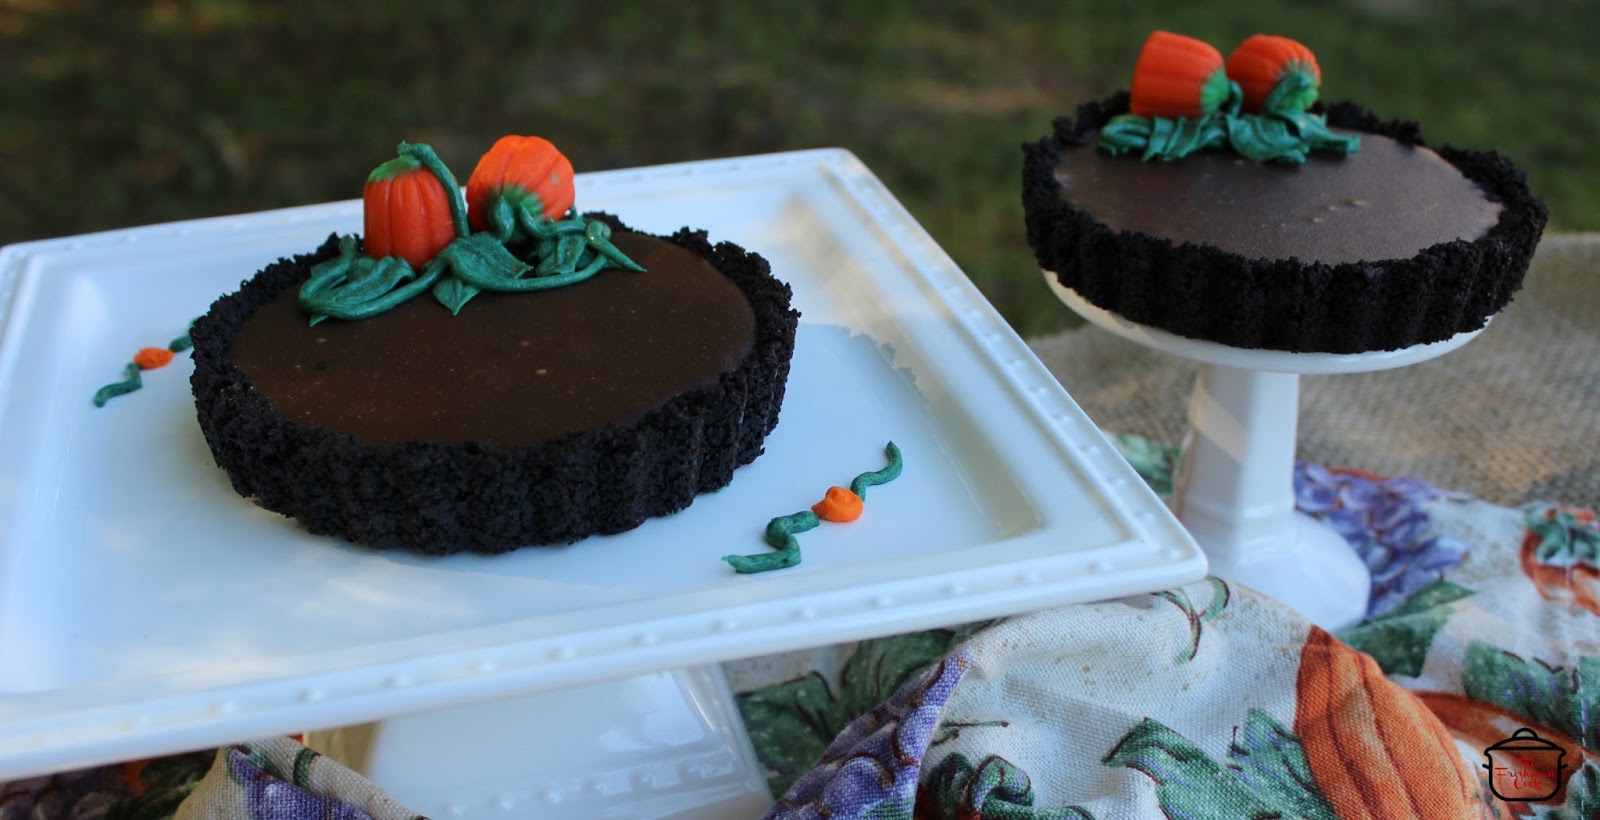

When fall arrives, I love desserts that look festive enough for a holiday table but don’t require hours of baking. This Easy Fall Chocolate Tart checks both boxes. It has a crunchy chocolate wafer crust, a smooth milk chocolate filling, and adorable candy pumpkins nestled among green buttercream leaves. Each mini tart feels like a little autumn centerpiece.
The best part is that these tarts are made without baking the crust or filling in the oven. Instead, melted chocolate does most of the work, creating a rich, silky center that pairs beautifully with the crisp cookie base. The buttercream decorations add a playful seasonal finish that makes these treats especially lovely for Thanksgiving and fall dinner parties.
Because the recipe makes four individual tarts, it’s easy to serve everyone their own dessert. You can prepare the crusts and chocolate filling ahead of time, then add the pumpkins and piped leaves when you’re ready to make them look extra special.
Why You’ll Love This Fall Chocolate Tart
- No oven required: The cookie crust and chocolate filling set without traditional baking, making this a convenient dessert when your oven is busy.
- Rich chocolate flavor: Milk chocolate creates a creamy, sweet filling with a smooth texture.
- Individual portions: Mini tart pans make each dessert feel special and simplify serving.
- Festive fall decorations: Candy pumpkins and green buttercream leaves give the tarts a seasonal look without complicated decorating techniques.
- Make-ahead friendly: The crusts and filling can be prepared in advance, leaving the finishing touches for later.

Easy Fall Chocolate Tart
Equipment
- 4 mini tart pans with removable bottoms, about 4½ inches wide
- Double Boiler
- Small saucepan
- Food processor or zip-top bag and rolling pin
- Mixing bowls
- Whisk
- Fork
- Electric mixer
- Wilton #4 decorating tip
- Wilton #68 decorating tip
Ingredients
Chocolate Tart
- 1 pound solid milk chocolate chopped
- 3-5 ounces heavy whipping cream warmed as needed
- 9 ounce package chocolate wafer cookies
- 4 tablespoons butter divided
- Candy pumpkins for decorating
Buttercream Frosting
- ½ cup solid vegetable shortening
- ½ cup butter
- 1 teaspoon clear vanilla extract
- 1 pound powdered sugar
- 2 tablespoons milk
- Green food coloring as needed
Instructions
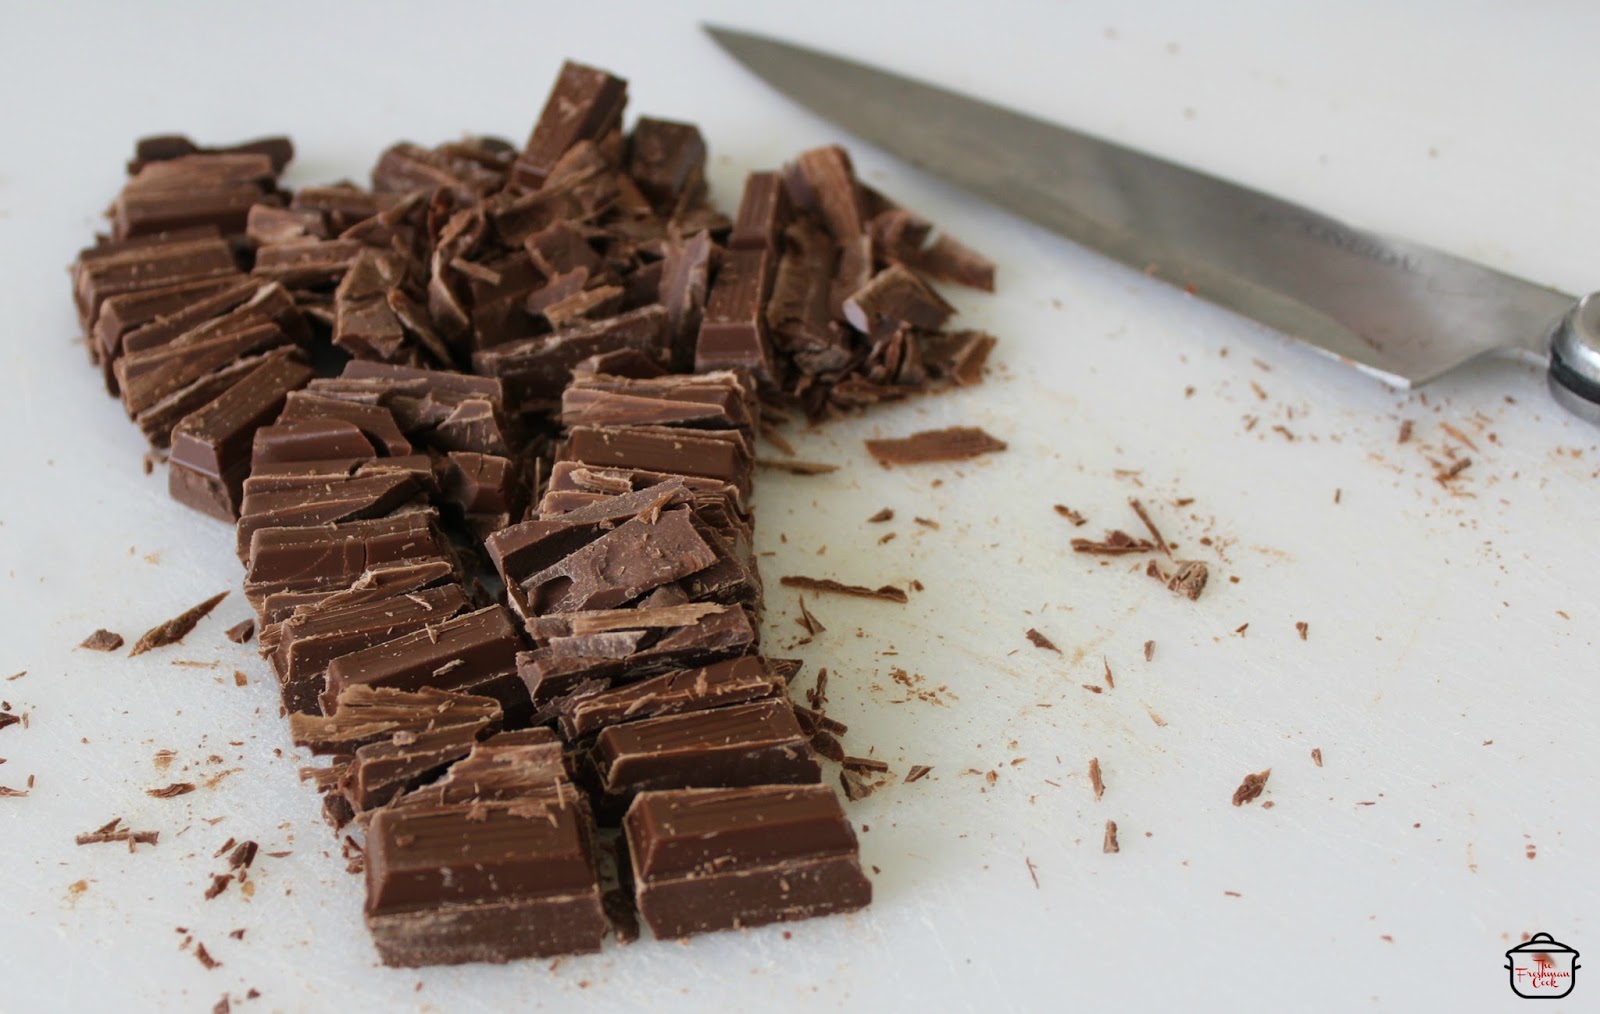
- Chop the milk chocolate into small pieces for quicker, more even melting. Place it in a double boiler over low heat and melt gently.
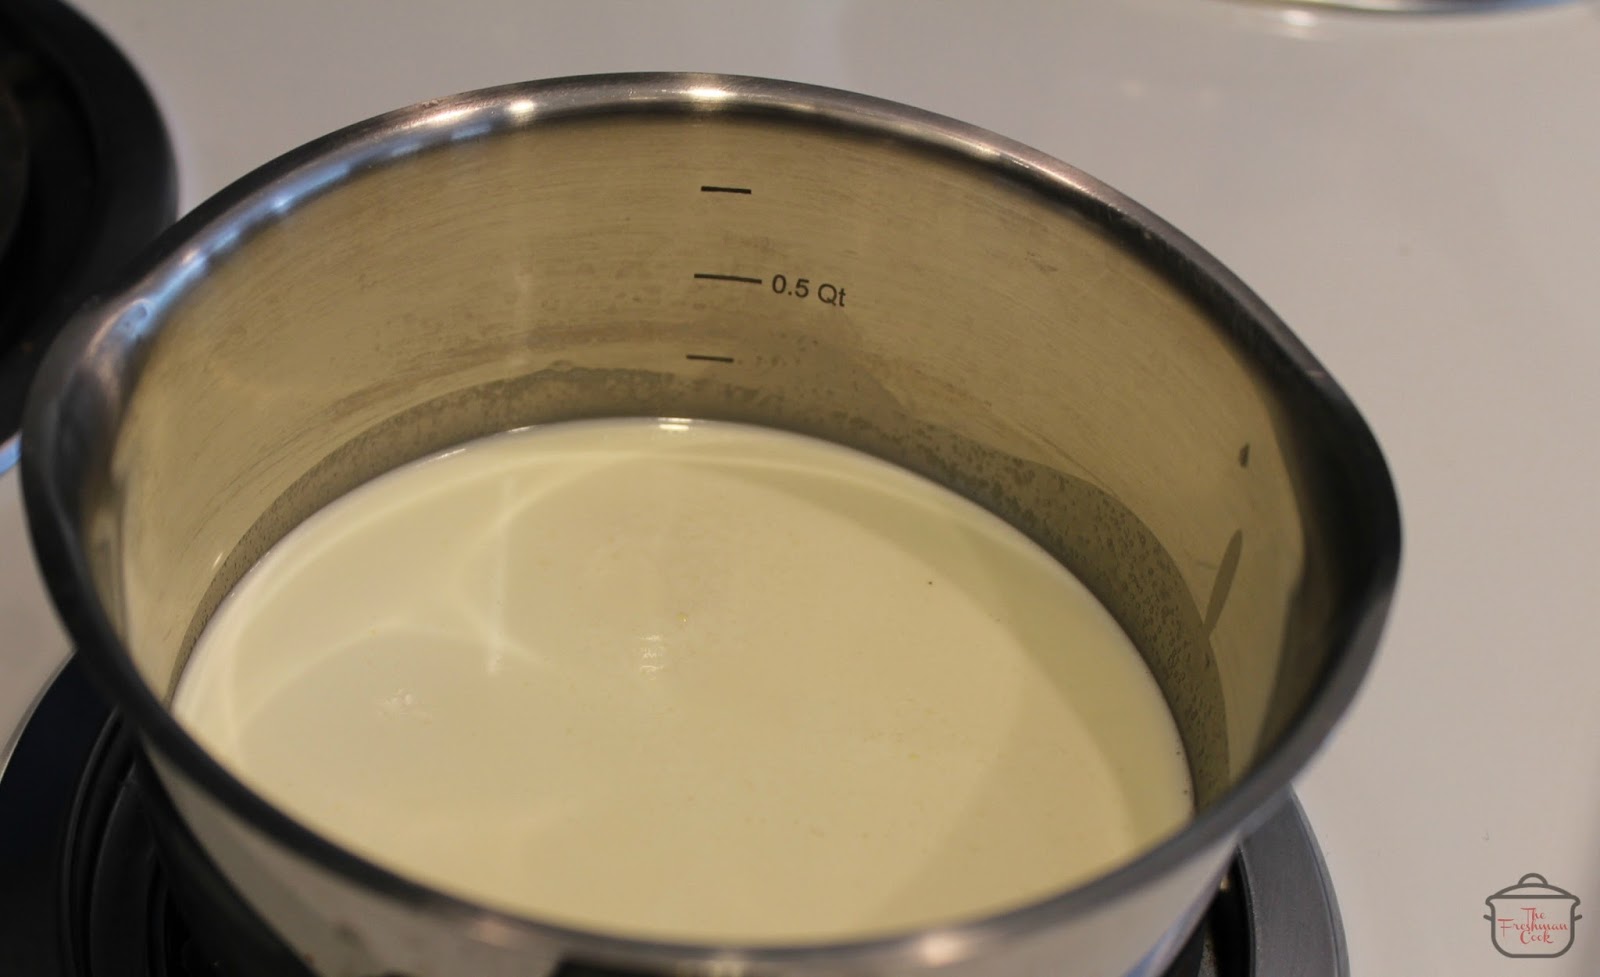
- Warm the heavy whipping cream separately until just warm; do not bring it to a boil.
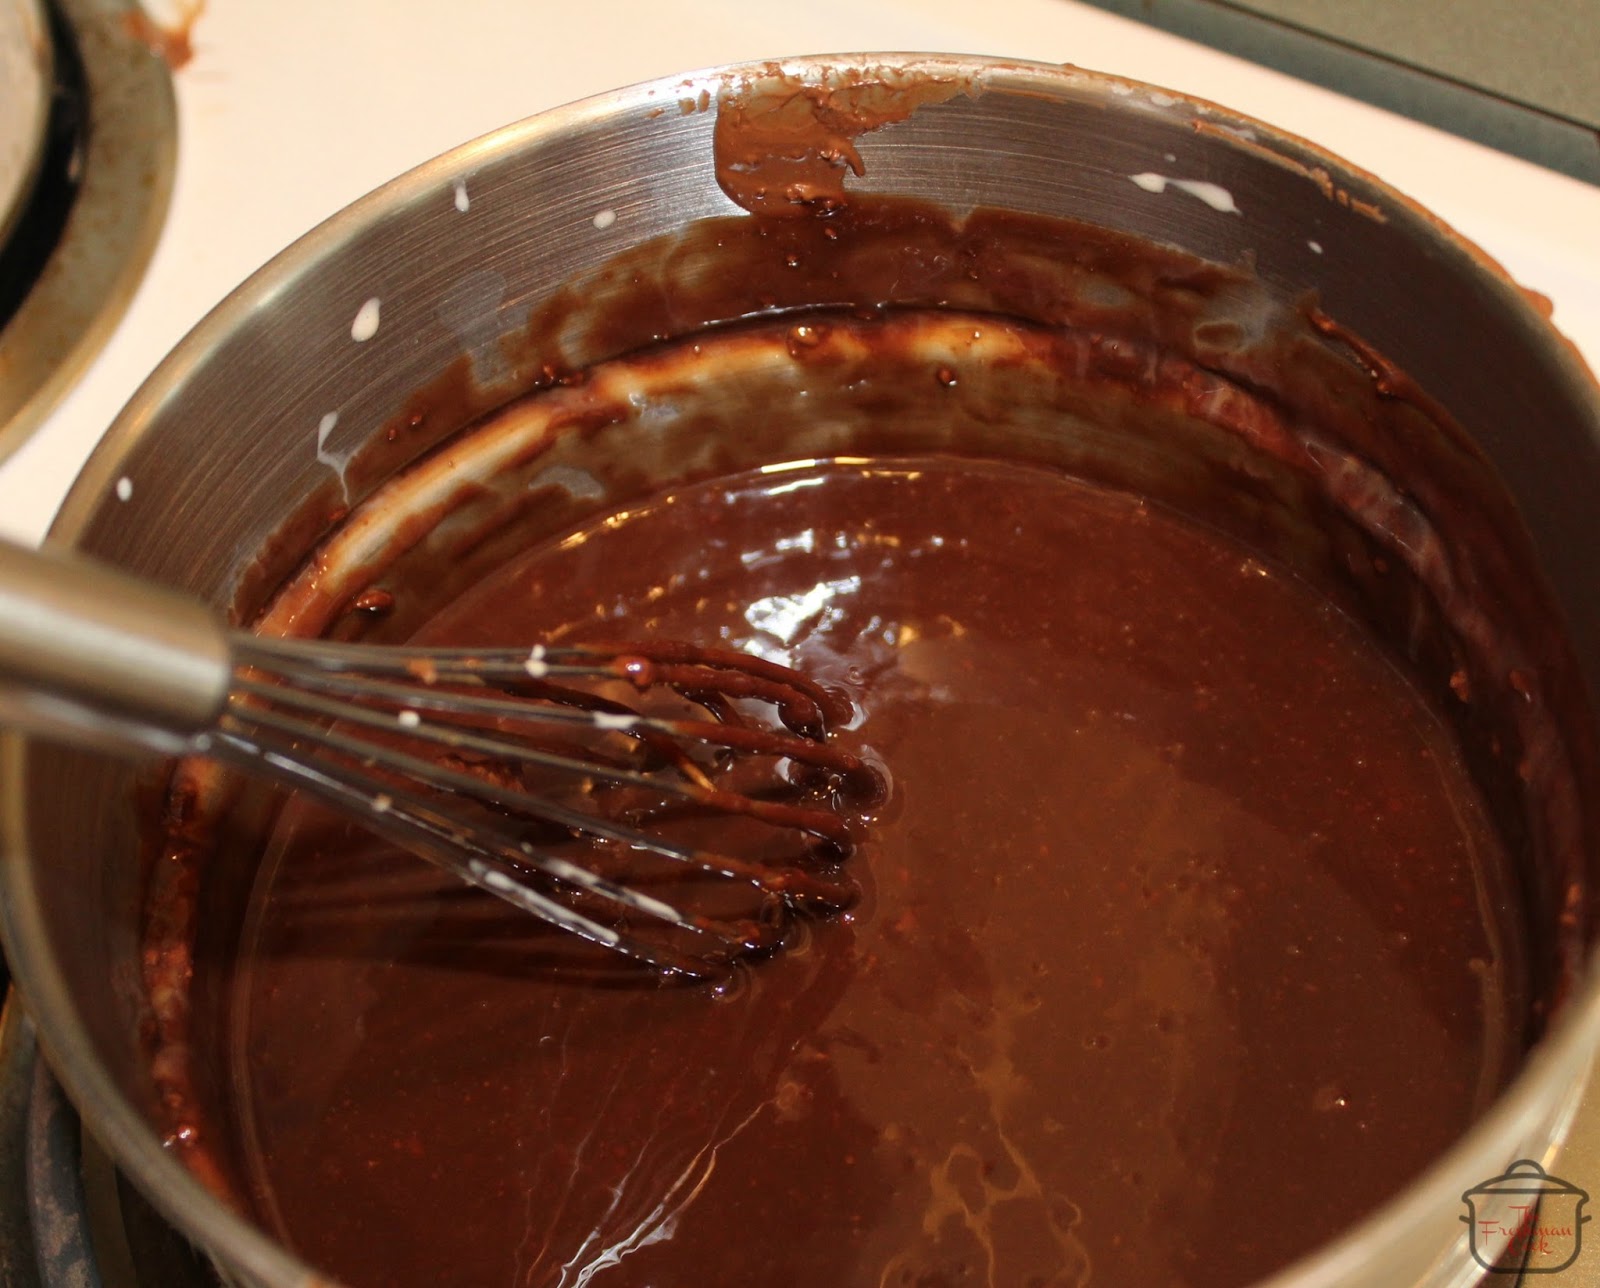
- Gradually add 3–5 ounces of the cream to the melted chocolate, whisking continuously until smooth and slightly loose. Keep the chocolate mixture warm over medium-low heat.
- Crush the chocolate wafer cookies in a food processor or place them in a zip-top bag and crush them with a rolling pin. You will need about ½ cup crushed wafers per tart.
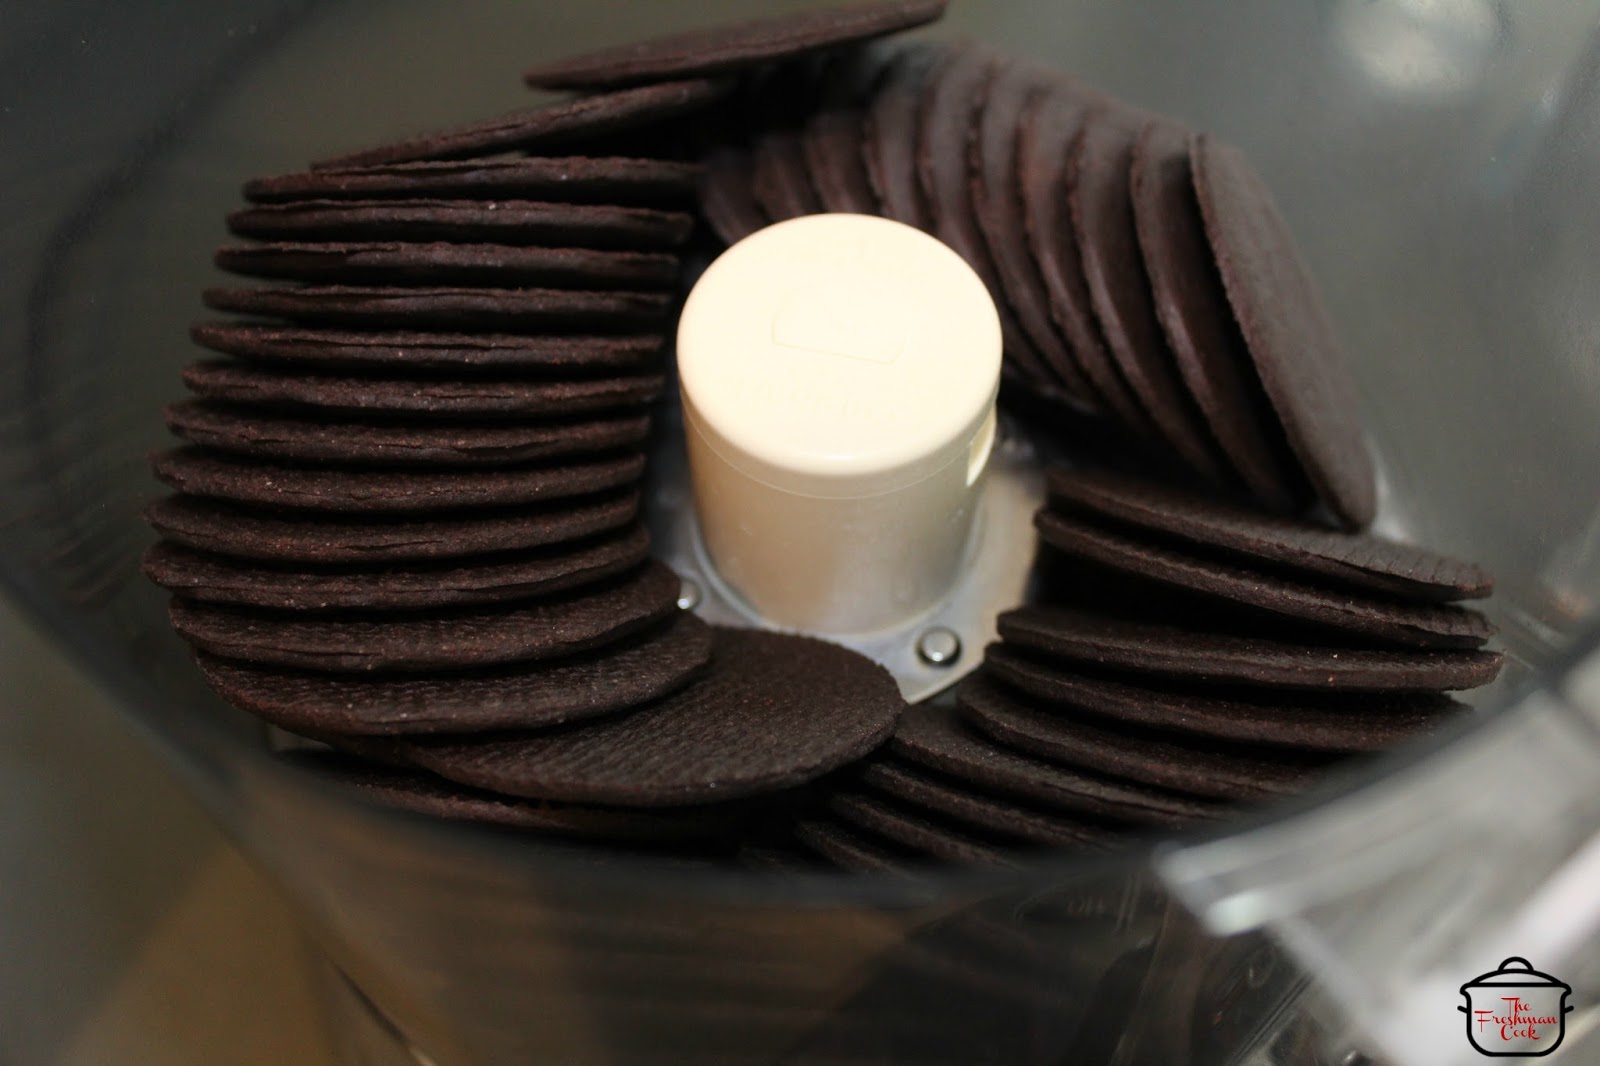
- Melt 1 tablespoon butter per tart and gradually mix it into each portion of crushed wafers. Use only enough butter to bind the crumbs without making them soggy.
- Divide the cookie mixture among the 4 mini tart pans. Press the crumbs firmly across the bottom and evenly up the sides of each pan.
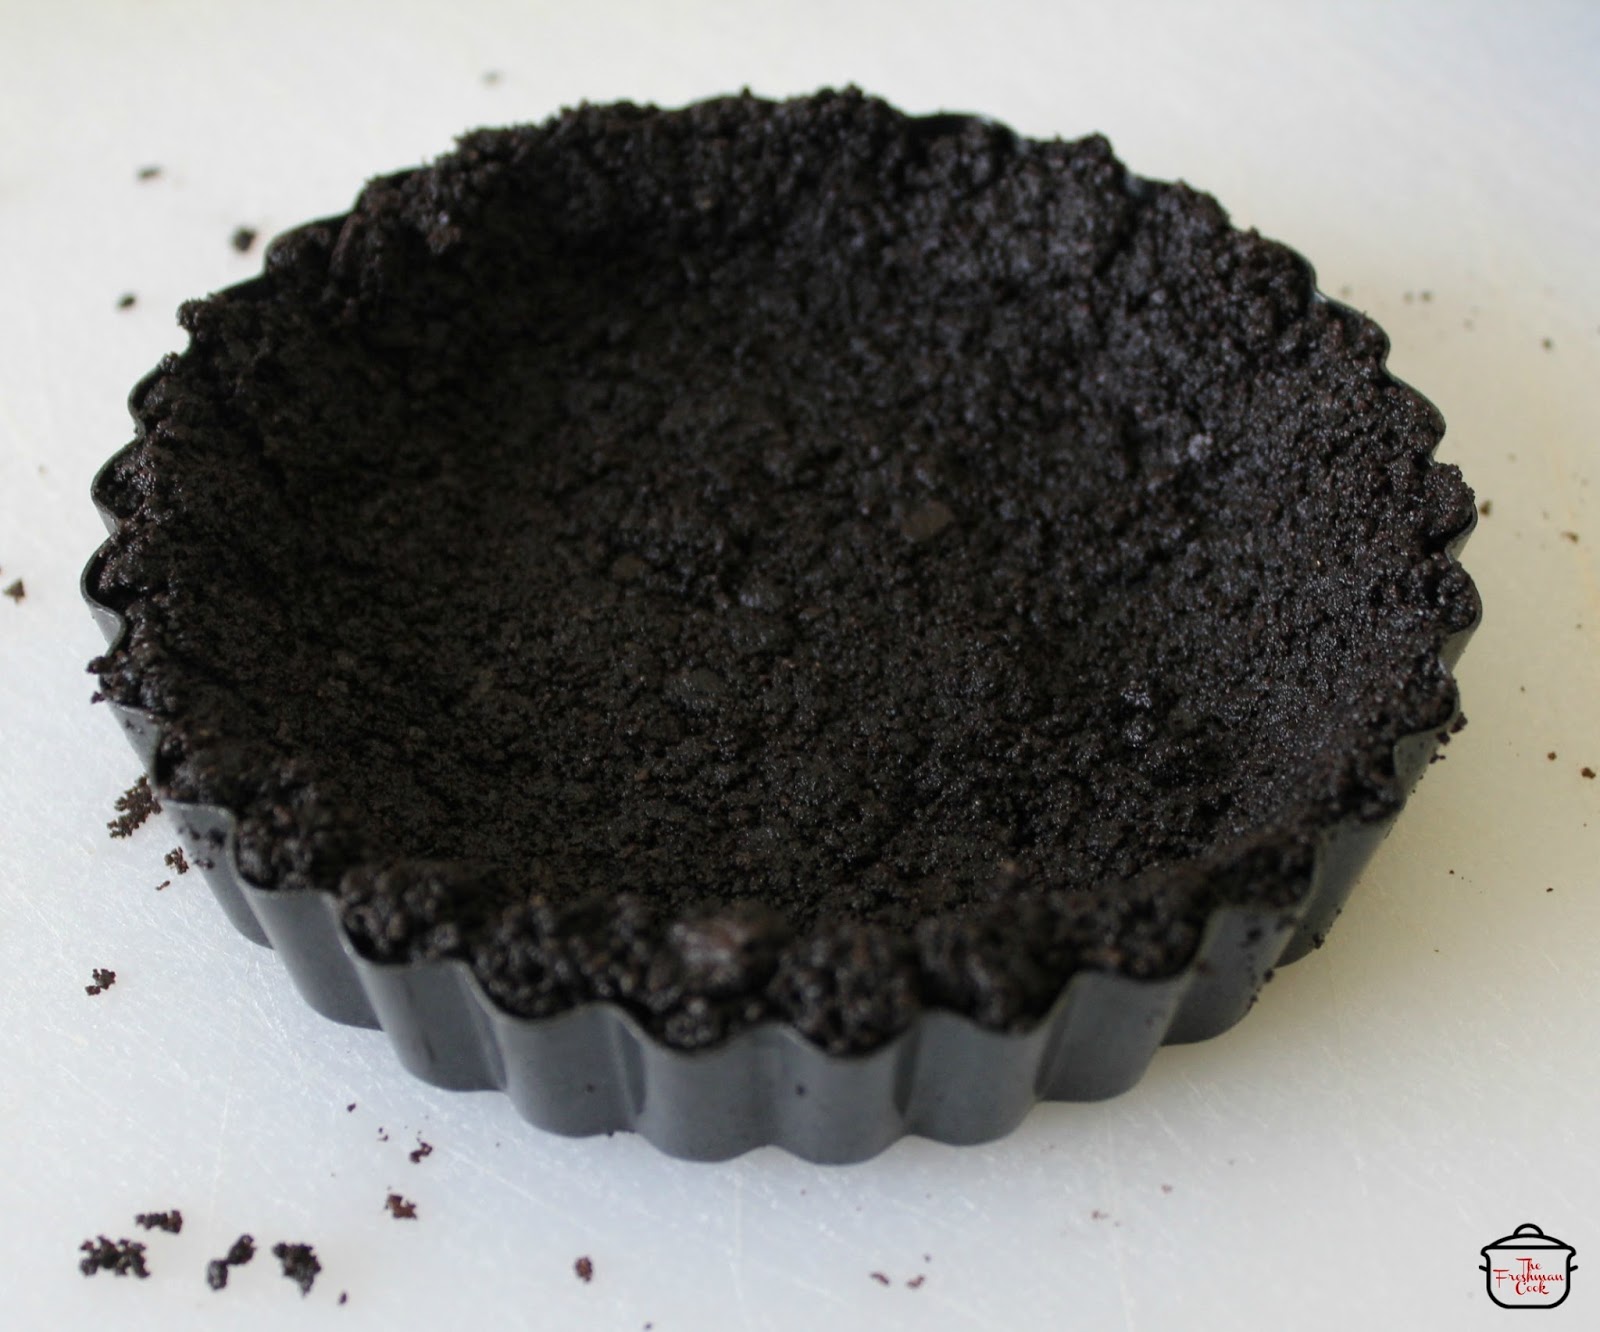
- Pour the melted chocolate mixture evenly into each prepared tart shell. Let the chocolate set completely.
- Cream the butter and shortening together until smooth. Add the vanilla, then gradually mix in the powdered sugar. Add the milk and mix until the frosting is smooth and creamy.
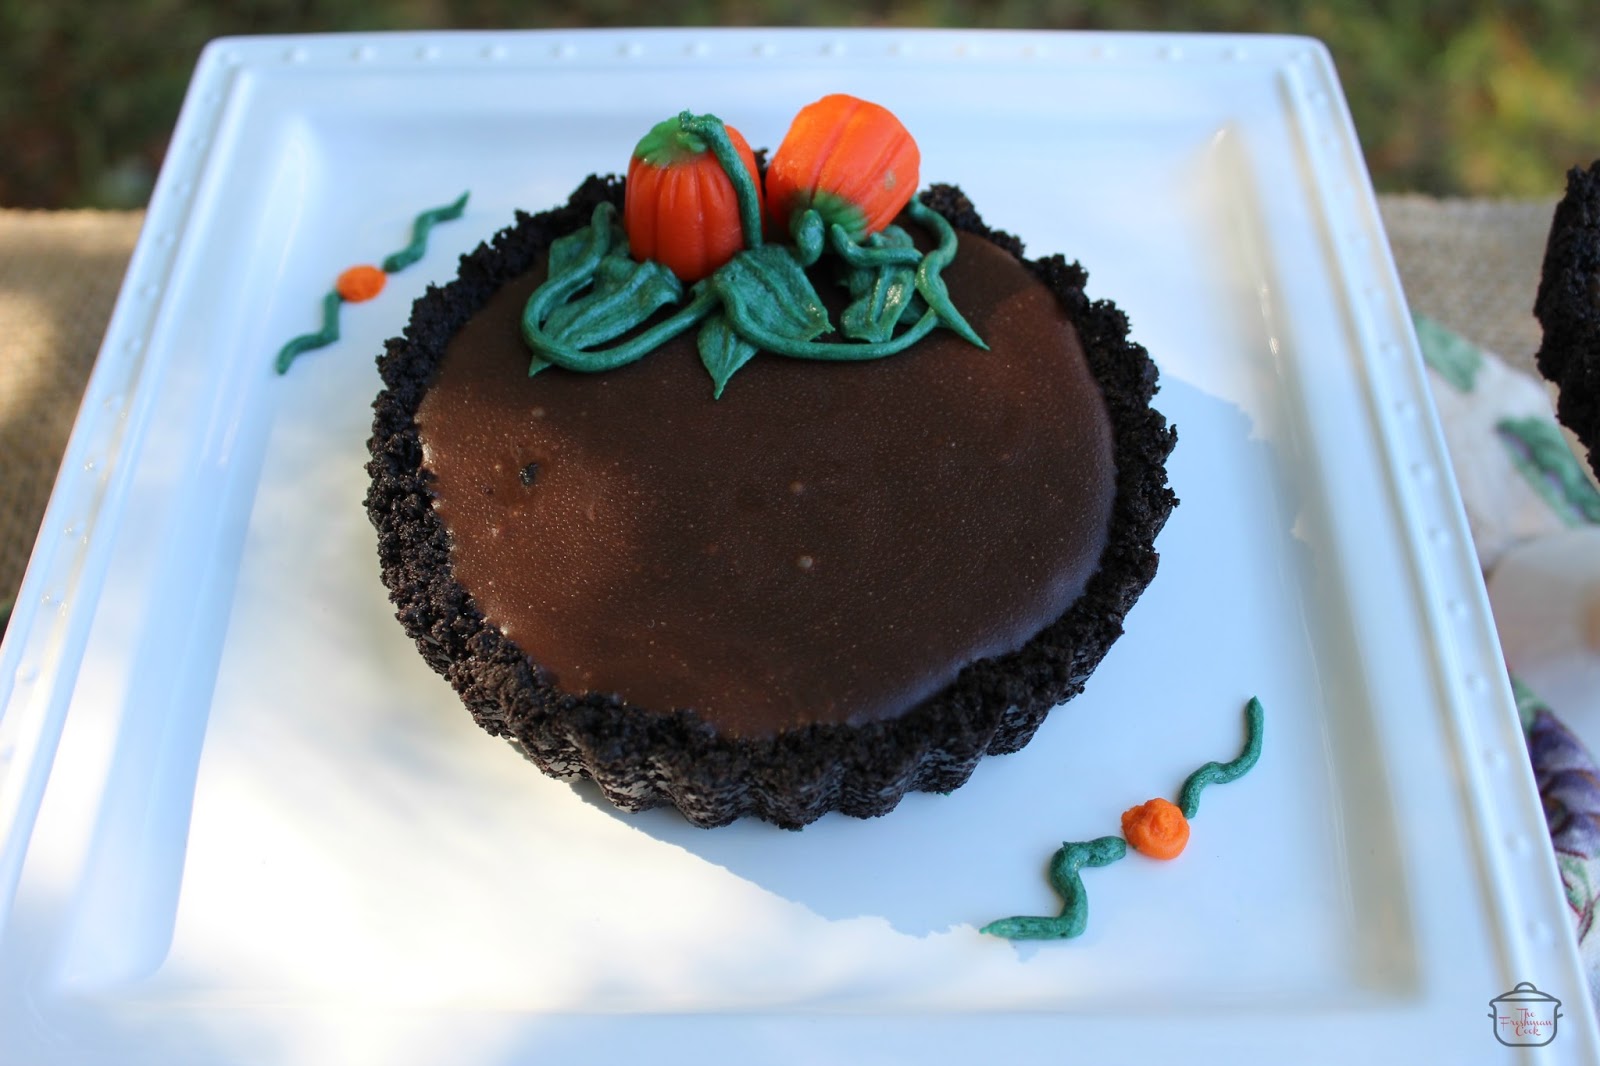
- Divide out some frosting and tint it green. Pipe stems with a Wilton #4 tip and leaves with a Wilton #68 tip. Add candy pumpkins to the tops of the chocolate tarts.
- Cover and refrigerate the decorated tarts if desired. Let them sit at room temperature for about 15 minutes before serving so the chocolate and frosting soften.
Notes
- Mix the crust individually for each tart to make it easier to use the correct amount of crumbs and butter.
- Press the cookie crumbs evenly around the sides of each pan for a sturdy crust.
- The buttercream recipe makes about 3 cups, so you may have extra depending on how heavily you decorate the tarts.
- If refrigerated, the tarts may develop some moisture on the surface. Let them sit at room temperature for about 15 minutes before serving so the moisture dissipates and the dessert softens.
Estimated Nutrition Information
| Nutrient | Estimated Amount per Tart |
|---|---|
| Calories | 850 kcal |
| Total Fat | 47 g |
| Saturated Fat | 25 g |
| Cholesterol | 35 mg |
| Sodium | 350 mg |
| Total Carbohydrates | 105 g |
| Dietary Fiber | 5 g |
| Total Sugars | 80 g |
| Protein | 9 g |
These are rough estimates, not laboratory-tested values. For the most accurate nutrition information, calculate the ingredients using their package labels and the amounts actually used.
Tips for a Firm, Crisp Chocolate Wafer Crust
A good crust should hold together when you remove the tarts from their pans, but it shouldn’t feel greasy or heavy.
- Crush the wafers finely: Fine, even crumbs are easier to press into the corners and sides of the tart pans.
- Add the butter gradually: The crumbs should hold together when pressed, not look oily or saturated.
- Press firmly: Use the back of a spoon or the bottom of a small glass to compact the crumbs across the base and up the sides.
- Keep the thickness even: A consistent crust helps the tarts hold their shape and gives each bite a similar balance of chocolate filling and cookie crunch.
- Allow enough time to set: Don’t rush to remove the crusts from their pans before the filling has firmed up.
If your crust crumbles when you press it, it may need a little more melted butter. Add it in small amounts rather than pouring in too much at once.
How to Decorate the Tarts for Fall
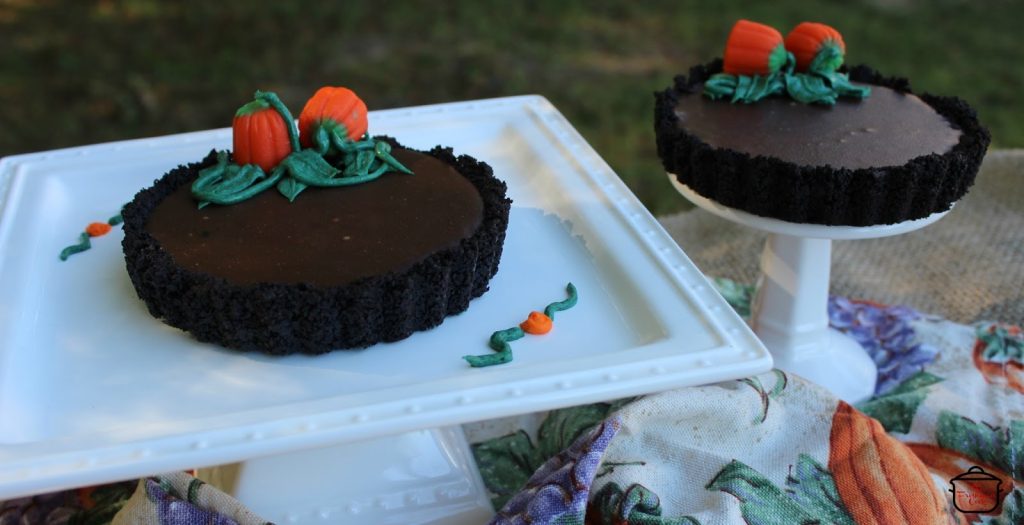
The candy pumpkins are the main attraction, and the green buttercream leaves make them look like tiny pumpkin patches.
- Use the right piping tips. The Wilton #4 tip works well for creating small stems, while the Wilton #68 tip helps shape the leaves. If you’re new to piping, practice a few leaves on a piece of parchment paper before decorating the actual tarts.
- Keep the frosting manageable. Buttercream that is too warm may lose its shape, while very stiff frosting can be difficult to pipe. If it feels too soft, chill it briefly; if it’s too firm, let it sit at room temperature before mixing again.
- Place the pumpkins last. Add the candy pumpkins after piping the leaves so you can position them neatly without smearing the decorations.
Common Mistakes to Avoid
- Overheating the chocolate: Excessive heat can make melted chocolate thick or grainy. Melt it gently and avoid letting water or steam enter the chocolate.
- Adding all the cream at once: The filling may become too loose. Add the cream gradually and stop when the texture is right.
- Using too much butter in the crust: Excess butter can make the crust greasy and difficult to handle. Add only enough to bind the crumbs.
- Decorating before the filling sets: The pumpkins and frosting may slide into the soft chocolate. Let the filling firm up first.
- Removing the tarts too early: The crust may break if you try to remove the pans before the filling has set. Chill until firm and release the removable bottoms carefully.
What to Serve With Easy Chocolate Tart
These mini tarts are quite rich, so I like serving them with something light or slightly tart to balance the sweetness.
- Fresh Berries: Raspberries and strawberries bring a bright, fruity contrast to the creamy chocolate filling.
- Vanilla Ice Cream: A small scoop adds a cool, creamy element that pairs beautifully with the chocolate.
- Freshly Brewed Coffee: Black coffee balances the sweetness and makes these tarts a lovely after-dinner treat.
- Apple Cider: Its warm apple and spice flavors complement the autumn decorations and make the dessert feel especially seasonal.
- Whipped Cream: A small dollop of lightly sweetened whipped cream adds a soft, airy contrast without competing with the chocolate.
Make-Ahead and Storage Tips
These tarts are useful for entertaining because much of the preparation can be done in advance.
- Prepare the crusts ahead: Press the cookie crumbs into the tart pans and keep them covered while you prepare the filling.
- Make the filling in advance: Once assembled, allow the tarts to set completely before adding the decorations.
- Store leftovers covered: Keep the finished tarts in an airtight container in the refrigerator, particularly if your kitchen is warm.
- Let them soften before serving: Allow refrigerated tarts to sit at room temperature for about 15 minutes so the chocolate filling is easier to enjoy.
- Protect the decorations: Store the tarts in a single layer and avoid stacking anything on top of the buttercream leaves or candy pumpkins.
Frequently Asked Questions
- Do I need to bake the chocolate wafer crust?
No. This is a no-bake tart, and the crushed wafer crumbs are combined with melted butter to form the crust. Press the mixture firmly into the pans and allow the finished tarts to set until firm. - Can I use dark chocolate instead of milk chocolate?
Yes, but the flavor and texture may change. Dark chocolate is less sweet and can set differently depending on its cocoa content. If you substitute it, add the cream gradually and check the consistency before filling the shells. - Can I make these tarts the day before Thanksgiving?
Yes. Prepare and chill the tarts a day ahead, then keep them covered in the refrigerator. For the neatest presentation, add or touch up the buttercream decorations close to serving time. - What if I don’t have mini tart pans with removable bottoms?
Mini tart pans with removable bottoms make releasing the desserts easier. If you don’t have them, use small dessert dishes or ramekins and serve the tarts directly from the dishes instead of trying to unmold them. - Why is my chocolate filling too soft?
It may need more time to set, or the chocolate-to-cream ratio may be too loose. Chill the tarts until firm before serving. For future batches, begin with the smaller amount of cream and add more only as needed.


hi there,
The Freshman Cook started as a place to keep track of recipes I wanted to make again. Somewhere along the way, it grew into a collection of meals that friends requested, desserts that disappeared too quickly, and weeknight dinners that made life a little easier.
know more


