
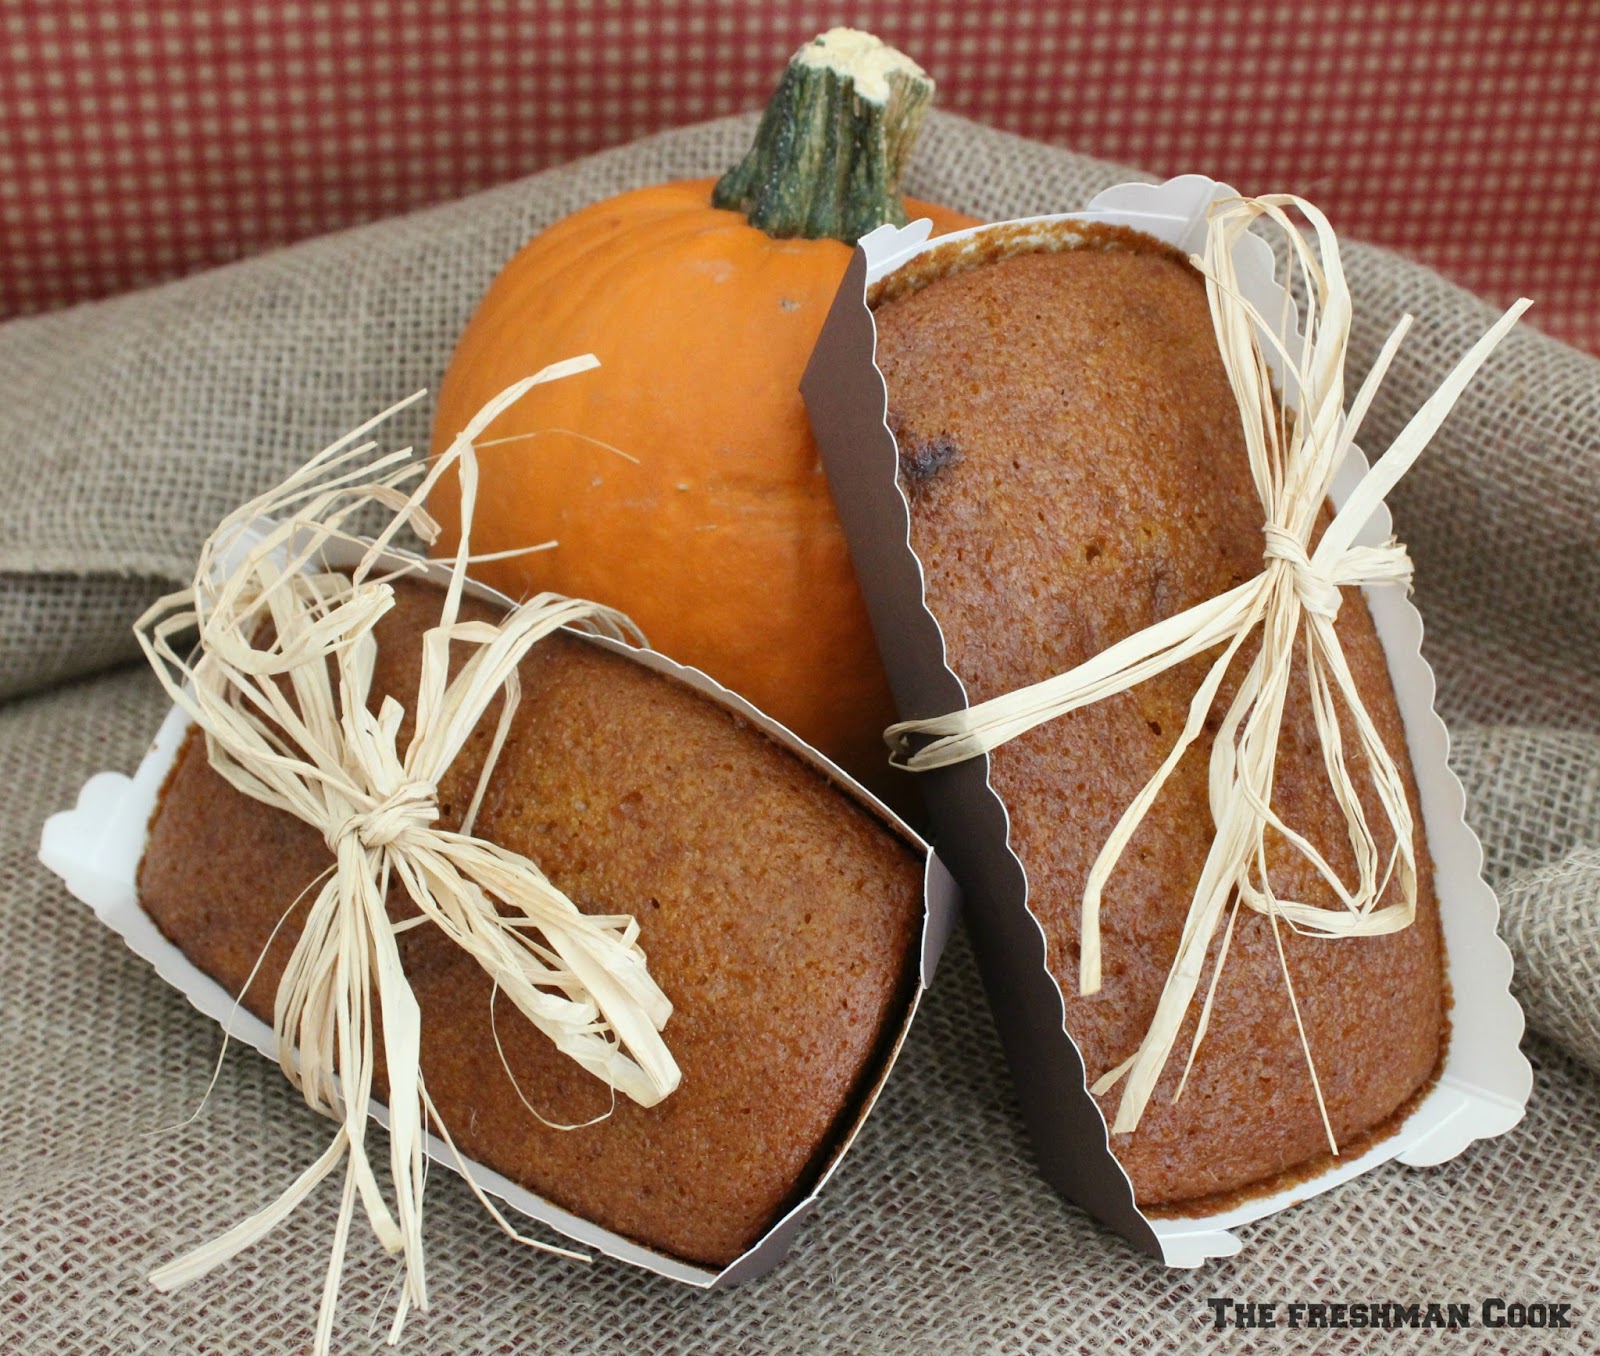

This Homemade Pumpkin Bread is a simple fall loaf made with pumpkin, warm cinnamon and nutmeg, dark brown sugar, and a handful of pantry staples. The batter comes together in one bowl, making it an especially practical recipe when you want to bake several loaves for the season.
The finished bread has a moist, tender crumb with a deep brown-sugar sweetness and gentle pumpkin spice. It is easy to serve as-is, but a slice spread with whipped cream cheese makes a particularly good afternoon treat.
Why This Pumpkin Bread Is Worth Keeping
- Simple Mixing Method: The dry ingredients and wet ingredients come together without a complicated creaming process.
- Easy to Scale: The recipe works particularly well when making more than one loaf for sharing.
- Gift-Friendly: Disposable loaf pans make it possible to bake and give the bread away without worrying about collecting your pans.
- Flexible Pan Size: The original method allows for different loaf pan sizes, with the baking time adjusted accordingly.
- Everyday Ingredients: There are no specialty baking ingredients required.
- Good for Fall Baking: It is an easy recipe to keep in rotation throughout pumpkin season.
Ingredient Insights for a Moist Loaf
- Pumpkin: The pumpkin provides moisture and gives the bread its characteristic seasonal flavor. Use plain pumpkin puree rather than pumpkin pie filling.
- Dark Brown Sugar: Its deeper molasses flavor gives the loaf more character than granulated sugar alone and complements the cinnamon and nutmeg.
- Corn Syrup: Corn syrup contributes sweetness and moisture to the batter, helping the finished bread stay tender.
- Cinnamon and Nutmeg: These two spices keep the flavor warm and familiar without making the bread heavily spiced.
- Eggs: The eggs help bind the ingredients and contribute to the structure of the loaf.
- Flour: Measure the flour carefully. Too much flour can make a pumpkin loaf heavier and drier than intended.

Homemade Pumpkin Bread
Equipment
- Large mixing bowl
- Measuring cups and spoons
- Mixing spoon or spatula
- Loaf Pan
- Cooling rack
Ingredients
- 3½ cups flour
- 2 teaspoons baking soda
- Pinch of salt
- 1 teaspoon cinnamon
- 1 teaspoon nutmeg
- 2 cups sugar
- ½ cup dark brown sugar
- 1 cup corn syrup
- 4 eggs
- ⅔ cup water
- 2 cups pumpkin
Instructions
- Preheat the oven to 350°F.
- Stir the flour, baking soda, salt, cinnamon, nutmeg, sugar, and brown sugar together in a bowl. Make a hole in the center.
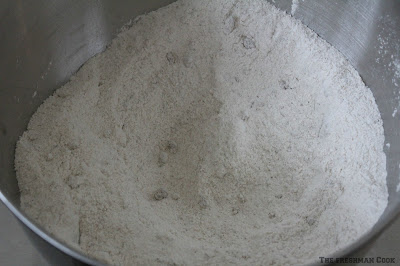
- Add the corn syrup, eggs, water, and pumpkin to the bowl. Mix together.
- Pour the batter into a loaf pan of your choice, filling it about halfway up the pan. Lightly grease a metal loaf pan; greasing is not necessary with most disposable pans.
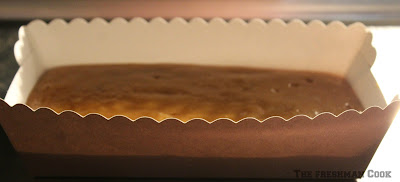
- Bake for 30–40 minutes or more, depending on the size of your pan.
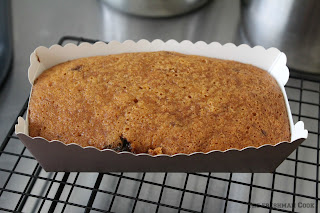
- Once baked, remove from the oven and cool completely.
- Enjoy as is, or spread a slice with whipped cream cheese.
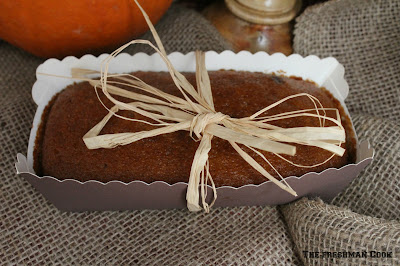
Notes
- Baking time will vary depending on the size and type of loaf pan used.
- The original recipe recommends filling the pan only about halfway.
- Disposable loaf pans are convenient when giving the bread as a gift.
Nutrition Information
| Nutrient | Estimated Per Slice |
|---|---|
| Calories | 390 kcal |
| Carbohydrates | 66 g |
| Protein | 6 g |
| Fat | 13 g |
| Fiber | 3 g |
| Sugar | 43 g |
| Sodium | 310 mg |
Nutrition information is an estimate and will vary depending on the pan size, slice size, and exact ingredients used.
Why Pan Size Changes the Baking Time
This recipe intentionally does not specify one exact loaf-pan size. That means the depth of the batter can change considerably depending on what you use.
A deeper loaf will take longer for the center to bake through, while a shallower pan can finish sooner. The recipe suggests beginning with 30–40 minutes and adding more time when necessary.
The most useful cue is the center of the loaf rather than the clock alone. Make sure the middle is baked through before removing the bread from the oven.
The Best Way to Make This Bread for Gifting
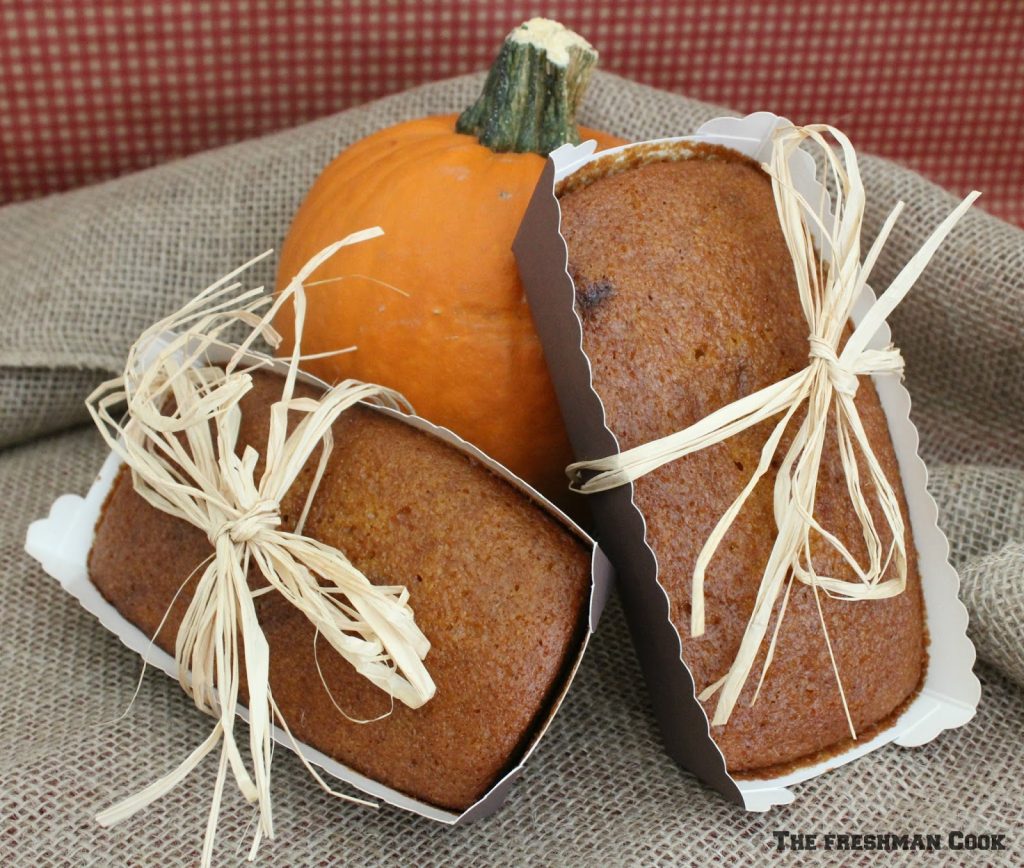
This recipe is particularly suited to sharing because the original method specifically mentions disposable loaf pans.
For gifting, use a disposable pan that is appropriate for baking and fill it only about halfway with batter. Once the bread has completely cooled, the entire loaf can be wrapped or packaged without needing to transfer it to another container.
If you’re baking multiple loaves, prepare the pans before mixing the batter so you can divide everything efficiently once the mixture is ready.
Small Mistakes That Can Affect the Loaf
- Overfilling the Pan: Filling the pan too high can leave the center underbaked while the outside becomes too dark.
- Using an Unprepared Metal Pan: Lightly grease metal loaf pans to make removing the bread easier.
- Underbaking: A loaf that needs more time should remain in the oven until the center is properly baked.
- Cutting Too Soon: Allow the bread to cool completely so the crumb can finish setting.
- Using the Same Timing for Every Pan: Different pan sizes change the depth of the batter and therefore the baking time.
More Pumpkin Recipes You’ll Love
- Pumpkin Cheesecake Truffles
- Tiny Pumpkin Pancakes
- Pumpkin Chocolate Chip Scones
- No-Bake Pumpkin Cheesecake
- Luke’s Diners Pumpkin Pancakes
How to Turn One Recipe Into Multiple Gift Loaves
If you want to use this recipe for holiday or fall gifting, the disposable-pan method makes the process particularly convenient.
Prepare several pans before beginning the batter. Divide the mixture so each pan is filled to approximately the same level, then bake according to the size of the pans.
Let every loaf cool completely before packaging. This prevents trapped heat from creating excess moisture inside the wrapping.
Storage and Gifting Guide
- Cool Completely: Do not wrap the bread while it is still warm.
- Room Temperature: Keep a cooled loaf covered at room temperature for short-term storage.
- Gift Packaging: Wrap completely cooled bread securely before giving it away.
- Individual Slices: Keep leftover slices covered to prevent them from drying out.
- Cream Cheese: If serving with whipped cream cheese, store the cream cheese separately and refrigerate it.
Frequently Asked Questions
- Can I use a disposable loaf pan?
Yes. The original recipe specifically recommends disposable pans for gifting because the recipient does not need to return the baking pan. - Why is the batter only filled halfway up the pan?
The batter needs room to rise during baking. Keeping the pan around halfway full also makes the recipe more adaptable to different loaf-pan sizes. - Can I use pumpkin pie filling instead of pumpkin?
It is better to use plain pumpkin puree. Pumpkin pie filling already contains added sweeteners and spices, which would change the recipe’s proportions. - How do I know when the pumpkin bread is finished?
Because pan size can vary, baking time is not identical for every loaf. Check the center for doneness after the initial 30–40 minute baking window and continue baking if necessary. - Why does the recipe use both granulated and dark brown sugar?
Granulated sugar supplies straightforward sweetness, while dark brown sugar adds deeper molasses notes and contributes to the overall character of the loaf. - Can I bake the bread in a wider pan?
Yes, but the batter will be shallower and may finish sooner. Begin checking earlier rather than automatically using the full original baking time. - Why should the bread cool completely before serving?
Cooling allows the crumb to finish setting. Slicing too early can make the interior seem less stable and harder to cut cleanly.

hi there,
The Freshman Cook started as a place to keep track of recipes I wanted to make again. Somewhere along the way, it grew into a collection of meals that friends requested, desserts that disappeared too quickly, and weeknight dinners that made life a little easier.
know more