


These Pumpkin Chocolate Chip Scones are tender, buttery, and filled with warm fall spices and melty chocolate chips in every bite. Made with real pumpkin purée and cold butter, they are a wonderful way to welcome cooler weather. They’re simple enough for a relaxed weekend breakfast yet special enough for holiday brunches or afternoon coffee breaks.
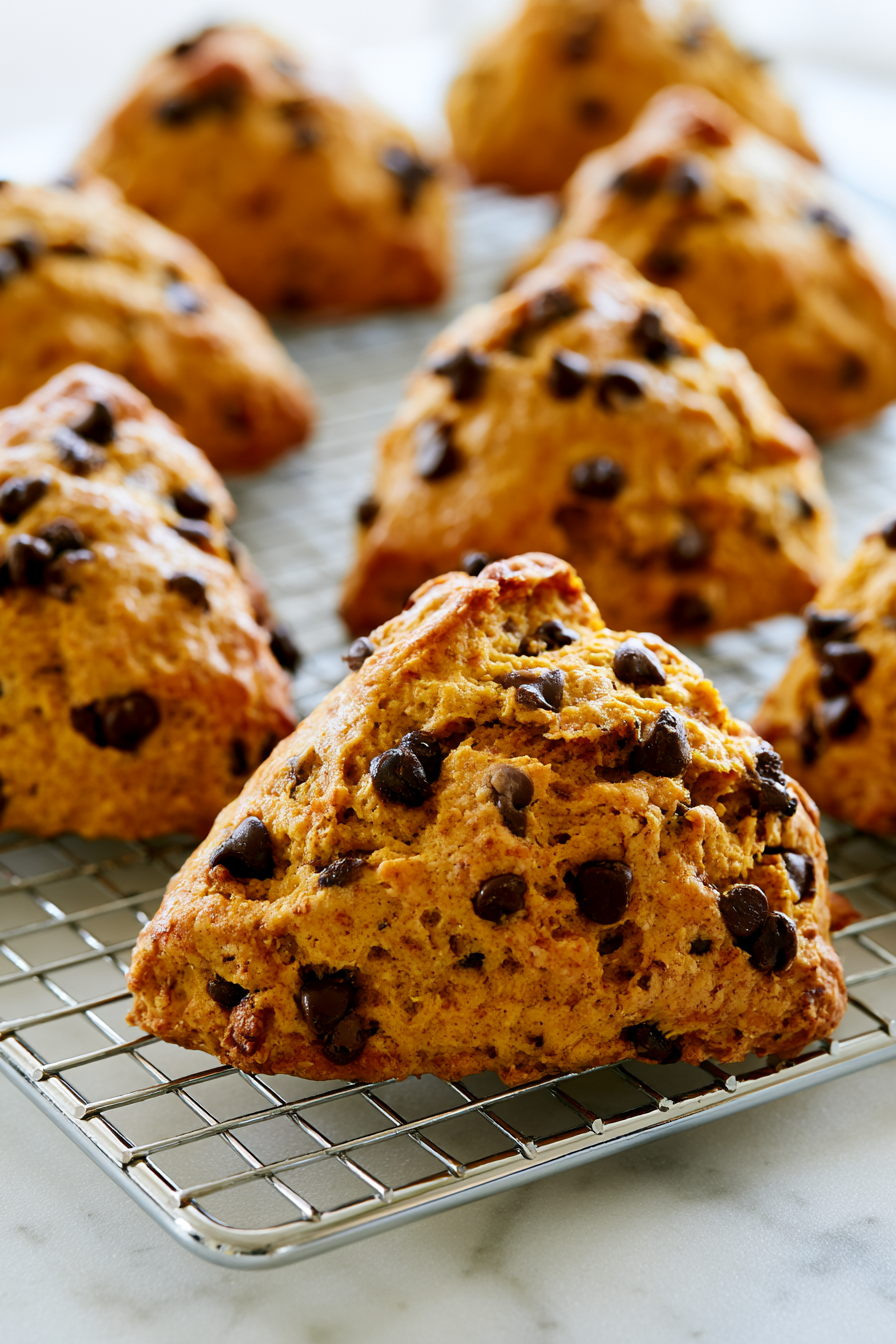
Each scone bakes with crisp golden edges and a soft, flaky center. The pumpkin keeps the interior moist while mini chocolate chips add little pockets of sweetness that balance the gentle spices without overpowering them.
Why You’ll Reach for This Recipe Again
- Easy Pantry Ingredients: Everything comes together with common baking staples and canned pumpkin.
- Flaky Texture: Cold grated butter creates light, tender layers without complicated techniques.
- Great for Fall Baking: Pumpkin and warm spices make these scones ideal throughout the season.
- Perfect for Brunch: Easy to prepare for breakfast gatherings, coffee dates, or holiday mornings.
- Freezer Friendly Dough: Shape the scones ahead of time and bake when you’re ready.
Ingredient Notes & Easy Substitutions

- Pumpkin Purée: Use pure pumpkin purée, not pumpkin pie filling, for the best texture and balanced sweetness.
- Very Cold Butter: Cold grated butter distributes evenly through the dough, creating flaky layers as it melts during baking.
- Heavy Cream: Adds richness and moisture. Half-and-half can work in a pinch, although the scones may be slightly less tender.
- Mini Chocolate Chips: Their smaller size spreads chocolate throughout every bite. Regular chocolate chips can also be used.
- Pumpkin Pie Spice: A ready-made blend keeps preparation simple. If needed, use a homemade blend with cinnamon, ginger, nutmeg, and cloves.
- Egg Wash: Helps create a beautifully golden top with a light bakery-style finish.
Chef’s Tip: Keep the butter and shaped scones as cold as possible before baking. Chilled dough helps the butter stay solid longer, producing taller scones with distinct flaky layers.

Pumpkin Chocolate Chip Scones
Equipment
- Large mixing bowl
- Whisk
- Pastry cutter or two forks
- Box grater (for butter)
- Measuring cups and spoons
- Rubber Spatula
- Baking sheet
- Parchment paper
- Bench scraper or sharp knife
- Wire cooling rack
Ingredients
- 2½ cups all-purpose flour
- ⅓ cup granulated sugar
- 1 tablespoon baking powder
- ½ teaspoon baking soda
- ½ teaspoon salt
- 1½ teaspoons pumpkin pie spice
- ½ teaspoon ground cinnamon
- ½ cup unsalted butter very cold and grated
- ½ cup pumpkin purée
- 1 large egg
- 3 tablespoons heavy cream
- 1 teaspoon pure vanilla extract
- ¾ cup mini semi-sweet chocolate chips
Egg Wash
- 1 egg beaten
- 1 teaspoon milk or heavy cream
Optional Cinnamon Sugar Topping
- 2 tablespoons granulated sugar
- ½ teaspoon ground cinnamon
Instructions
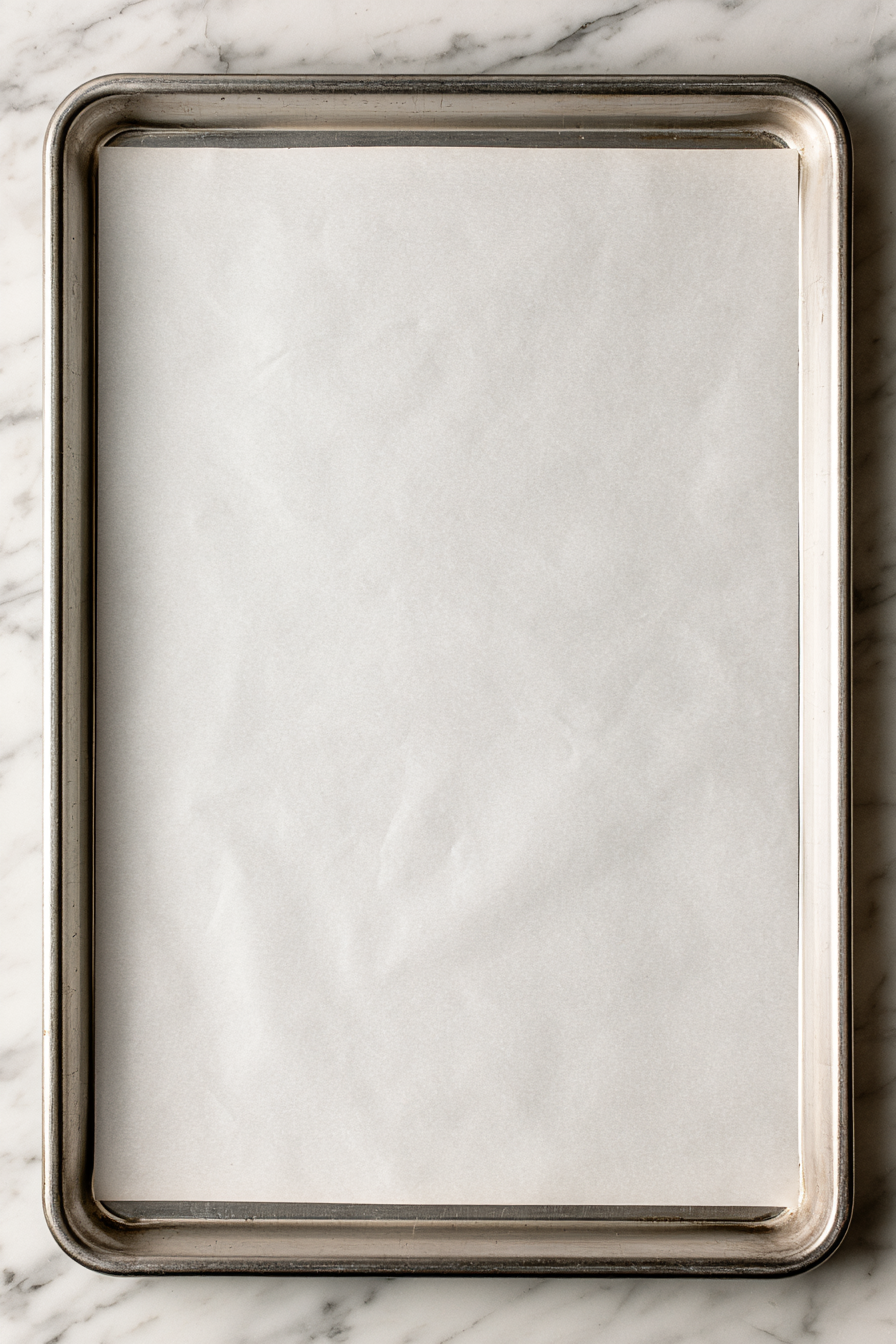
- Preheat the oven to 400°F (200°C) and line a baking sheet with parchment paper.
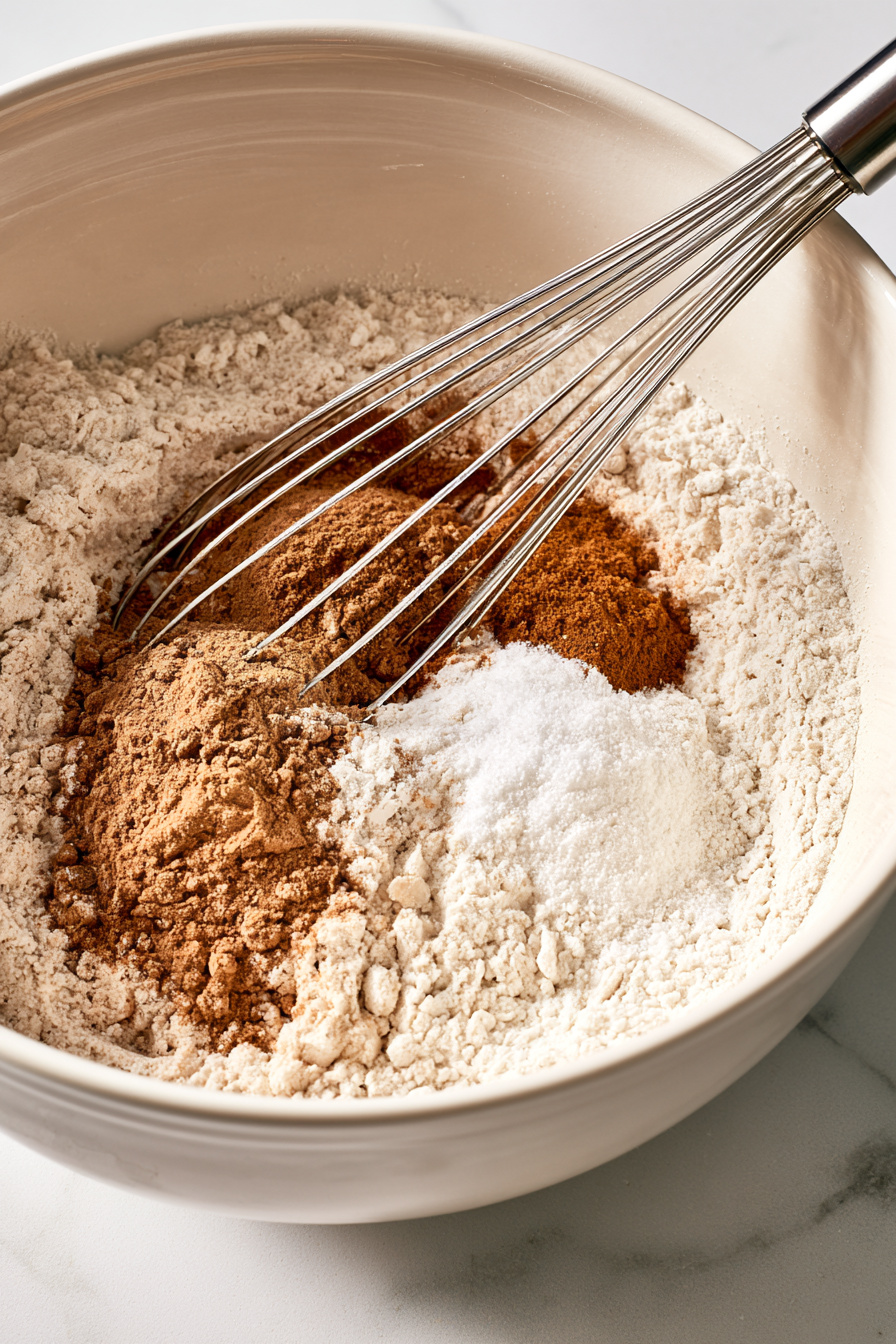
- Whisk together the flour, sugar, baking powder, baking soda, salt, pumpkin pie spice, and cinnamon in a large mixing bowl until evenly combined.
- Add the grated cold butter and gently work it into the flour mixture using a pastry cutter or your fingertips until the mixture resembles coarse crumbs with small pieces of butter throughout.
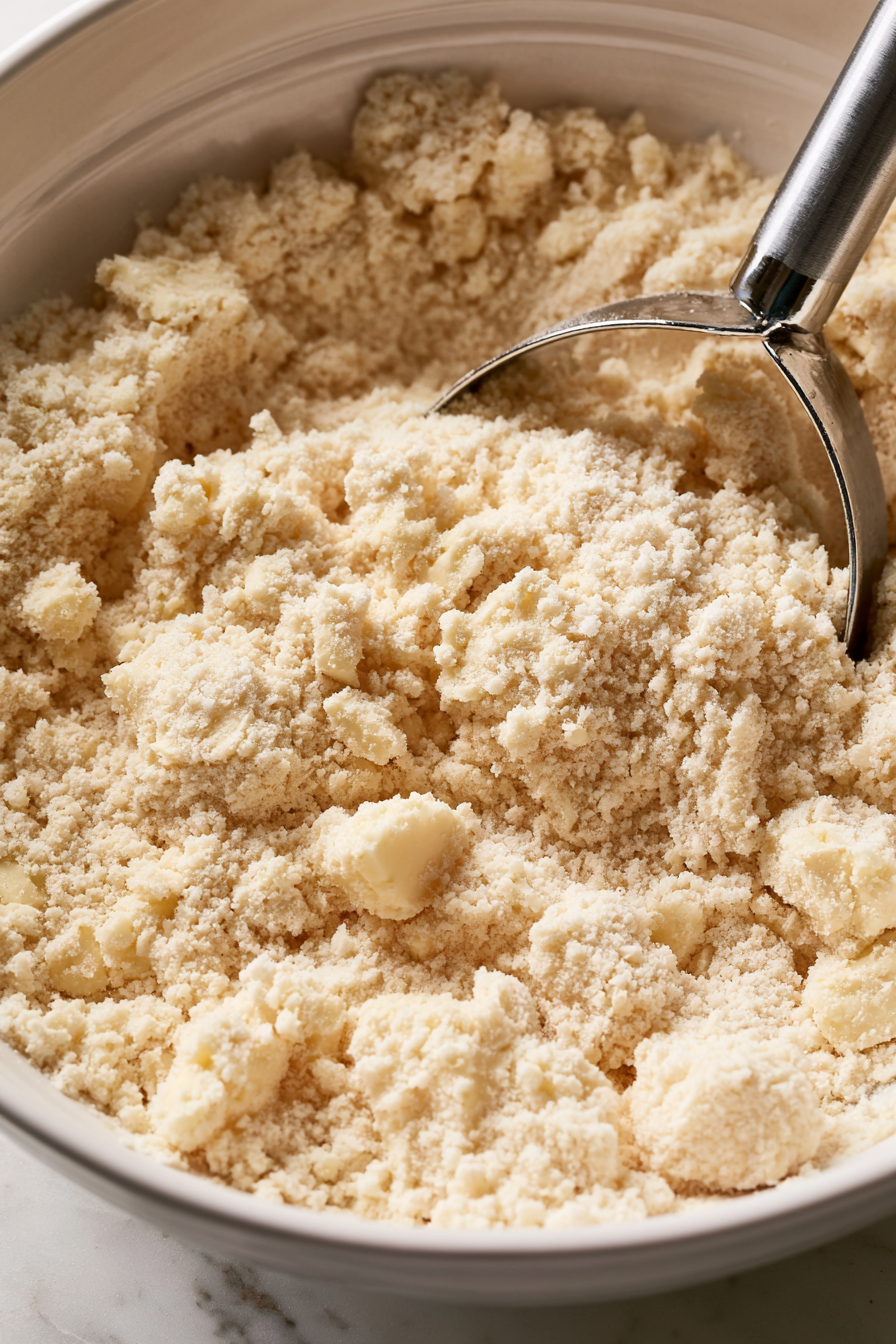
- In a separate bowl, whisk together the pumpkin purée, egg, heavy cream, and vanilla until smooth.
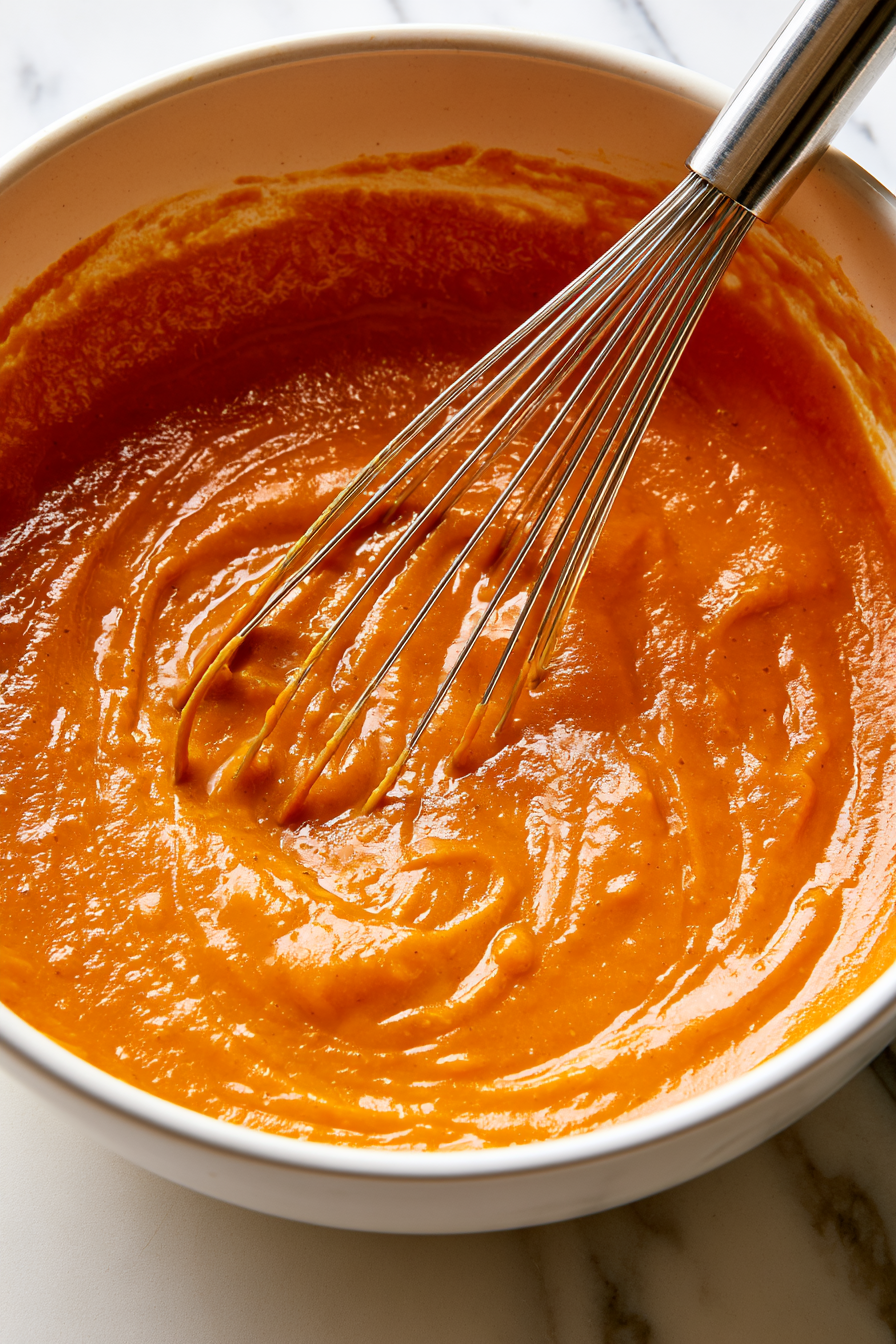
- Pour the wet ingredients into the dry ingredients and stir gently just until the dough begins to come together. Fold in the chocolate chips, taking care not to overmix.
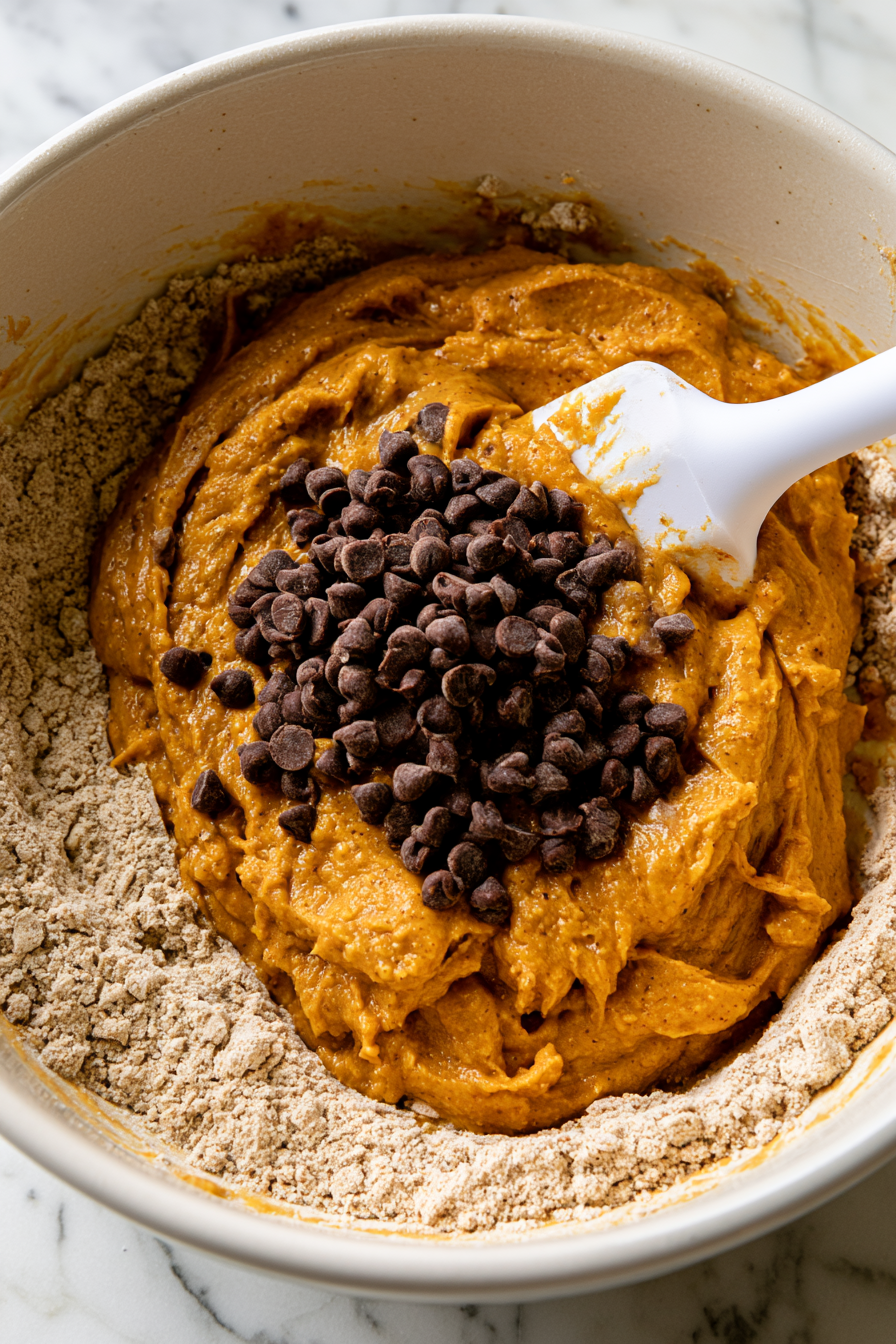
- Transfer the dough onto a lightly floured surface and gently press it into an 8-inch round about 1 inch thick. Cut the round into 8 equal wedges.
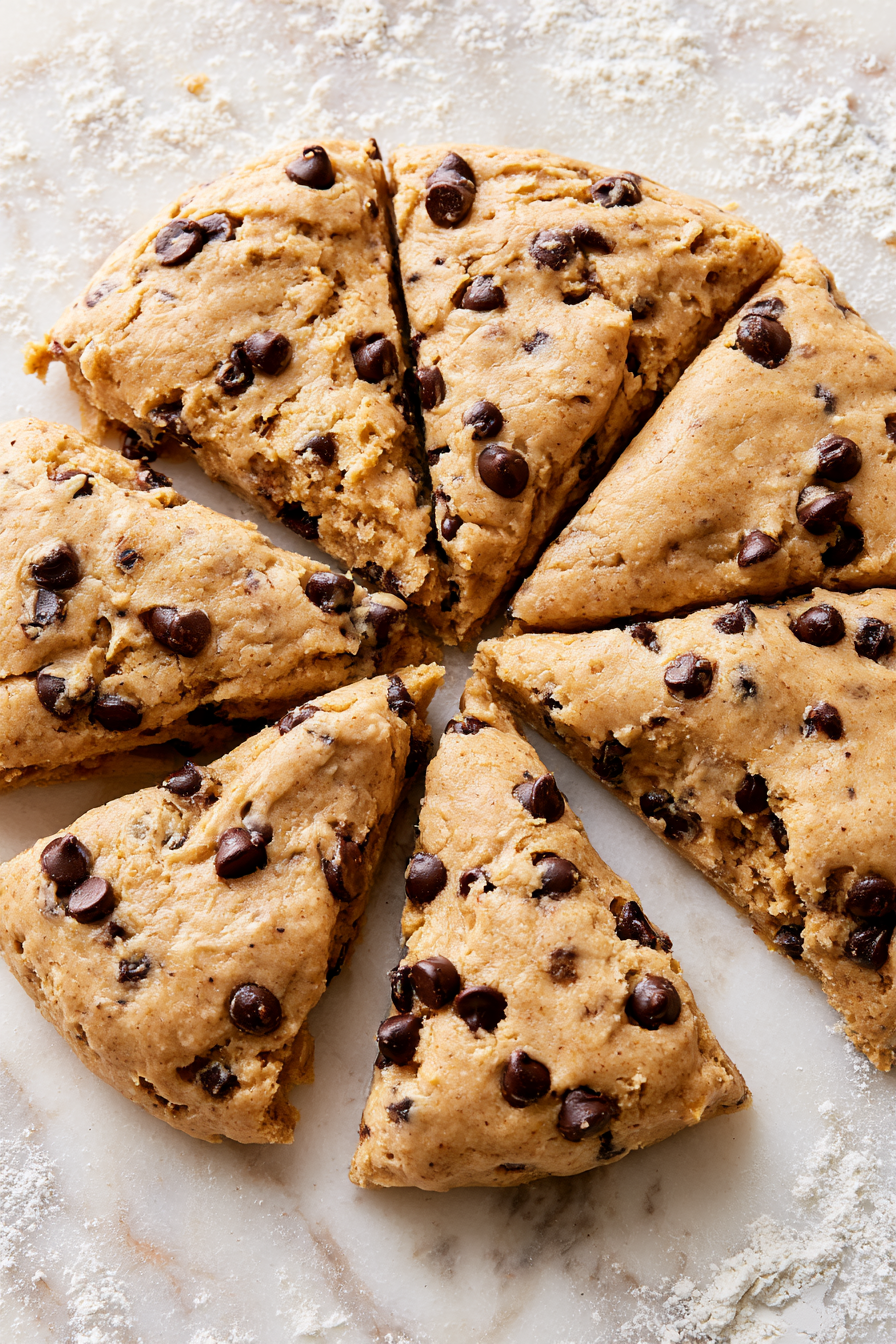
- Arrange the wedges on the prepared baking sheet, leaving space between each one. Refrigerate the shaped scones for about 20 minutes to help them bake up tall and flaky.
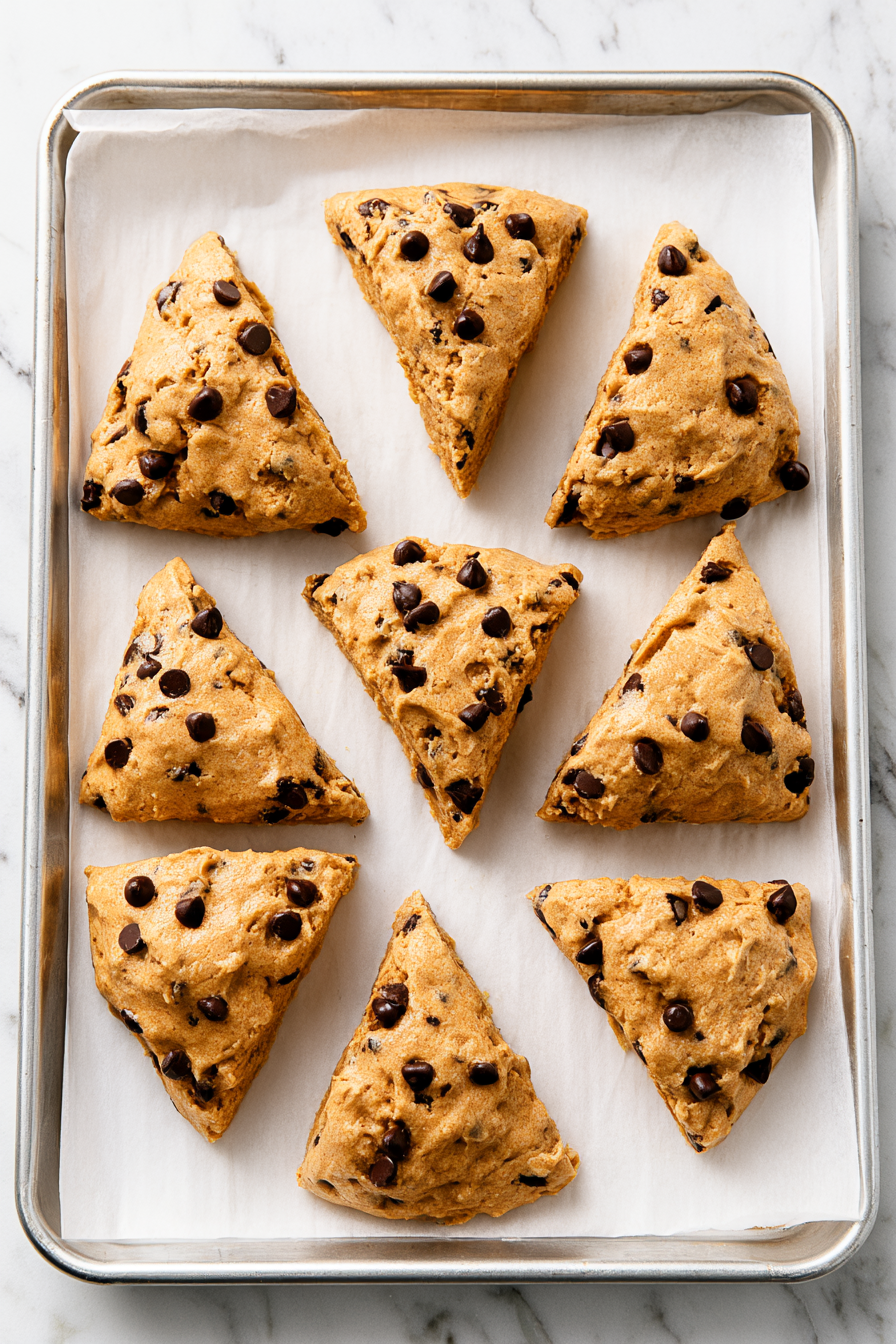
- Brush the tops with the egg wash and sprinkle with the cinnamon sugar mixture if using.
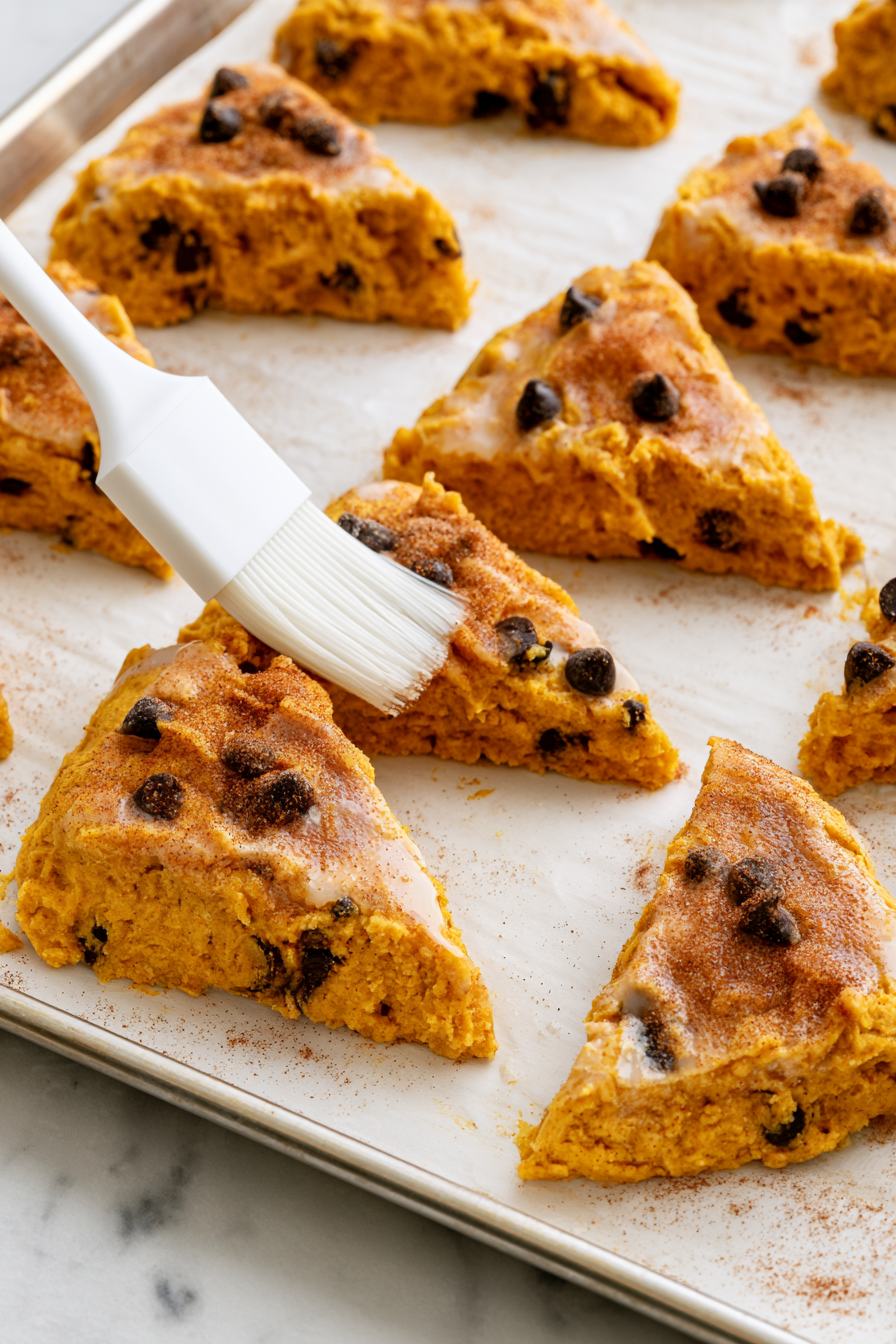
- Bake until the tops are lightly golden and the centers are set, about 18 to 20 minutes.

- Let the scones cool on the baking sheet for 5 minutes before transferring them to a wire rack. Enjoy warm or at room temperature.
Nutrition Information
| Nutrient | Per Serving |
|---|---|
| Calories | 315 kcal |
| Carbohydrates | 39 g |
| Protein | 5 g |
| Fat | 15 g |
| Fiber | 2 g |
| Sugar | 12 g |
| Sodium | 285 mg |
Chef’s Secrets to Avoiding Common Mistakes
- Warm Butter: Soft butter melts too quickly and reduces the flaky texture.
- Overmixing the Dough: Mixing too much develops gluten, making the scones dense.
- Skipping the Chill Time: Cold dough helps the scones rise higher and keeps the layers distinct.
- Adding Too Much Flour: Excess flour during shaping can dry out the finished scones.
- Uneven Scone Sizes: Different sizes bake at different rates, leading to inconsistent results.
- Overbaking: Baking too long can dry the centers before the edges become golden.
Easy Ways to Change It Up
- Dark Chocolate Version: Replace the semi-sweet chips with dark chocolate chips.
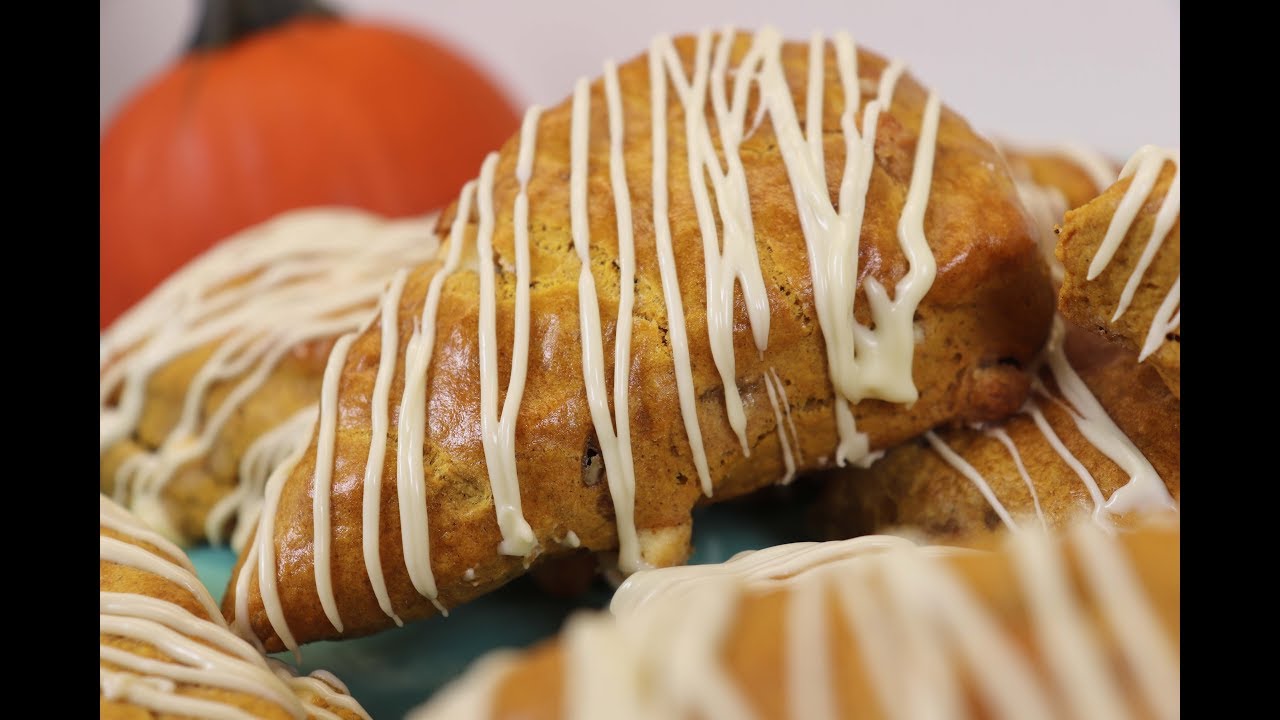
- Maple Glaze Finish: Drizzle cooled scones with a simple maple glaze.
- Nutty Addition: Fold chopped pecans or walnuts into the dough.
- White Chocolate Twist: Swap the chocolate chips for white chocolate chips.
- Espresso Flavor: Add a teaspoon of espresso powder to the dry ingredients.
- Crunchy Topping: Sprinkle coarse sparkling sugar over the egg wash before baking.
- Dried Cranberry Mix: Replace part of the chocolate chips with dried cranberries.
More Must-Try Recipes
Keep It Fresh Longer
- Make Ahead: Prepare and shape the dough up to 24 hours before baking, keeping it refrigerated until ready.
- Room Temperature: Store cooled scones in an airtight container for up to 2 days.
- Refrigerator Storage: Refrigerate in an airtight container for up to 5 days.
- Freezer Storage: Freeze baked scones in a freezer-safe container for up to 3 months.
- Reheating: Warm in a 300°F oven for 5 to 8 minutes or microwave briefly until just heated through.
Reader Questions Answered
- Why do I need to grate the butter instead of cubing it?
Grated butter blends evenly into the flour, making it easier to create flaky layers without overworking the dough. - Can I use homemade pumpkin purée?
Yes. Make sure it is thick and well-drained so the dough does not become overly wet. - Why are my scones spreading instead of rising?
The butter may have become too warm before baking, or the dough may not have been chilled long enough. - How do I know when the scones are fully baked?
The tops should be lightly golden, and the centers should feel set when gently pressed. - Can I make smaller scones?
Yes. Divide the dough into smaller wedges and begin checking for doneness several minutes earlier. - Should the dough be sticky or dry?
It should be slightly tacky but still easy to handle. Avoid adding large amounts of extra flour during shaping. - Why shouldn’t I overwork the dough?
Gentle handling keeps the butter pieces intact and prevents excessive gluten development, resulting in lighter scones. - Can I use a pastry blender instead of my hands?
Yes. A pastry blender works very well and helps keep the butter cold while evenly distributing it throughout the flour.

hi there,
The Freshman Cook started as a place to keep track of recipes I wanted to make again. Somewhere along the way, it grew into a collection of meals that friends requested, desserts that disappeared too quickly, and weeknight dinners that made life a little easier.
know more