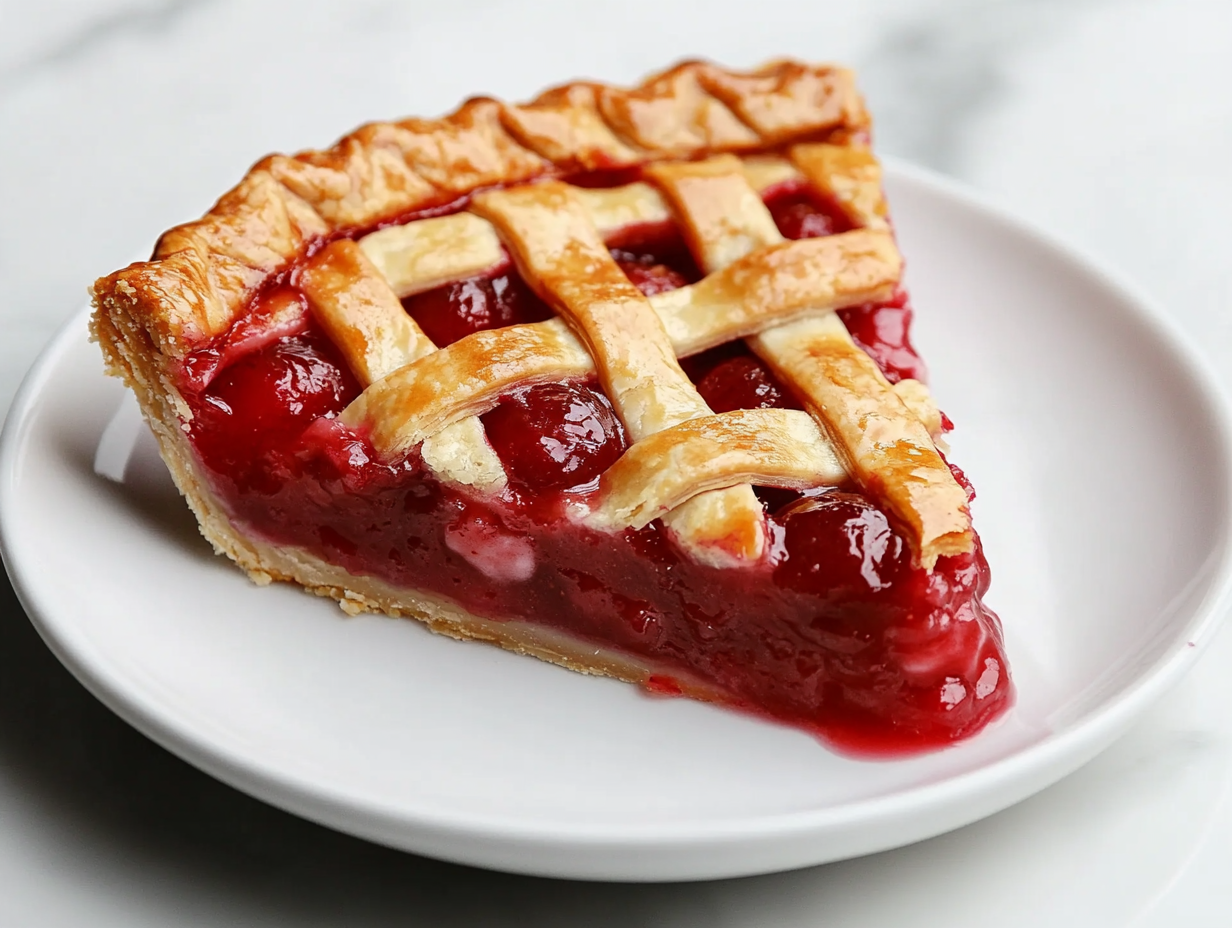
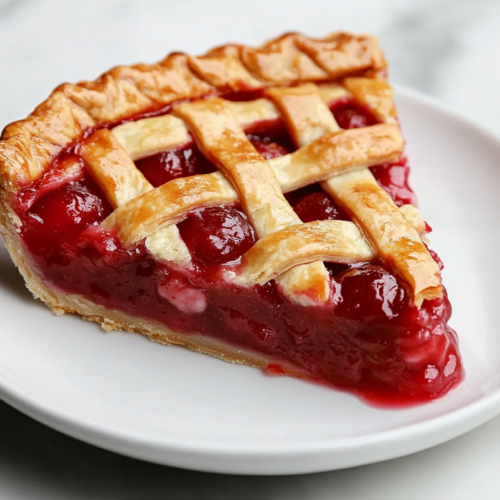
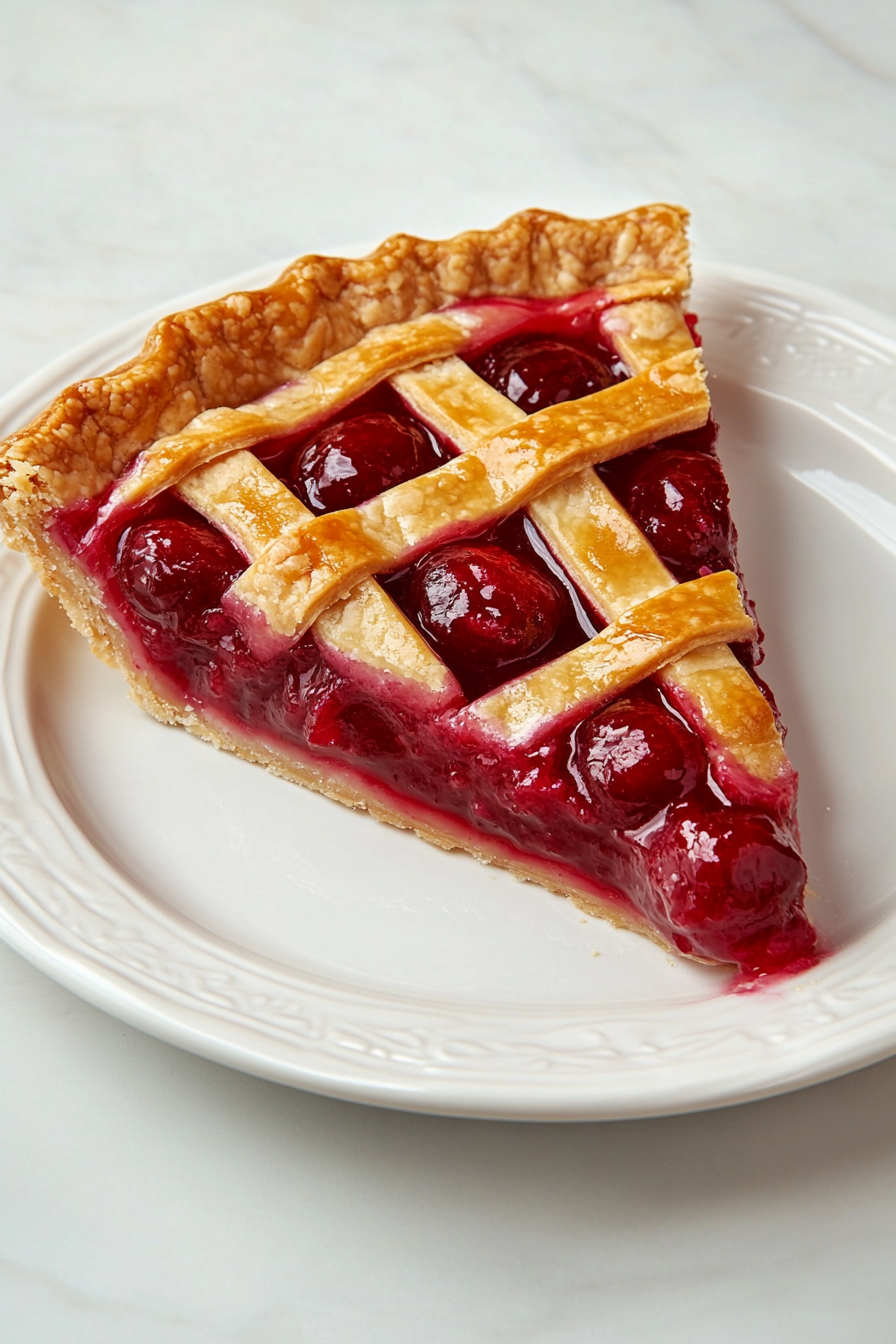
This sweet cherry pie, with a flaky vegan crust, is bursting with juicy cherry filling. Its delicate lattice top makes it a gorgeous, comforting dessert perfect for any occasion.
The combination of sweet cherries, a buttery vegan crust, and the beautiful lattice design creates a pie that’s both visually stunning and delicious.
Whether you’re serving it for a holiday or a casual get-together, this pie is sure to be the star of the show.
Table of Contents
Why You’ll Love This Recipe
- Quick to Prepare: With just over an hour of prep and cooking time, this pie comes together easily.
- Vegan-Friendly: A plant-based crust and filling make this a perfect dessert for those following a vegan diet.
- Flaky, Buttery Crust: The cold vegan butter creates a wonderfully flaky crust, while the sweetness of the cherry filling shines through.
- Perfect for Any Occasion: Whether it’s a casual family dinner or a special celebration, this cherry pie fits the bill.
- Customizable: You can adjust the sweetness and tartness of the filling based on your preference by using tart or sweet cherries.

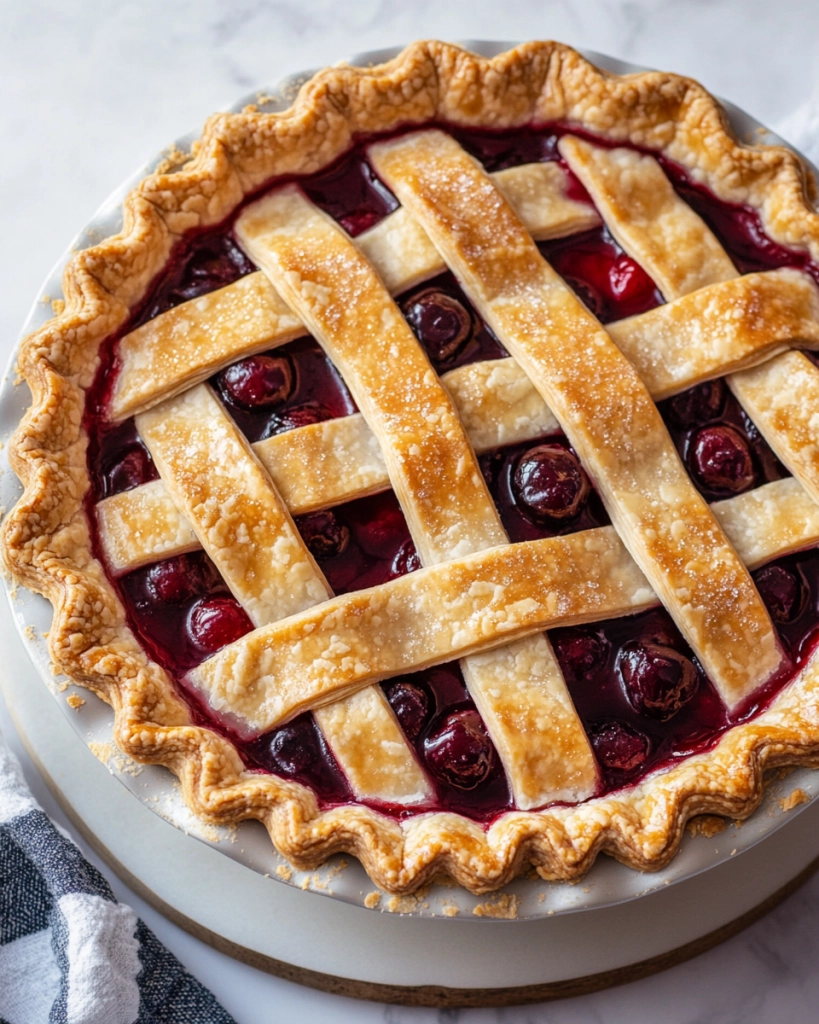
Vegan Cherry Pie Recipe
This sweet cherry pie, with a flaky vegan crust, is bursting with juicy cherry filling. Its delicate lattice top makes it a gorgeous, comforting dessert perfect for any occasion!
Equipment
- Mixing bowl
- Pastry Cutter
- Fork
- Cling Wrap
- Pie plate
- Rolling Pin
- Pizza cutter (for lattice top)
- Cookie sheet
- Spider strainer or slotted spoon
- Saucepan
Ingredients
For crust:
- 2 ½ cups all purpose flour
- 8 tablespoon vegan butter cut into 1-cm cubes while very cold
- ¼ teaspoon salt
- 1 tablespoon sugar
- Ice cold water
For the pie filling:
- 5 cups frozen pitted sweet cherries (you can use tart cherries, but you will likely need to add more sugar)
- ¾ cup sugar
- 4 tablespoon cornstarch
- 1 teaspoon pure vanilla extract
Instructions
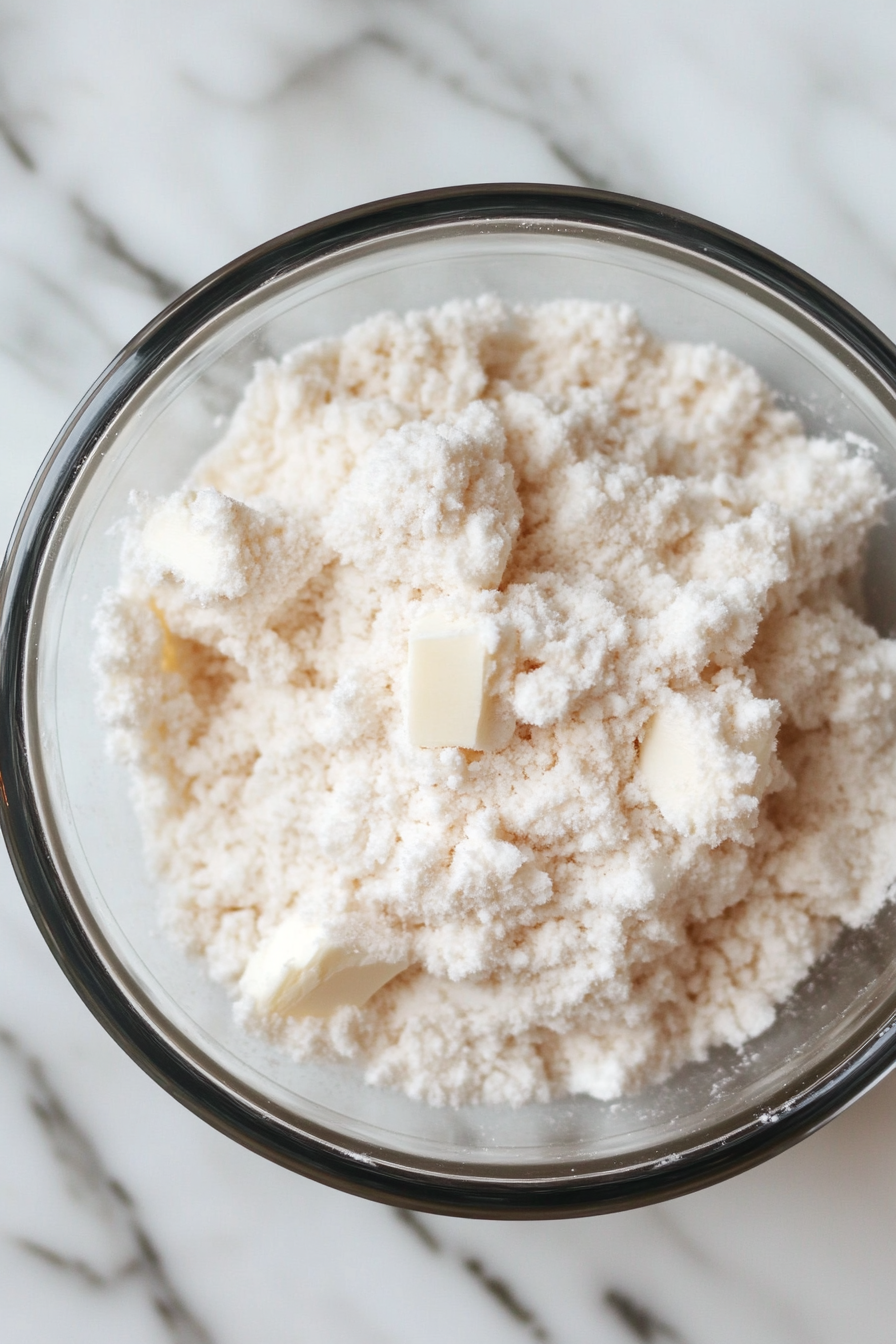
- Make the crust: Mix flour, salt, and sugar. Add cold, cubed butter and cut with a pastry cutter until crumbly. Gradually add ice water until dough comes together.
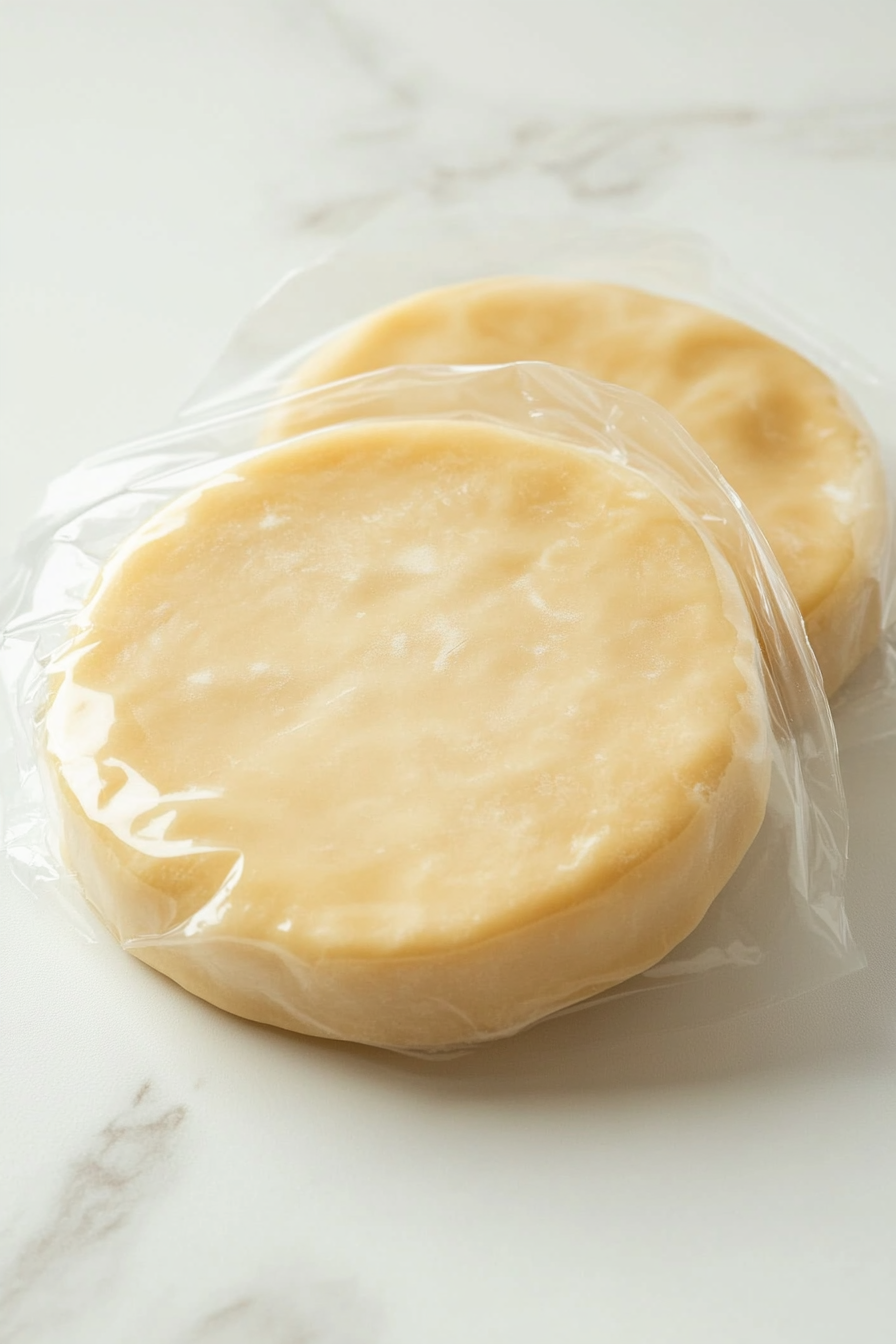
- Divide, wrap, and refrigerate.
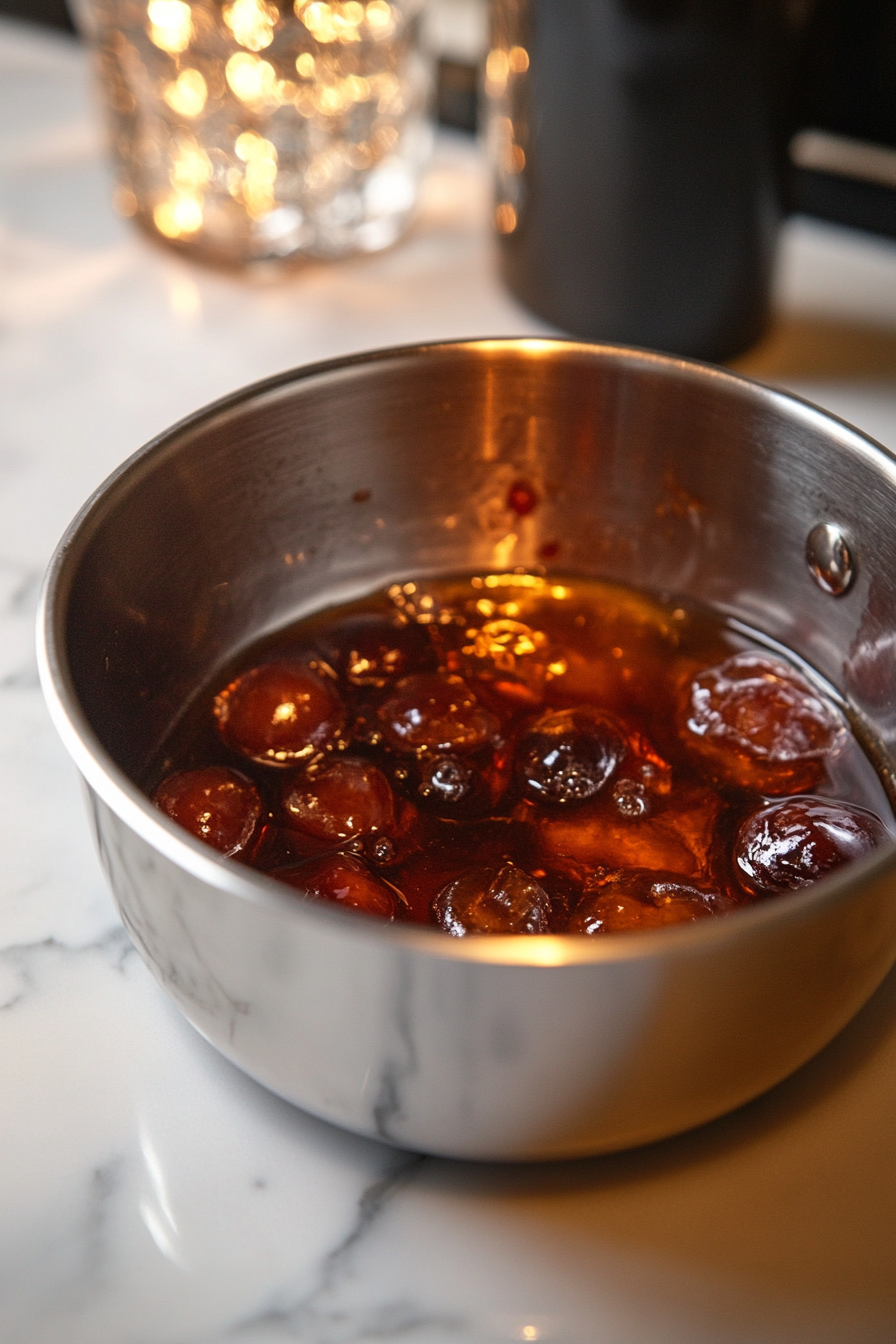
- Make the pie filling: Cook cherries until they release liquid.
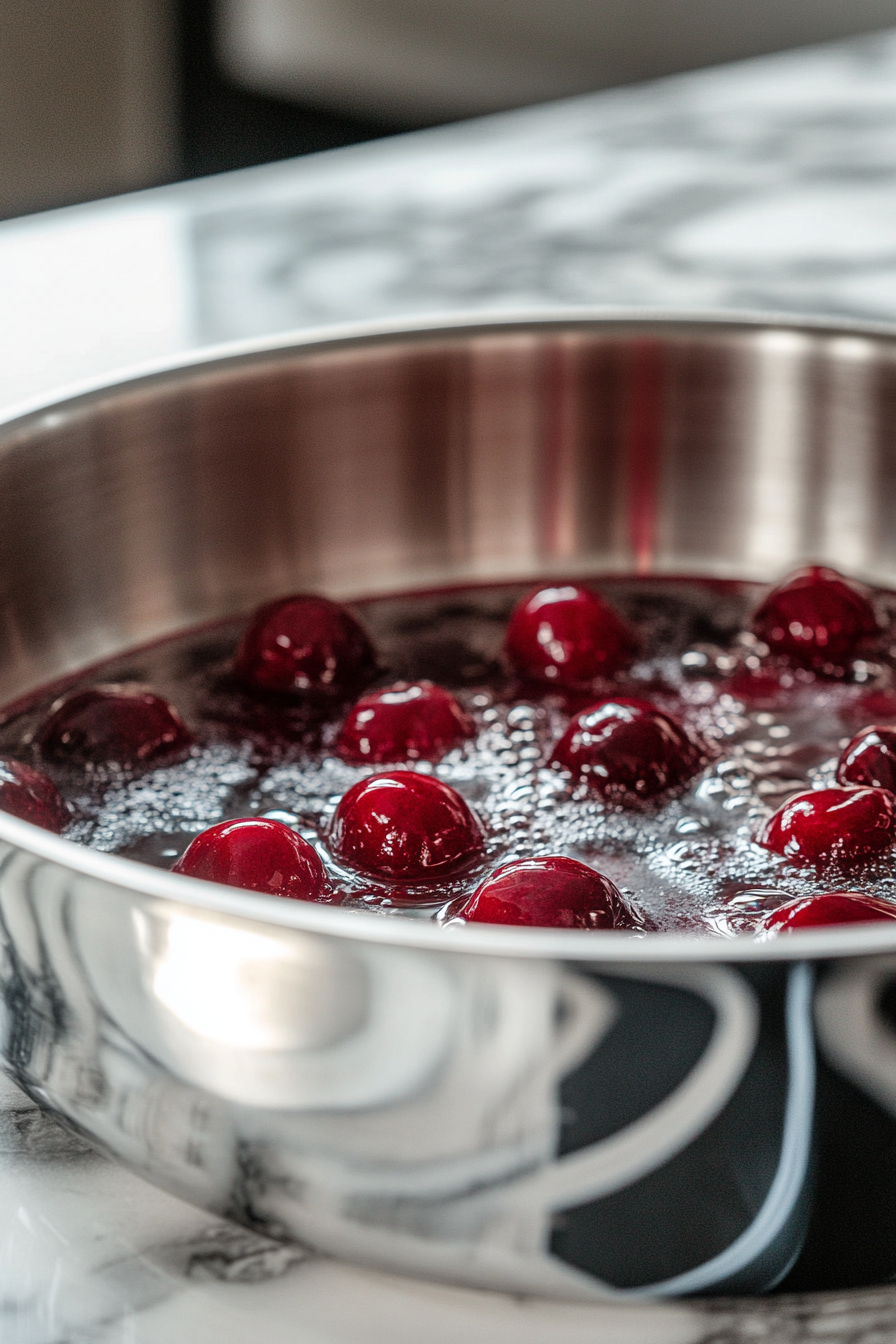
- Remove cherries and reduce liquid by half. Add sugar, dissolve, then whisk in cornstarch. Add the thickened juice back to cherries, mix in vanilla.
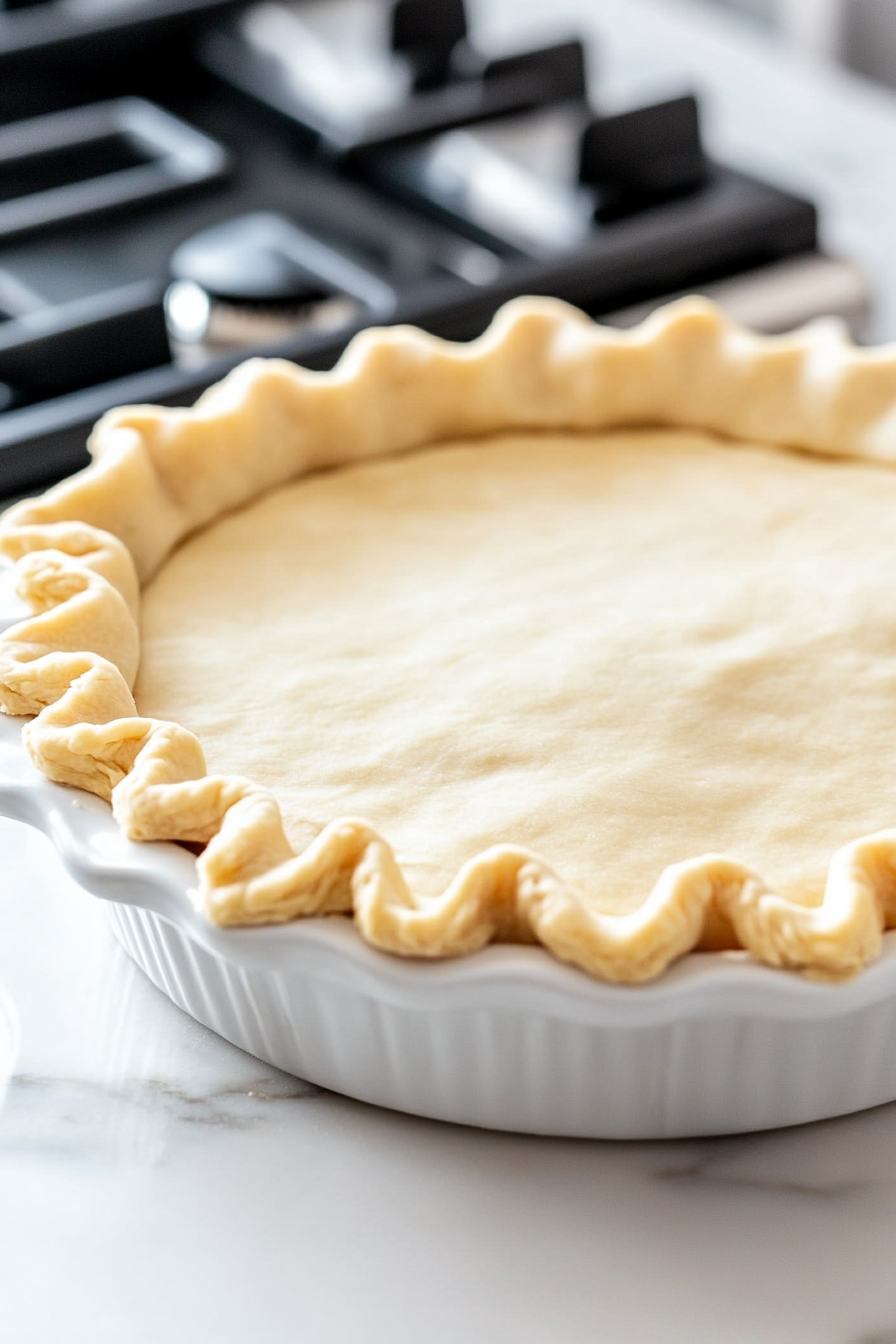
- Assemble the pie: Preheat the oven to 375°F. Roll out one dough disc and line the pie plate.
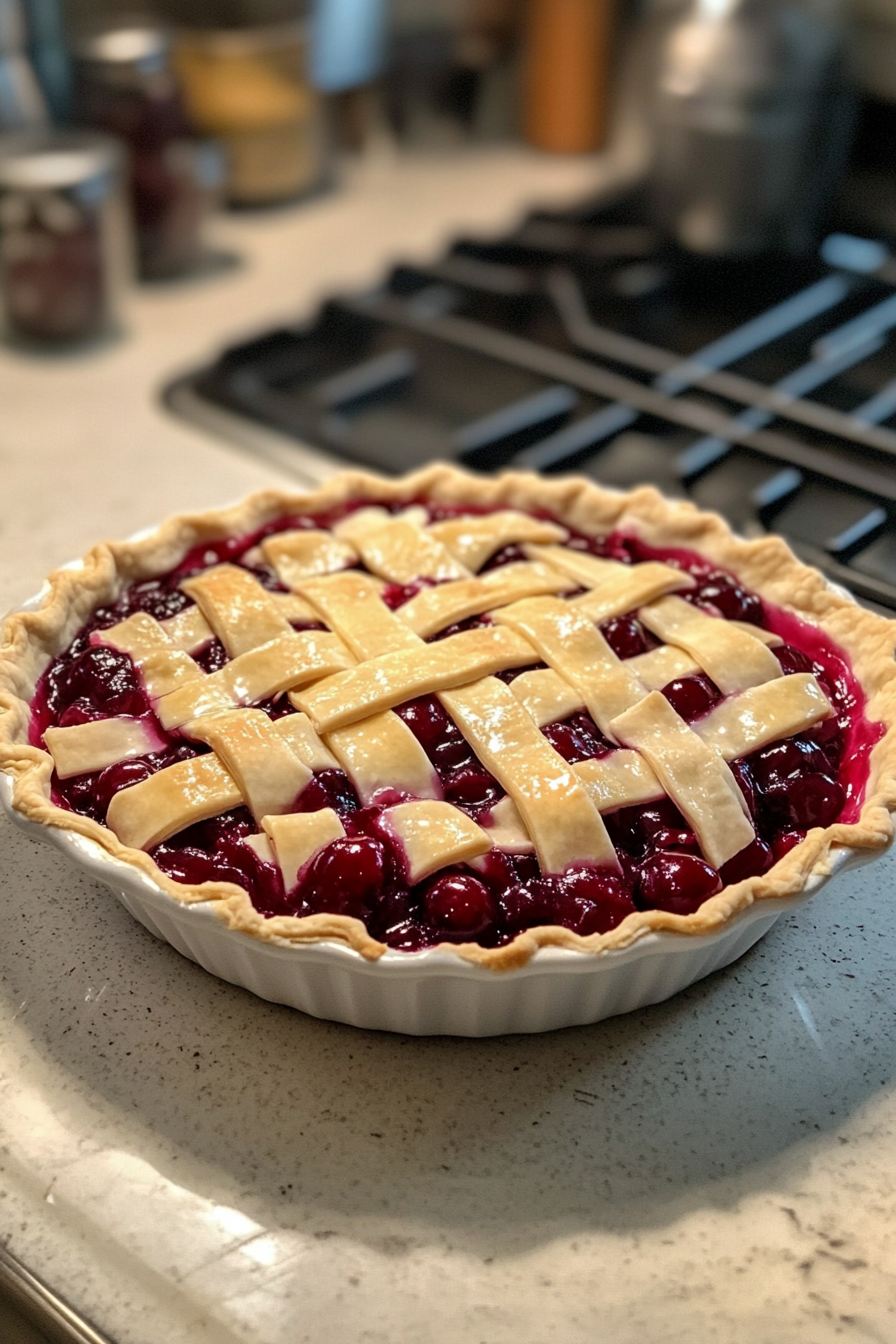
- Roll out the second disc for the top, creating a lattice pattern or plain top crust.
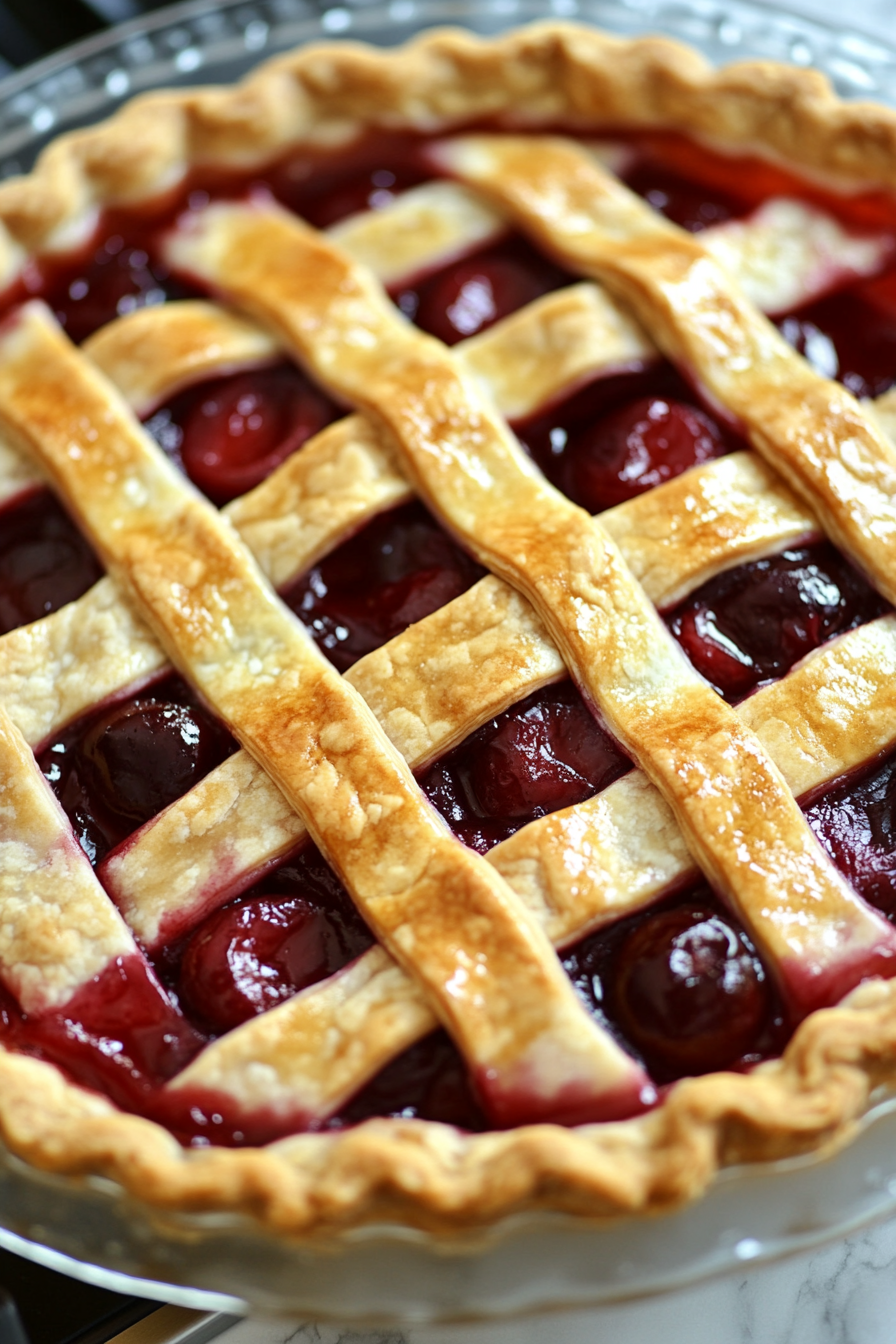
- Bake the pie: Place pie on a cookie sheet and bake for 50 minutes until golden.
- Cool and serve: Let the pie cool for 3-4 hours before serving.
Nutritional Info:
| Nutrition | Value |
|---|---|
| Calories | 249kcal |
| Iron | 1.4mg |
| Fibre | 2.4g |
| Fat | 8g |
| Protein | 3g |
| Calcium | 20mg |
Cooking Tips & Tricks
- Use Cold Ingredients: Ensure the butter is cold when making the crust to achieve the flakiest results.
- Don’t Skip the Chilling Time: Chilling the dough helps prevent shrinkage while baking and makes it easier to work with.
- Thickening the Filling: Be patient when reducing the cherry juice; this step helps concentrate the flavors and prevents a runny pie.
- Lattice Crust: If making a lattice crust, use a pizza cutter for neat strips and make sure the strips are even for a professional look.
- Check for Doneness: The pie is done when the crust is golden brown and the filling is bubbling through the lattice.
What to Avoid?
- Overworking the Dough: Overworking the dough can make the crust tough. Handle it as little as possible.
- Skipping the Cooling Time: Don’t cut into the pie immediately after baking. Allow it to cool to let the filling set.
- Using Too Much Sugar: Depending on the type of cherries you use, be careful not to add too much sugar to the filling. You can always adjust it later.
- Not Reducing the Cherry Juice Enough: If you don’t reduce the liquid, the filling may be too runny.
Make-Ahead and Storage Tips
- Make-Ahead: You can make the crust ahead of time and refrigerate it for up to 2 days. Assemble and bake the pie when ready.
- Storage: Store the pie in an airtight container at room temperature for up to 2 days. For longer storage, refrigerate it for up to 4 days.
- Freezing: You can freeze the pie unbaked for up to 2 months. Just bake it directly from the freezer, adding an extra 10-15 minutes to the baking time.
- Reheat: To serve the pie warm, gently reheat slices in the oven at 300°F for 10 minutes.

Try Other Cherry Recipes
Frequently Asked Questions
- Can I use fresh cherries instead of frozen cherries?
Yes, fresh cherries can be used, but make sure to remove the pits and adjust the sweetness by adding a little more sugar if you’re using tart cherries. - How do I make this pie gluten-free?
You can easily make this pie gluten-free by using a gluten-free flour blend for the crust. Make sure your cornstarch and other ingredients are gluten-free as well. - Can I freeze this pie?
Yes, you can freeze the pie! After assembling the pie, freeze it unbaked for up to 2 months. When you’re ready to bake, bake it directly from frozen, adding an extra 10-15 minutes to the baking time. - Can I make this pie ahead of time?
Yes, you can make the pie ahead of time! You can prepare the filling and crust the day before, and then assemble and bake the pie the day you’re ready to serve. - Can I use a store-bought pie crust?
Yes, you can use a store-bought vegan pie crust for convenience, but homemade crust gives the best flavor and texture. - How do I store leftovers?
Store any leftover pie in an airtight container at room temperature for up to 2 days. For longer storage, refrigerate the pie for up to 4 days. You can also freeze individual slices for up to 2 months. - What if I don’t want to use a lattice crust?
If you prefer, you can cover the pie with a solid top crust instead of the lattice. Just roll out the dough and place it over the filled pie. Make sure to cut a few slits in the top for steam to escape. - How do I know when the pie is done baking?
The pie is done when the crust is golden brown and the filling is bubbling through the lattice top. If you insert a toothpick or knife into the crust, it should come out clean. - Can I make the filling thicker?
Yes, you can add a bit more cornstarch to thicken the filling if you prefer it thicker. Just make sure to adjust the sugar accordingly to balance the sweetness. - Can I add a top crust to this pie?
Absolutely! You can add a full top crust or a decorative lattice top to the pie, whichever you prefer. Just be sure to brush the crust with a bit of non-dairy milk before baking to give it a golden color.
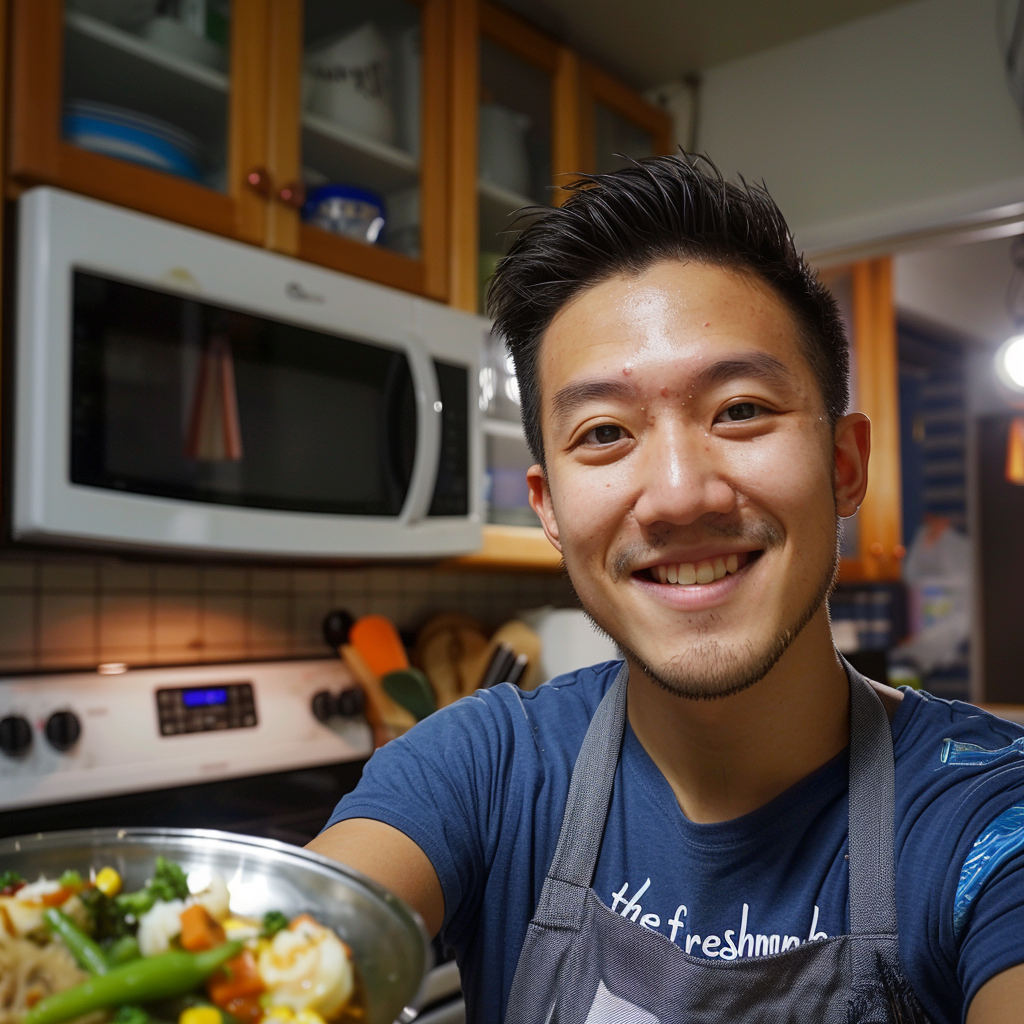
hi there,
i’m Noah
A California-born food blogger behind Freshman Cook, whose culinary journey began in his tiny apartment kitchen.