Thursday, February 23, 2012

Cookie Journey Thursday!

Welcome to my first Cookie Journey Thursday! Join me every Thursday as I attempt to improve my cookie decorating skills, which are seriously lacking!!. Today I attempted to put silver luster dust on these cookies that are cut out to look like a Hershey's chocolate kiss. I have used the luster dust in the past, for New Years Eve cookies. When I made the NYE cookies I used the luster dust as an accent. Maybe that is what it should be used for. Today I used the luster dust as the main color and I wasn't happy with the results.
The colors were streaky and not very dark,
even after a couple of coats.
This is the luster dust I used, along with a little water.
I started with the cookies, which had been frosted 
 with white Royal Frosting.
Using a small paint brush, I dipped the brush 
in a little water, and then....
barely dipped the brush in the luster dust.
I then brushed the dust on top of the icing.
This is not what I was looking for at all!!!
I am going to keep working on this during the week,
and hopefully by next Thursday I will have some sort
of way to go with this. Maybe I should have used a
different base color for the cookies. I will definitely be
investigating! If you have any answers or suggestions,
please let me know!!I really want to learn how to do this!!

Thanks for joining me today!

Wednesday, February 22, 2012

Giveaway Winner!

The winner of the Random Acts of Kindness Giveaway Blog Hop is............. Linda Henderson!!!!

Congratulations Linda!

Your prize will be on it's way to you soon!

Tuesday, February 21, 2012

Cookie Journey ~ Day 4

Today is the last day of our mini cookie journey. Today I decorated cookies while they were still wet. I have done this in the past, but I used a little different technique in the past.
This is really simple to do. The hardest thing to do is to get the 
dots all the same size. In the past when I made these, I used 
a stylus to make the dots. This time I put the icing in 
decorating bags. I think the stylus lets you have much more control,
and I plan to go back to doing it that way.
Here is how I did this.
I outlined and filled in the cookie, just like we did 
in the last couple posts.
I had my bag of yellow icing ready to go. The icing will
dry quickly, so all your colors must be prepared before 
you start. Then, I dropped dots of yellow onto the 
cookie in random spots. The problem is that the 
yellow came out fast. When I used the stylus, I could 
go a little slower. Let them dry overnight.

These would be pretty for spring, or for cookies where you need 
a pop of color to match decor.

Thanks for joining me today.

The Random Acts of Kindness Giveaway Blog Hop
is ending shortly. I will let you know the winner within
24 hours!!
Good Luck, and Thank You so much to everyone that entered!!

King Cake Cupcakes!

Today is Fat Tuesday and the last day of Mardi Gras, so I thought I would make a version of the King Cake~
King Cake Cupcakes! 
(adapted from Coastal Living)
1/2 cup warm Milk
2 (1/4 oz) Dry Yeast Packs
1/3 cup Sugar, divided
1/2 cup Butter, melted
3 Egg Yolks
1/2 teaspoon Vanilla Extract
1/2 teaspoon Lemon Zest
3 teaspoons Lemon Juice, divided
1 1/2 cups Flour
1/2 cup Cake Flour
1 tablespoon Ground Cinnamon, divided
1/4 teaspoon Salt
1 large Egg, lightly beaten
1 cup Powdered Sugar
1 1/2 tablespoons Hot Water
 Purple, Green Yellow Sprinkles

Combine yeast, milk, and 1/4 cup of the sugar, in a bowl.
Stir well, and set in a warm place for 10 minutes.
In another bowl, combine butter and next 3 ingredients,
stir in 2 teaspoons lemon juice.
Combine flours, 2 teaspoons cinnamon, and salt in a large bowl.
Add milk mixture, and butter mixture, and beat, adding a couple
tablespoons of flour, 1 at a time, if the dough is too sticky.
Mix the dough until it is smooth, but soft.
Spray a bowl with pan spray.
Put the dough in the bowl.
Roll the dough around until it is coated with the pan spray.
Cover it with a kitchen towel.
Place in a warm place and let it rise for about 1 hour.
Preheat oven to 350 degrees.
Once the dough has risen, punch the dough down.
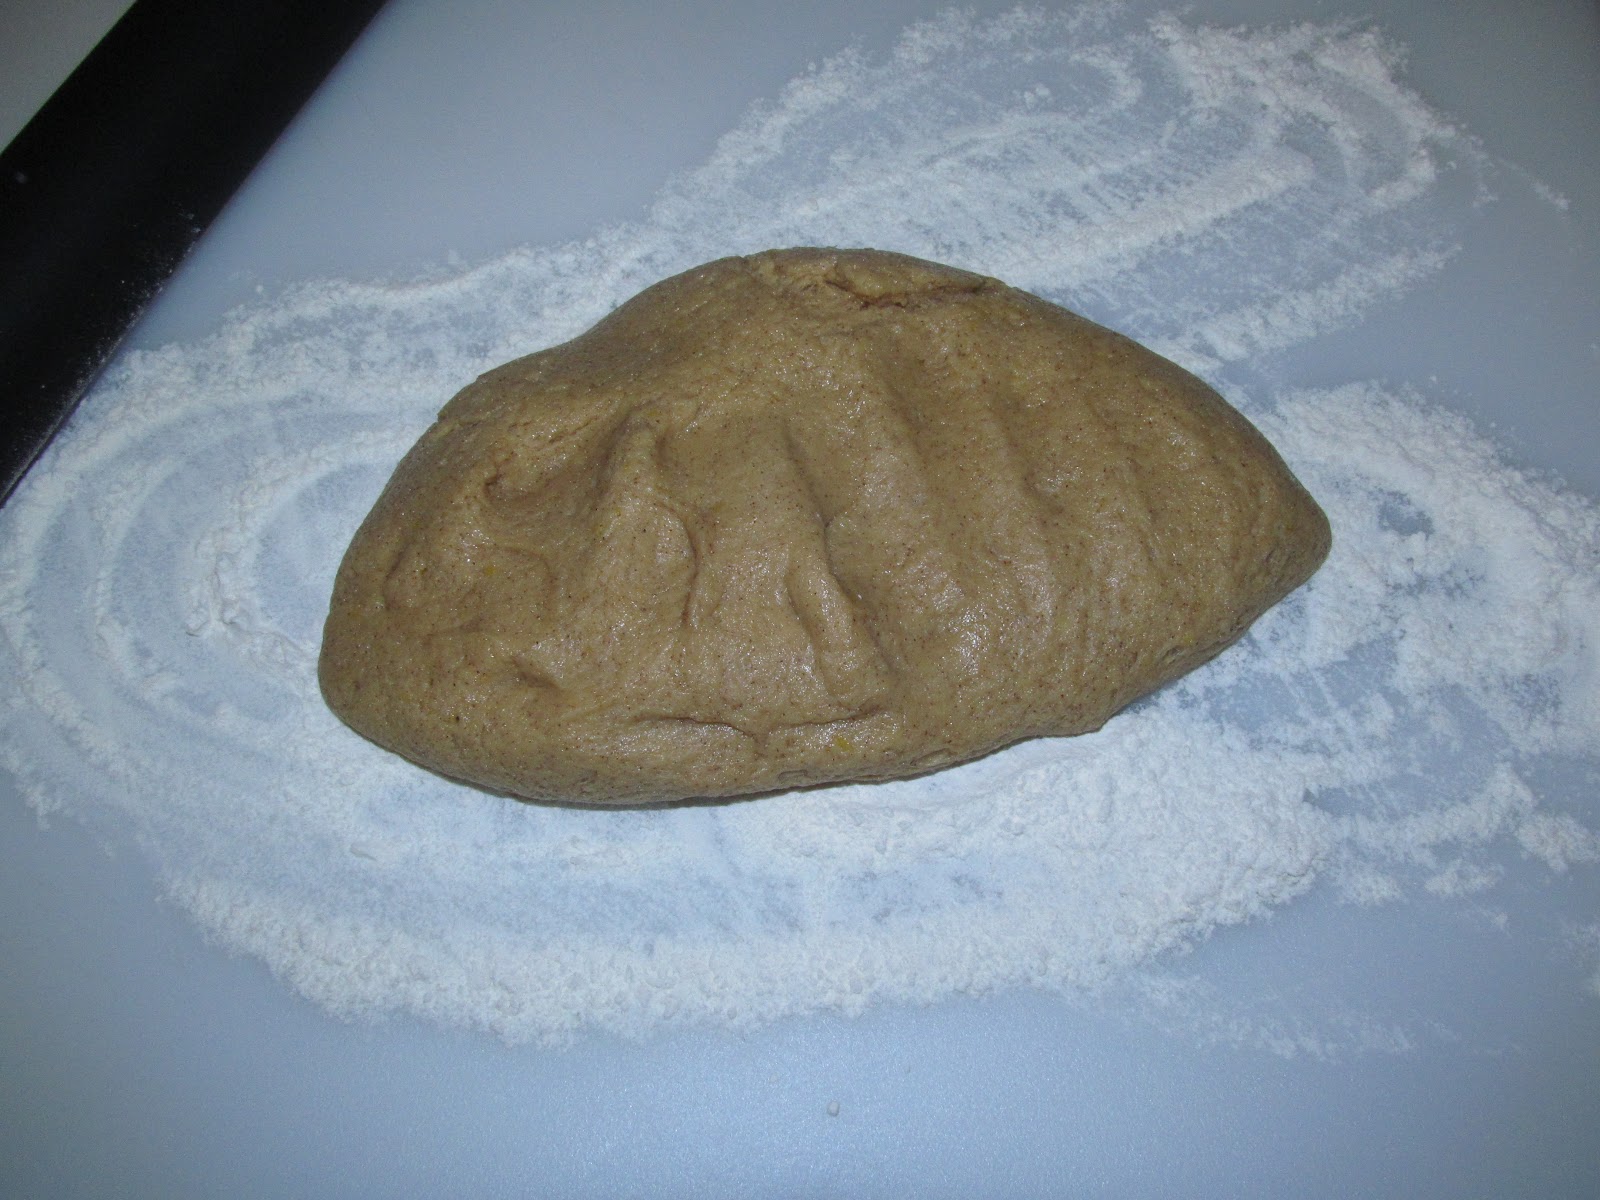
Place the dough on a lightly floured surface.
Roll dough into a 12" X 8"  rectangle.
Combine the remaining 1 teaspoon cinnamon and 
4 teaspoons sugar.
Sprinkle over the dough.
Roll dough into a log.
Cut log into 12 equal pieces.
Place pieces into muffin cups.
Brush cupcakes with beaten egg.
Bake 15 minutes.
Remove from the pan, and cool on rack.
Combine the powdered sugar, water, and 1 teaspoon 
of lemon juice. 
Drizzled  frosting on top of cupcake.
Add yellow, purple, and green sprinkles.
Happy Fat Tuesday!


Monday, February 20, 2012

Cookie Journey~Day 3 and a Giveaway!

It is Day 3 of my Cookie Journey. Yesterday I decorated a couple heart shaped cookies. They did not turn out as nice as I wanted them to. But today I took some of the heart cookies, applied the frosting again, with a steadier hand and they turned out pretty good.
This is what I started with. I did the exact thing that I posted yesterday,
but my hand was steadier.
Years ago, I took a folk art painting class. The instructor
taught the basic little touches you could do to
decorate wood pieces. One of the things I learned was to
 make a heart that was simple and cute. I used the same thing
on the heart cookies, only I used frosting.
With my bag of frosting, I piped 2 dots  right next to each other.
They are barely touching. I used a Wilton #2 tip.
With a very small tipped paintbrush,
that I only use for cookies, I pulled the frosting down from
the left side dot. I pulled it to where it would eventually end up
at the bottom of the heart.
Then I pulled the other side down until the heart was formed. 
They turned out fairly well. A few of the hearts have tiny
globs of icing at the tip of the heart. I need to work on that!
This is not the best picture, but I went around the outline of the 
small heart with my frosting bag and the same #2 tip.
I just piped little dots, trying to even space them all the way around.
I am happy with this one. The dots did not get any little points on them,
which I was glad about. The consistency on the icing must have been
right because they were really great dots!
Thanks for stopping by for Day 3 of my
Cookie Journey!

Don't forget about our 
Random Acts of Kindness Giveaway Blog Hop!

We are giving away a cookie decorating kit full of
useful things you are sure to need!
Click on the link for your chance to win.
Our giveaway ends Tuesday at midnight!!
Thanks for joining me today!
Hope to see you tomorrow!
 
Tomorrow we will be doing some
cookie decorating on our wet cookies!

Secret Recipe Club~Apple Empanadas!

It's time for another Secret Recipe Club reveal. We took a little break in January, but we are back in full force this month, cooking and baking our way through the blogging world. For February, I was assigned  the blog, The Foodies at Work. This  blog is so unique, with the 2 girls who are the foodies, writing from two different cities. Melissa posts from Boston and Angela from New York City. This fantastic blog features original recipes, local food events, and restaurant reviews. Stop by their blog, and say hi! I made their Apples Empanadas a la mode today. They are just wonderful. They remind me of some wonderful commercial pies I used to eat when I was a little girl. The pies brought back warm memories for me!! Try these. You will love them!

Apple Empanadas a la Mode
4 tablespoon unsalted Butter
3 large Baking Apples
3 tablespoon Dark Brown Sugar
1 teaspoon Cinnamon
1 box frozen Puff Pastry, thawed(this takes about 40 minutes)
Flour, for dusting
Pinch Salt
Optional: 3 tablespoon Dark Rum
Preheat your oven to 400 degrees. Peel your apples.
Core your apples, and dice them into small bite sized pieces.
Melt the butter in a saucepan.
Once the butter is completely melted, add the apples
and stir them until they are soft. This does not take long.
Once the apples are soft, add your brown sugar,
cinnamon, salt, and rum, if you so desire. I omitted the rum.
Let this cook for 10 minutes, stirring often.
Once the 10 minutes are up, mush the apples with a fork
until it looks like lumpy applesauce.
During the 10 minutes, start to cut out your circles
from the puff pastry. Unfold the puff pastry. Use something 
that is 4-5 " in diameter to cut out your circles.You can see
that I used my funnel which was 4 1/2" wide. It worked great!
Using a paring knife or pastry wheel, cut out your circles.
There is 1 of the 4 circles I cut from 1 puff pastry sheet.
I made 1/2  of the recipe, 
so I only ended up with 4 empanadas.
Scoop 2 tablespoons of apple mixture onto each circle.
Fold each pastry circle in half. 
Pinch the ends closed.
Crimp the ends of the pastry with fork tines.
Pretty!
Take the 1 tablespoon of butter that you didn't use,
melt it, and gently spread it on the empanadas.
Poke a couple holes in the top of each pastry,
allowing it to vent while baking.
Bake for 15-20 minutes, or until they start to
turn light brown. 
Serve warm with a scoop of vanilla bean ice cream!
Enjoy!