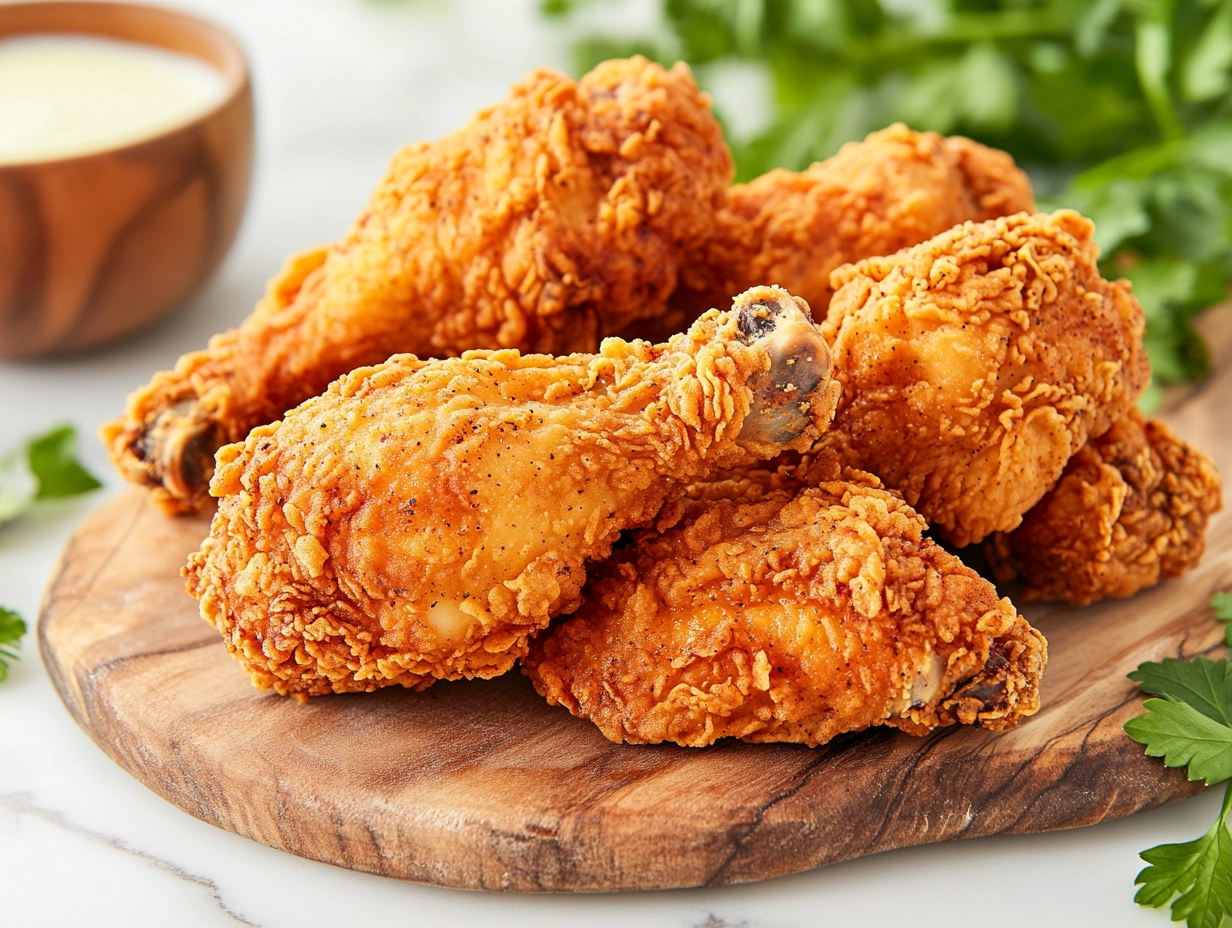
Grandma’s Fried Chicken is a recipe from my mother in law. She is no longer with us, but my husband tells me that she used to make this for the family when he were growing up.
She also made it for me, my husband and my son whenever she would come to visit us! She lived far away from us, but every year she would visit for my sons birthday, and she would make her fried chicken.
I just love the idea, don’t you?! I’d like to encourage you to sign the pledge, and commit to sharing Sunday Supper at least once a month this year, along with me!
As we know, Sunday Supper starts off as one day a week and soon becomes a way of life. And that’s our mission, to get as many folks as possible around the family table.
The biggest gift we can give to our family is to hug, laugh, share our stories and enjoy great meals together.
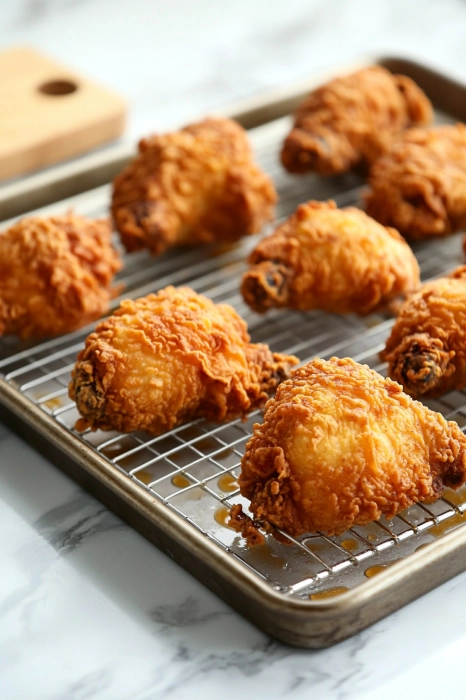
Why This Fried Chicken Works

The secret is in keeping it simple: a buttermilk soak for juiciness, a seasoned flour coating for crunch, and frying at just the right temperature so the chicken cooks evenly.
The buttermilk tenderizes the meat while the coating forms that golden, crispy crust that everyone loves.
There’s no complicated technique here, just steady, familiar cooking and the payoff is a piece of chicken that stays moist inside with that perfect crunch outside.
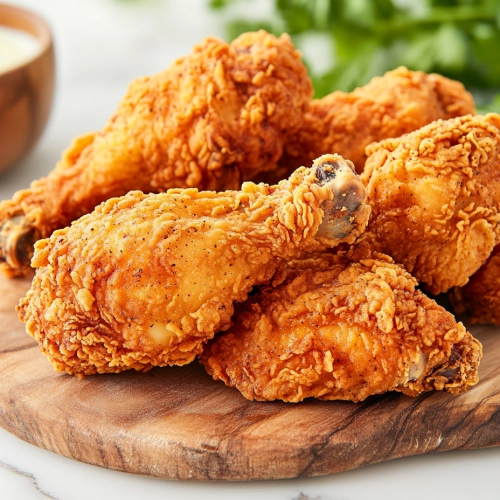
Grandma’s Fried Chicken Recipe
Equipment
- Mixing bowls for seasoning and coating the chicken
- Tongs to turn the pieces safely
- Cast-iron skillet or deep pan for even frying
- Cooling rack to keep the chicken crispy
- Paper towels to drain extra oil
- Meat thermometer to check doneness
Ingredients
For the Chicken
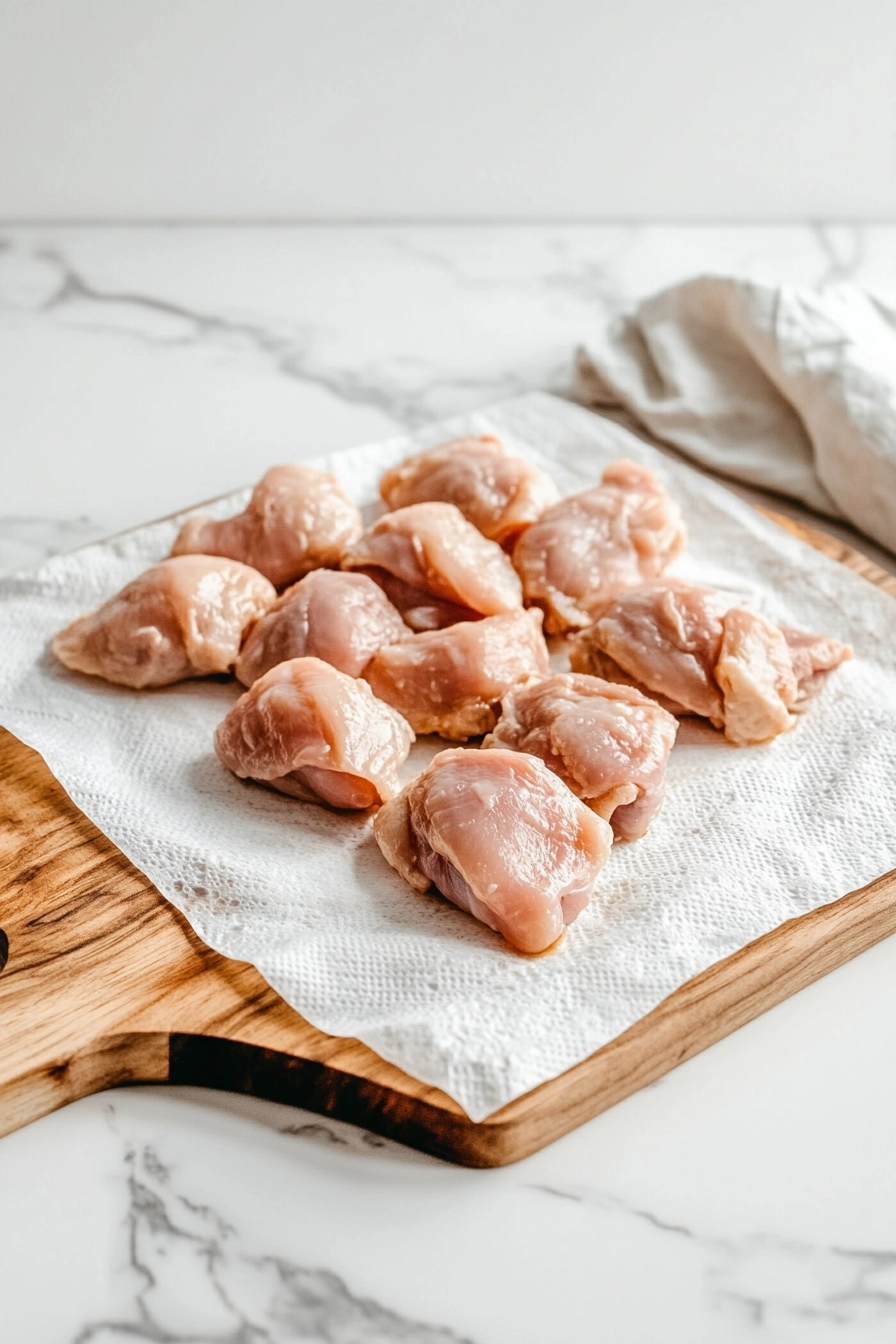
- 2 lbs chicken pieces drumsticks, thighs, or wings
- 1 cup buttermilk
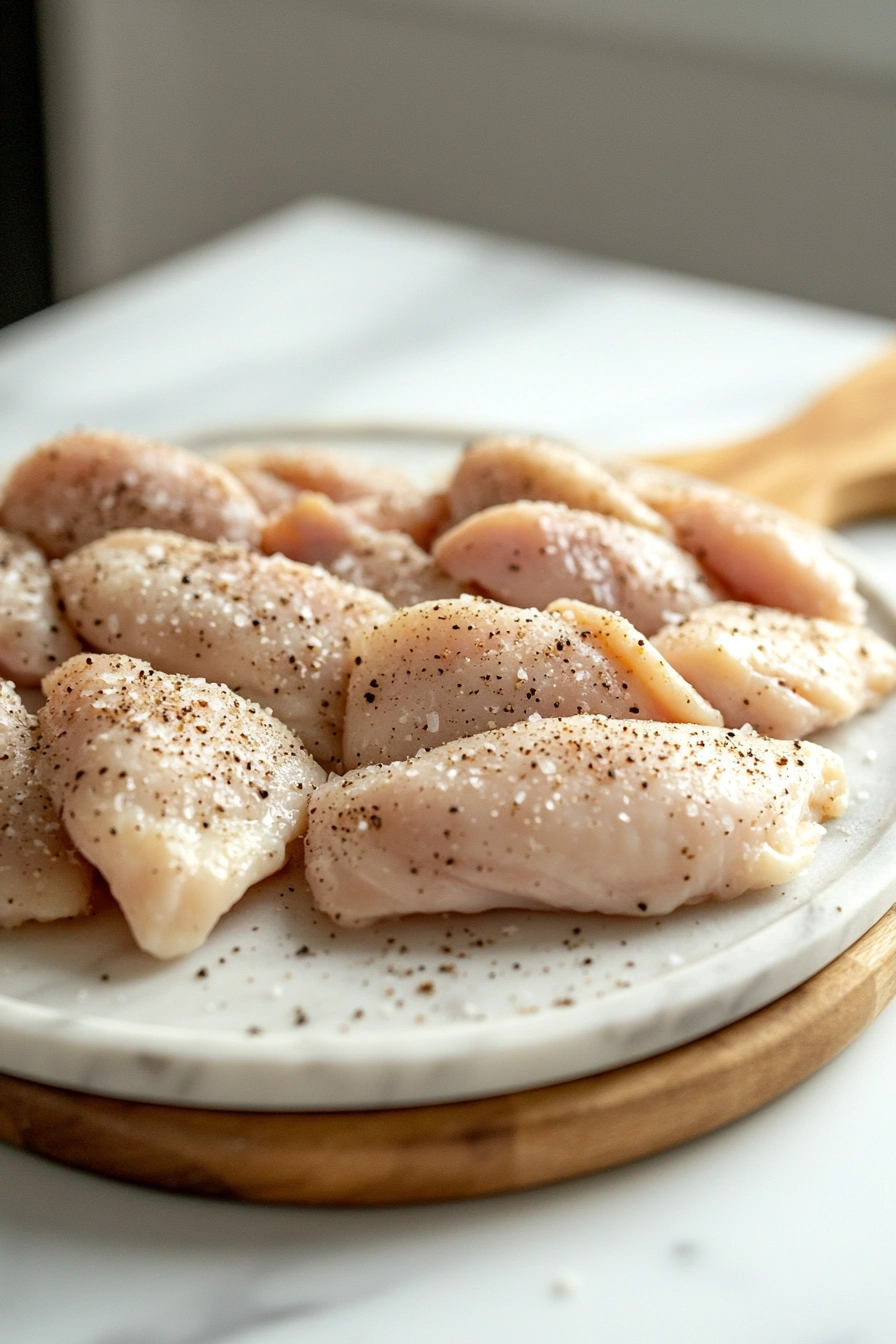
- 1 tsp salt
- ½ tsp black pepper
For the Coating
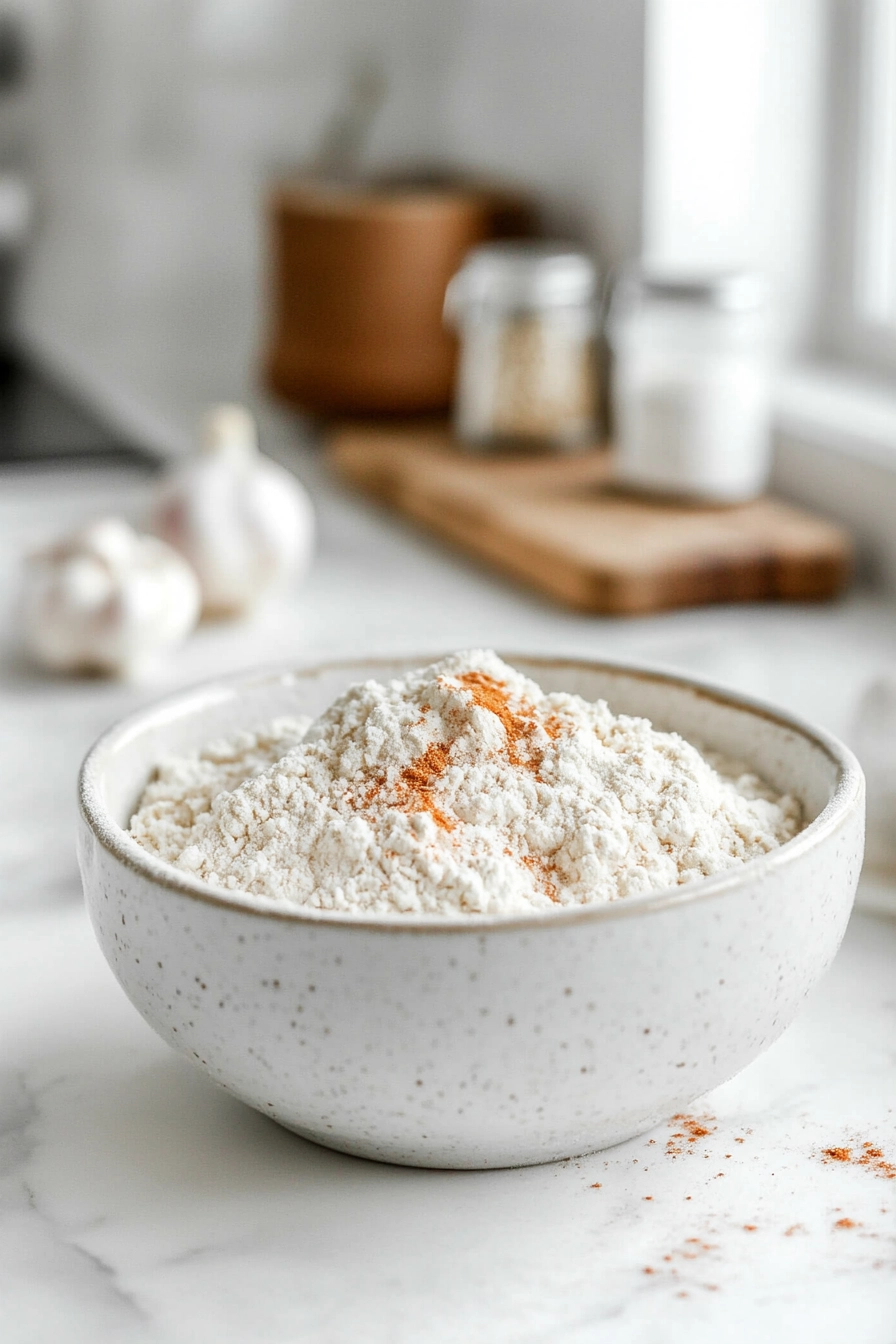
- 1 ½ cups all-purpose flour
- 1 tsp garlic powder
- 1 tsp onion powder
- 1 tsp paprika
- ½ tsp cayenne optional
- 1 tsp salt
- ½ tsp pepper
For Frying
- Vegetable oil or canola oil for deep frying
Instructions
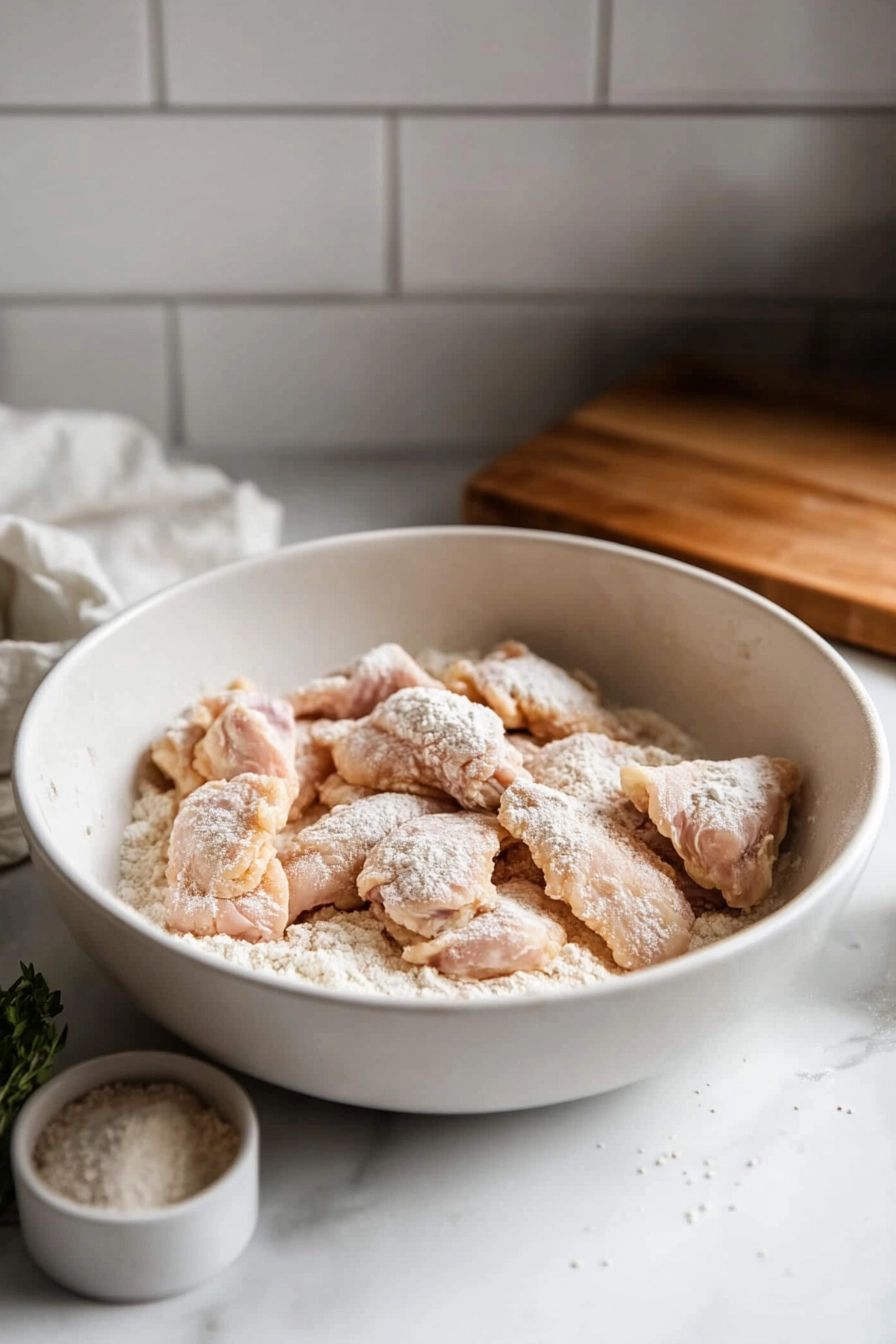
- Prep the ChickenPat the chicken dry so the coating sticks properly.
- Season LightlyRub salt and pepper over the pieces for a simple base flavor.
- Pour the ButtermilkCover the chicken in buttermilk and let it sit for at least 30 minutes.

- Make the CoatingMix flour with all the spices in a separate bowl.
- Dredge the ChickenLift each piece from the buttermilk and coat it well in the flour mixture.
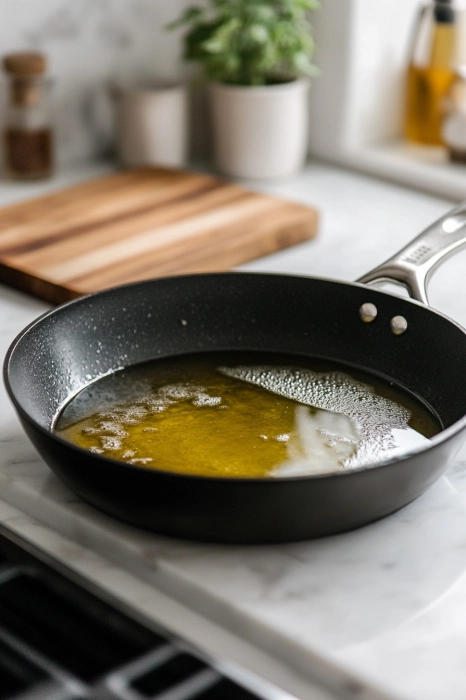
- Heat the OilBring the oil to about 350°F so the chicken cooks evenly.
- Start FryingAdd the chicken gently and let it fry without moving it too much.
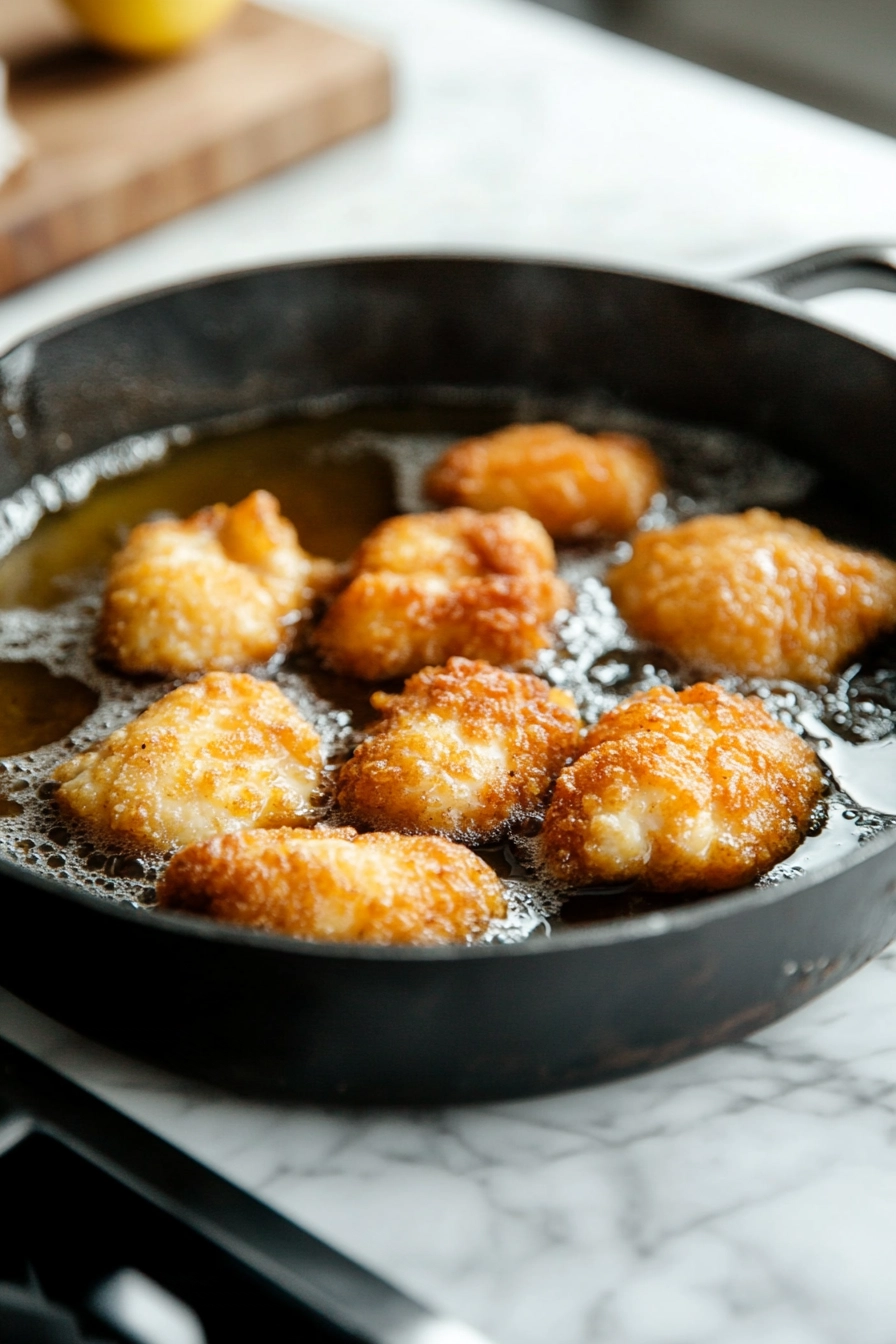
- Turn CarefullyFlip each piece when the bottom turns golden and crisp.

- Check for DonenessMake sure the inside reaches 165°F before removing it.
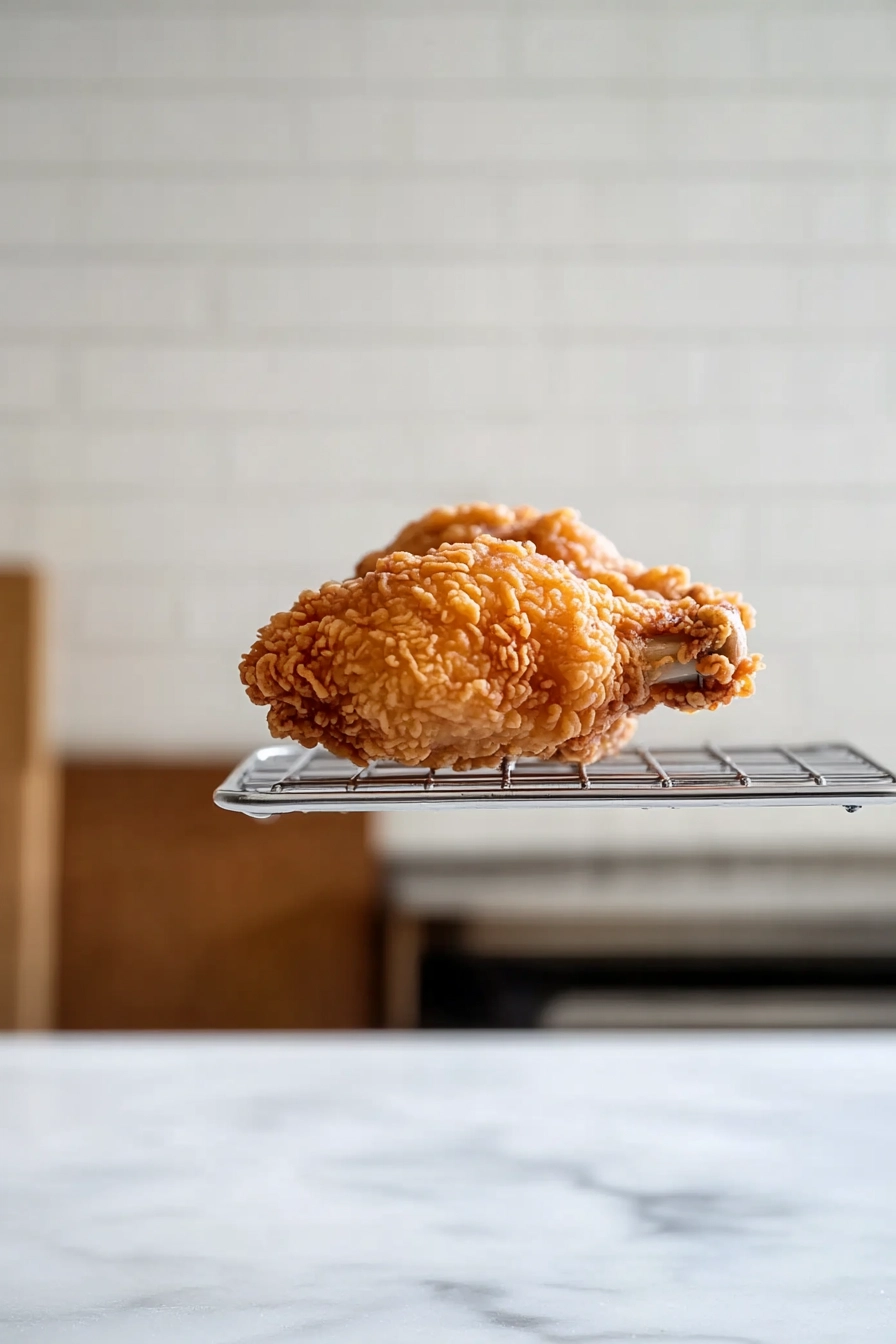
- Let It RestSet the chicken on a cooling rack so it stays crunchy.
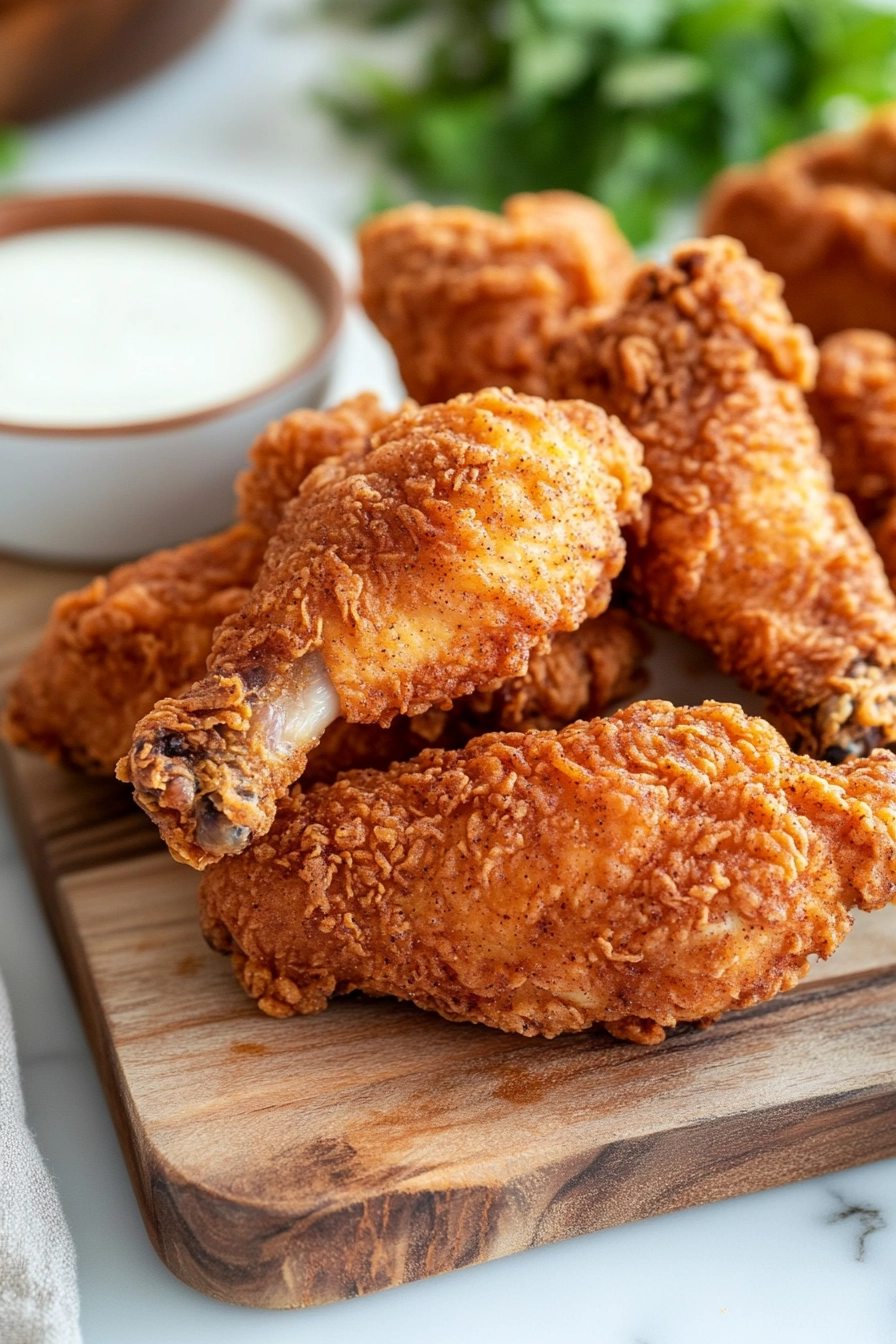
- Serving I serve the chicken warm, either on its own or with a simple side.A squeeze of lemon or a dip of honey always makes it even better.
Nutrition Info:
| Nutrition | Value |
| Calories | 410kcal |
| Carbohydrates | 24g |
| Protein | 29g |
| Fat | 23g |
| Sugar | 34g |
| Sodium | 1553mg |
Why This Fried Chicken Means Something to Me

Each piece cooks in a way that feels familiar, almost like repeating a routine that never lets me down. It’s comforting to make and even more comforting to eat.
And when I sit down with a plate of it, the whole day feels a little lighter. Sometimes a simple meal is exactly what I need.
Little Lessons I Learned
- Pat chicken dry: Moisture is the enemy of crunch.
- Rest after frying: The chicken stays juicy and the coating crisp.
How I Play Around With This Recipe
Sometimes I like to add a tiny extra kick with cayenne or smoked paprika in the coating. Other times, I stick to the classic spices for nostalgia. For a fun twist, I’ve tried baking the chicken for a slightly lighter version it’s not quite as crispy, but still delicious.
I’ve also swapped wings for drumsticks depending on how many people I’m serving. And occasionally, a sprinkle of fresh parsley over the golden crust adds a fresh touch before serving.
What to Serve With Fried Chicken
Serving and Leftovers
This fried chicken is best served hot, straight from the skillet, with mashed potatoes, green beans, or your favorite sides. Leftovers can be stored in the fridge for up to 2 days, but honestly, there usually aren’t any leftovers!
If you do have some, a quick reheat in a skillet keeps the coating crunchy. Cold pieces also make a surprisingly satisfying snack.
Frequently Asked Questions
- Can I use skinless chicken?
Yes, but the skin helps get that golden, crispy crust everyone loves. - Can I make it ahead?
You can prep the chicken and soak it in buttermilk overnight, then fry it fresh the next day. - Can I bake instead of fry?
Yes, bake at 400°F for about 35-40 minutes. The crust will be lighter and less greasy. - How do I keep the coating crispy?
Pat chicken dry, fry in hot oil, and let it rest on a cooling rack instead of paper towels directly. - Can I add different spices?
Absolutely! Smoked paprika, cayenne, or garlic powder tweaks the flavor to your preference.
hi there,
i’m Noah
A California-born food blogger behind Freshman Cook, whose culinary journey began in his tiny apartment kitchen.