

I love Christmas cookies.
I love to bake them.
I love to wrap them up all fancy like and give them away.
I love to eat them!!
The Christmas cookies I love the most are Christmas Thumbprints. They are simple and basic, but pretty and tasty! I have been making this version for years. I hope you enjoy them!
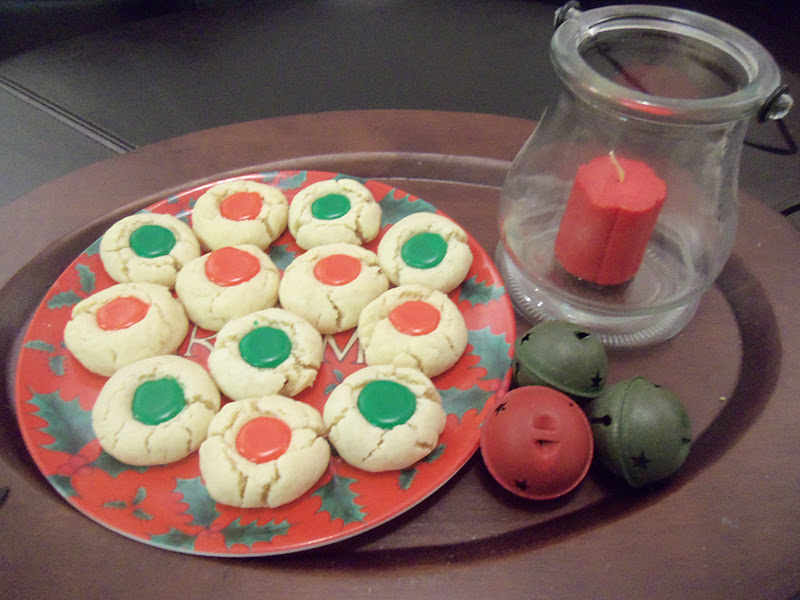

Christmas Thumbprints
This makes 8 dozen cookies
2 cups Butter
1 cup Sugar
4 Egg Yolks
4 teaspoon Vanilla
5 cups Flour
1 teaspoon Salt

Thumbprint Icing 1 cup Confectioners Sugar 1 tablespoon Water Colors for icing
Preheat your oven to 350 degrees.
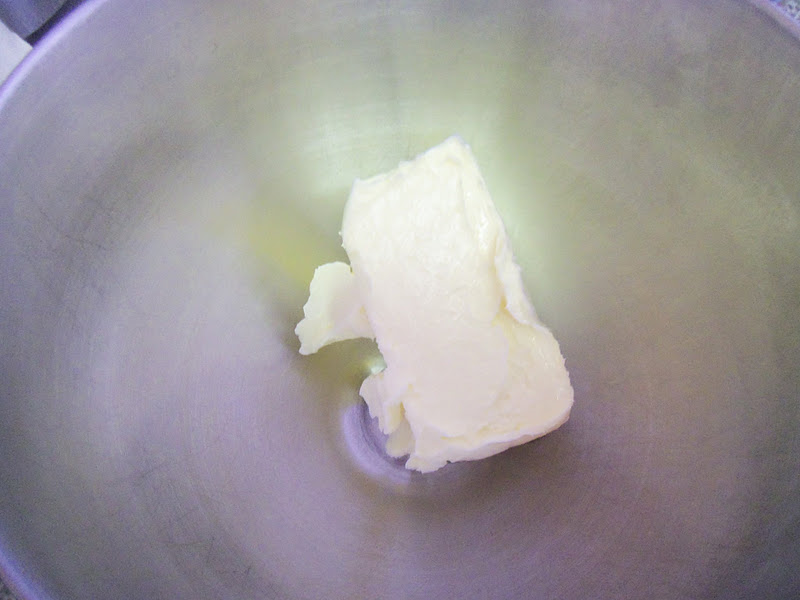 Put your butter,
 and your sugar in a mixing bowl.
 Cream until fluffy.
 Add your egg yolks and mix in.
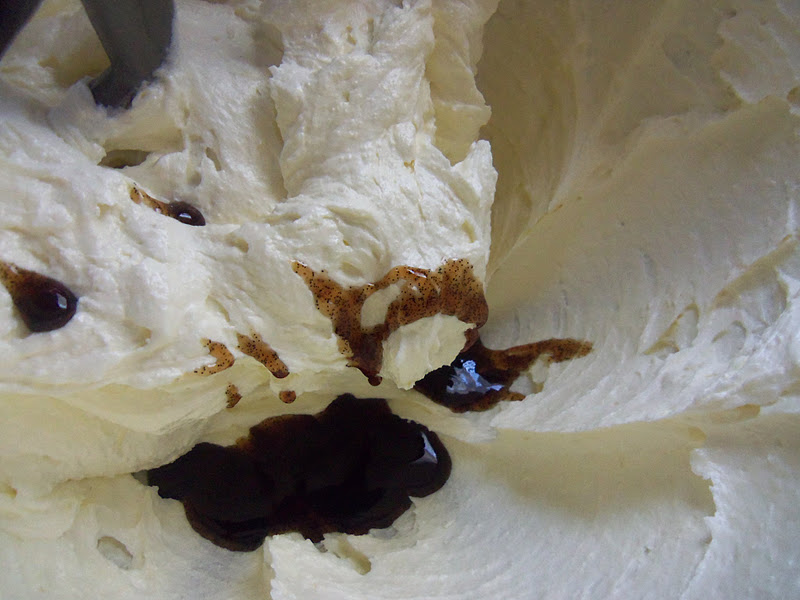 Add vanilla and mix.
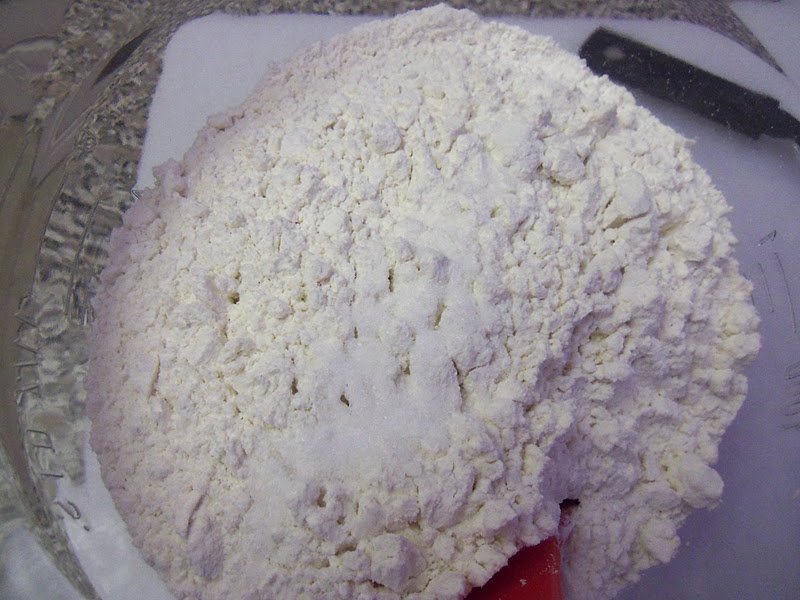 In a separate bowl, mix your flour and salt.
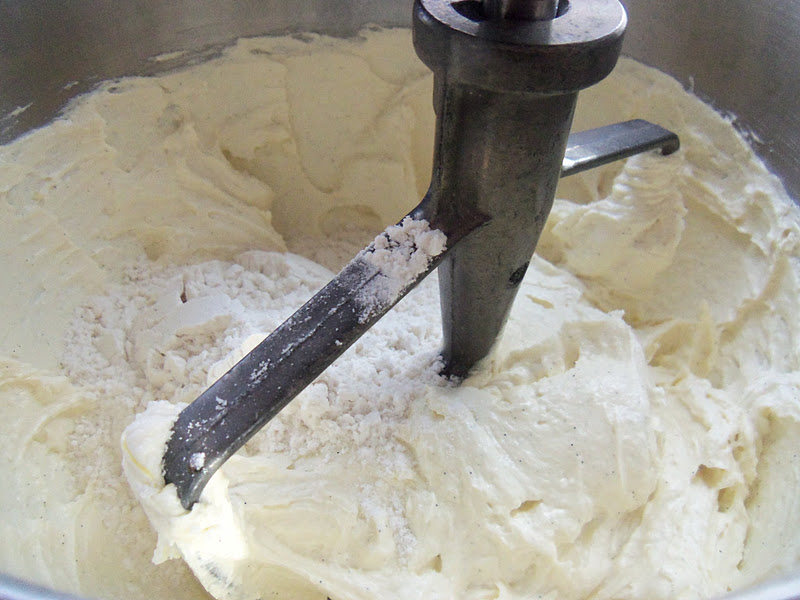 Add your dry ingredients to your wet ones. Mix together.
 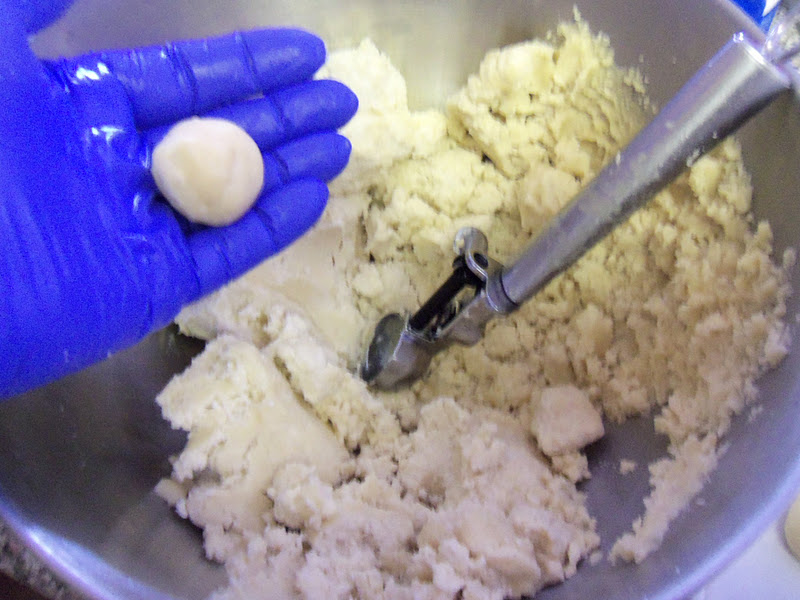 Once your mix is together, start making small 1″-1 1/2″ balls of dough. I used a small cookie dough scoop to get them started, but you can do this without a scoop also. Using both hands, form the ball from the scoop into a round ball of dough.
  Place the dough balls on your cookie sheet. Bake for 10-12 minutes. The bottoms will be golden brown. The tops are a little tougher to see, but they will be done if the bottoms are.
  Immediately after pulling the cookies out of the oven, use your thumb, or the back of a measuring spoon to make a round indention in each cookie.
 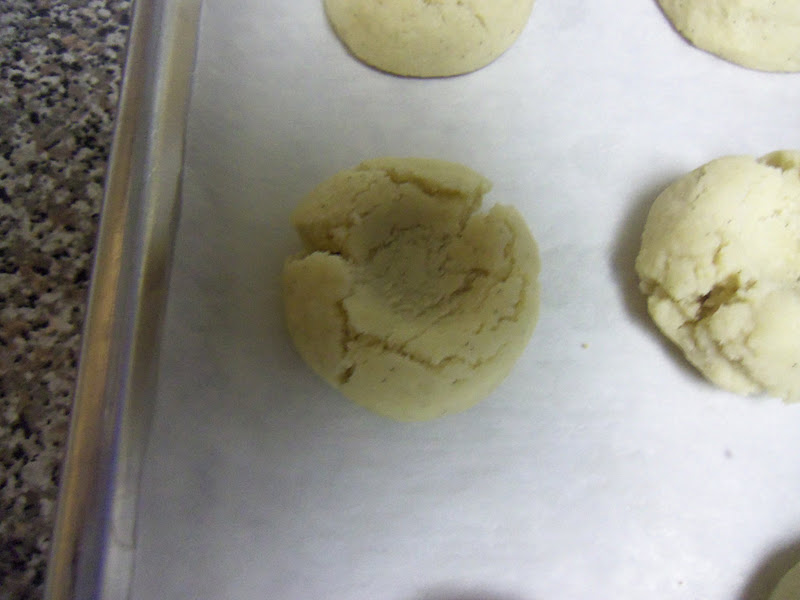 It should look like this one. It is alright if they crack a little. It gives them character!!
  Looking good!
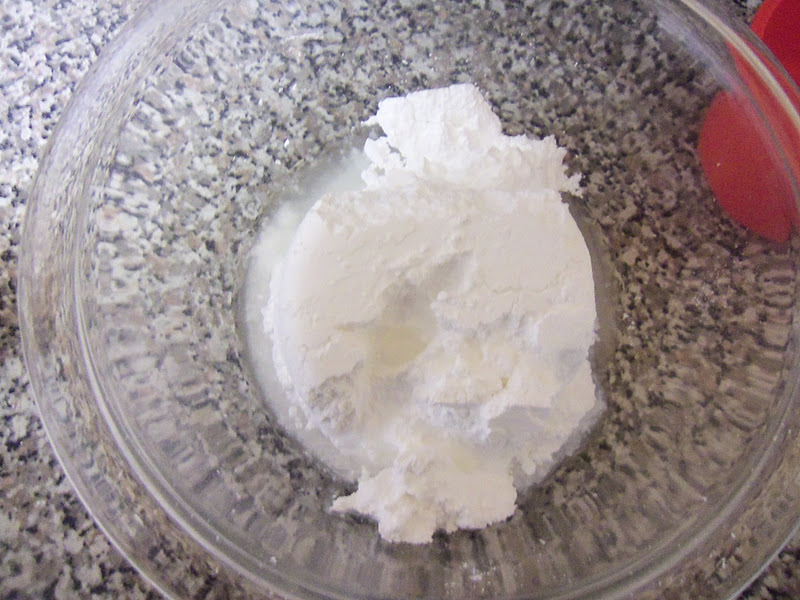 Lets make our icing! Mix together your confectioners sugar and 1 tablespoon water. If you need more water, add some, but don’t make the icing too runny.
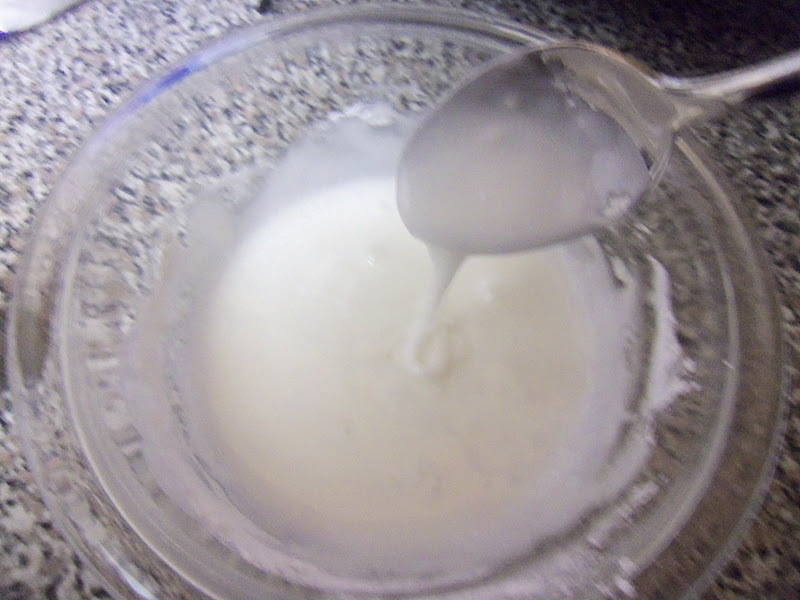
 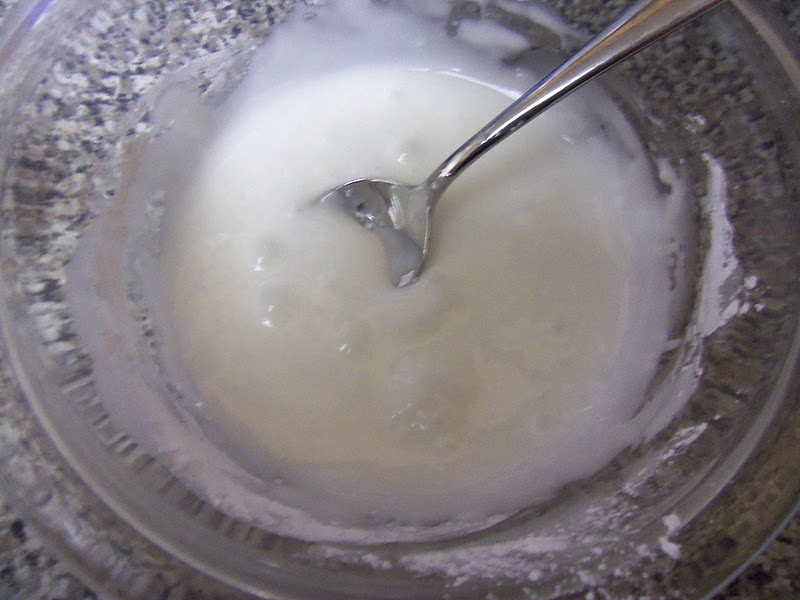 This is what you want for consistency.
 Divide the icing into 2 bowls, and add color until you get the color you are looking for.
  Start filling your cookies. If I had any left over, I would use baby spoons. They are the perfect size!
  Looking good!
 One of the reasons I make so many of these cookies, is that I give away a lot of trays of holiday cookies. I love to use these on every tray. They are small, and add a punch of color. Thanks for joining The Freshman Cook today.
Stop back again for more holiday treats!!