
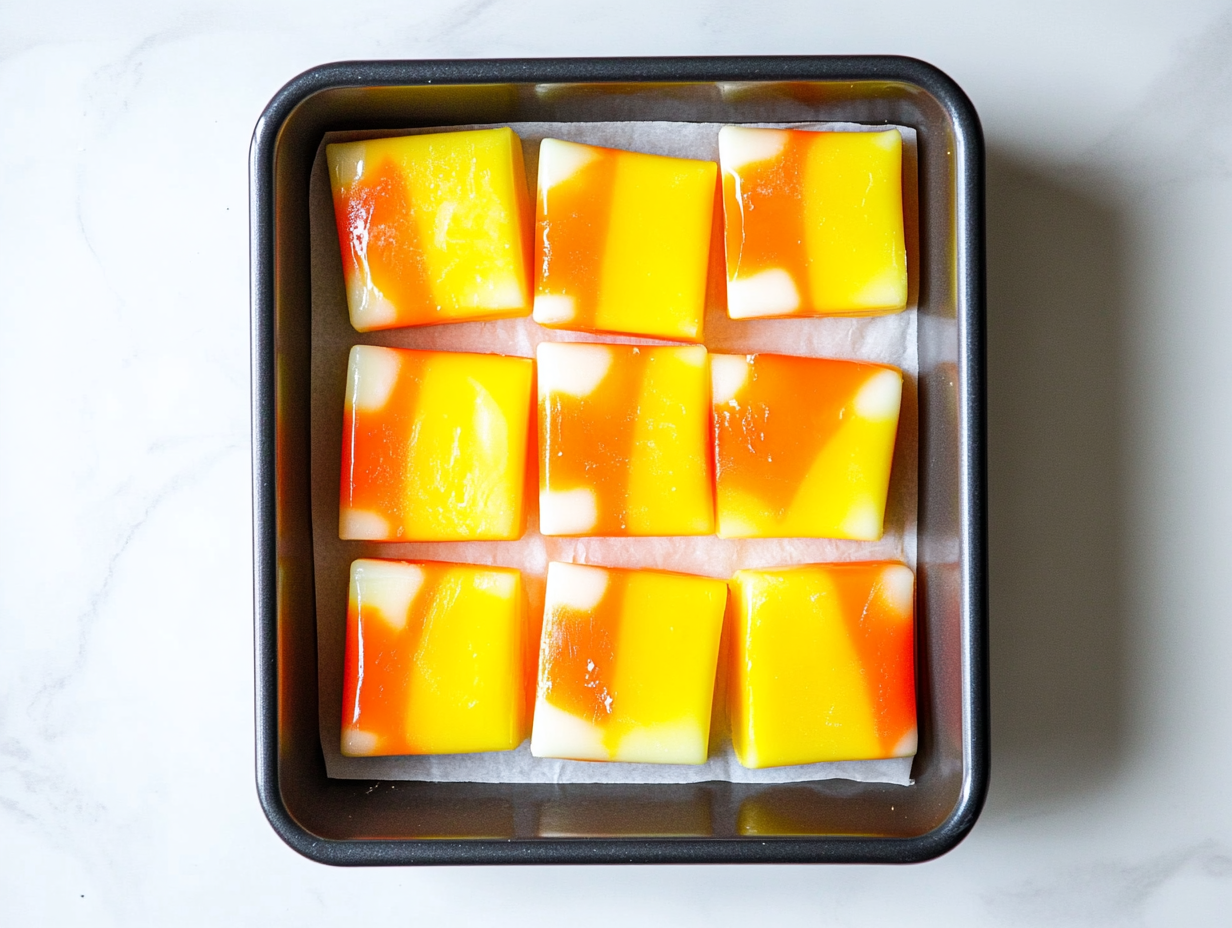

Candy Corn Fudge transforms the familiar yellow, orange, and white colors of Halloween candy into creamy, bite-sized squares.
Made with white chocolate chips, heavy whipping cream, honey, and vanilla extract, this layered fudge is rich, sweet, and smooth, with a festive appearance that looks beautiful on a Halloween dessert table.
The best part is that this Candy Corn Fudge requires no oven and only a handful of ingredients. Each color is prepared separately, layered in a loaf pan, and chilled until firm.
Once set, you can cut it into little squares or triangles for Halloween parties, homemade treat bags, and seasonal dessert platters. Serve it alongside a refreshing glass of raspberry lemonade for a fun contrast of rich and tangy flavors!
Why This Candy Corn Fudge Is Perfect for Halloween
- Easy to portion: Cut the chilled fudge into small pieces for sharing at parties or packaging as gifts.
- Three colorful layers: Yellow, orange, and white recreate the classic candy corn appearance without needing complicated decorating techniques.
- No baking required: The fudge comes together on the stovetop and sets in the refrigerator.
- Simple ingredients: White chocolate, cream, honey, and vanilla create the base for all three layers.

Candy Corn Fudge
Equipment
- 9×5-inch loaf pan
- Rubber Spatula
- Small saucepan
Ingredients
- ¾ cup heavy whipping cream 1/4 cup for each color
- 3 tbsp honey 1 tbsp in each color
- 3 tsp vanilla extract 1 tsp in each color
- orange food coloring
- 4 ½ cups white chocolate chips 1 1/2 cup for each color
- yellow food coloring
Instructions
- Line a 9×5-inch loaf pan with foil or parchment paper for easy removal.
- Yellow Layer: In a small saucepan, melt 1 ½ cups of white chocolate chips with ¼ cup heavy cream, 1 teaspoon vanilla extract, and 1 tablespoon honey over medium heat.
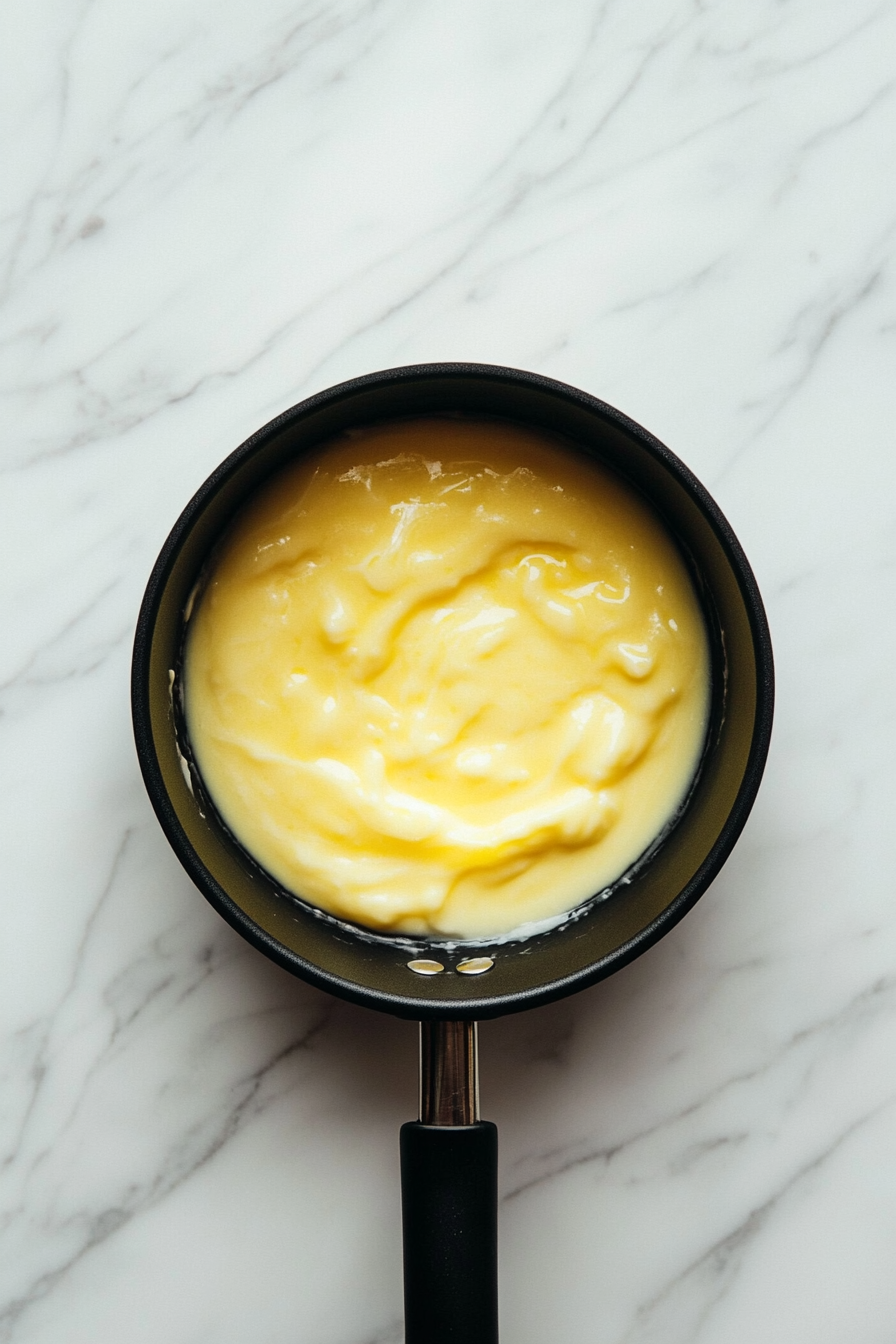
- Stir continuously until smooth and creamy.
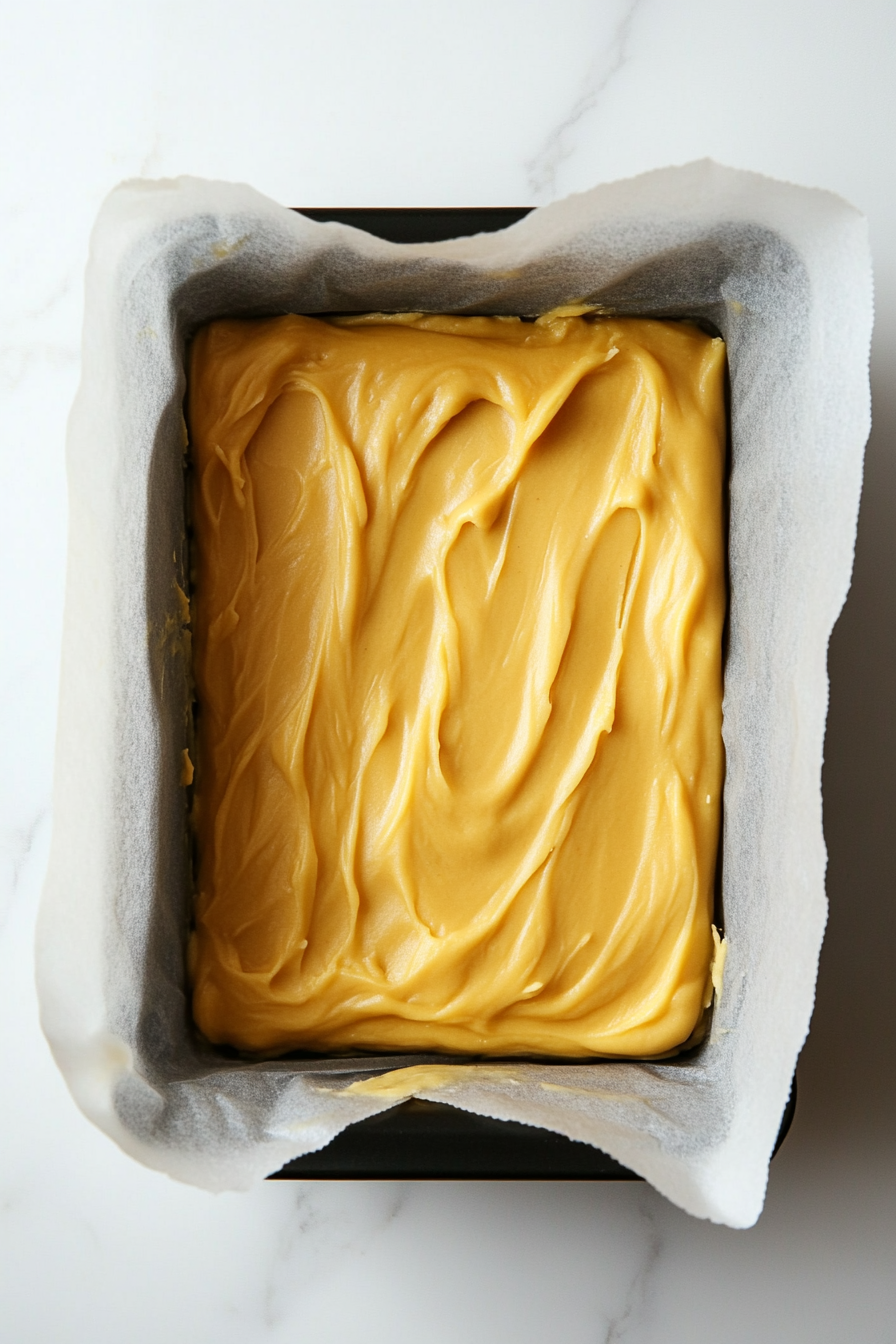
- Add a few drops of yellow food coloring (I used around 8 drops) and mix until well blended.
- Pour the mixture evenly into the lined pan and refrigerate for 30 minutes.
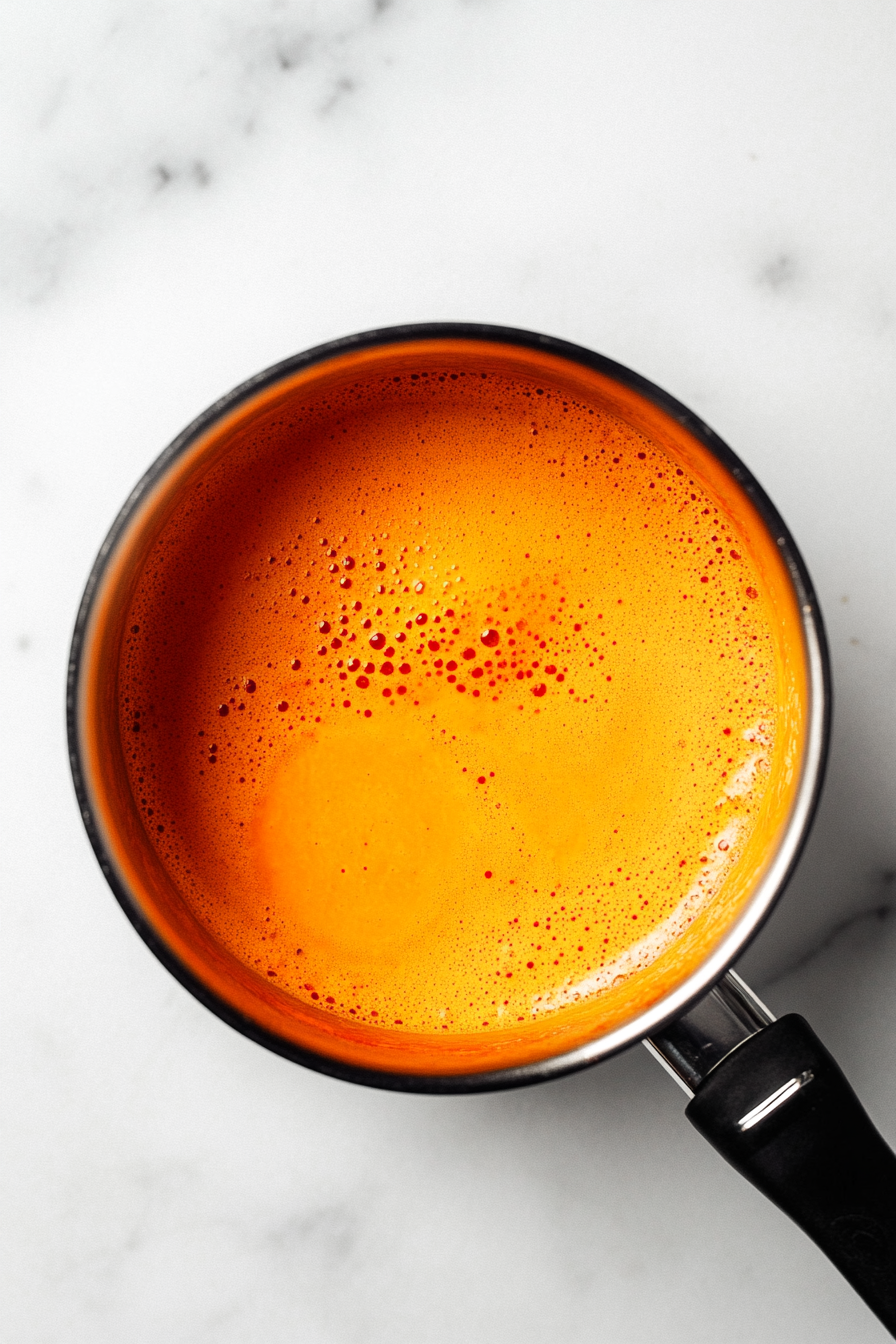
- Orange Layer: Follow the same steps as the yellow layer, this time adding about 12 drops of yellow and 4 drops of red food coloring to create an orange hue.
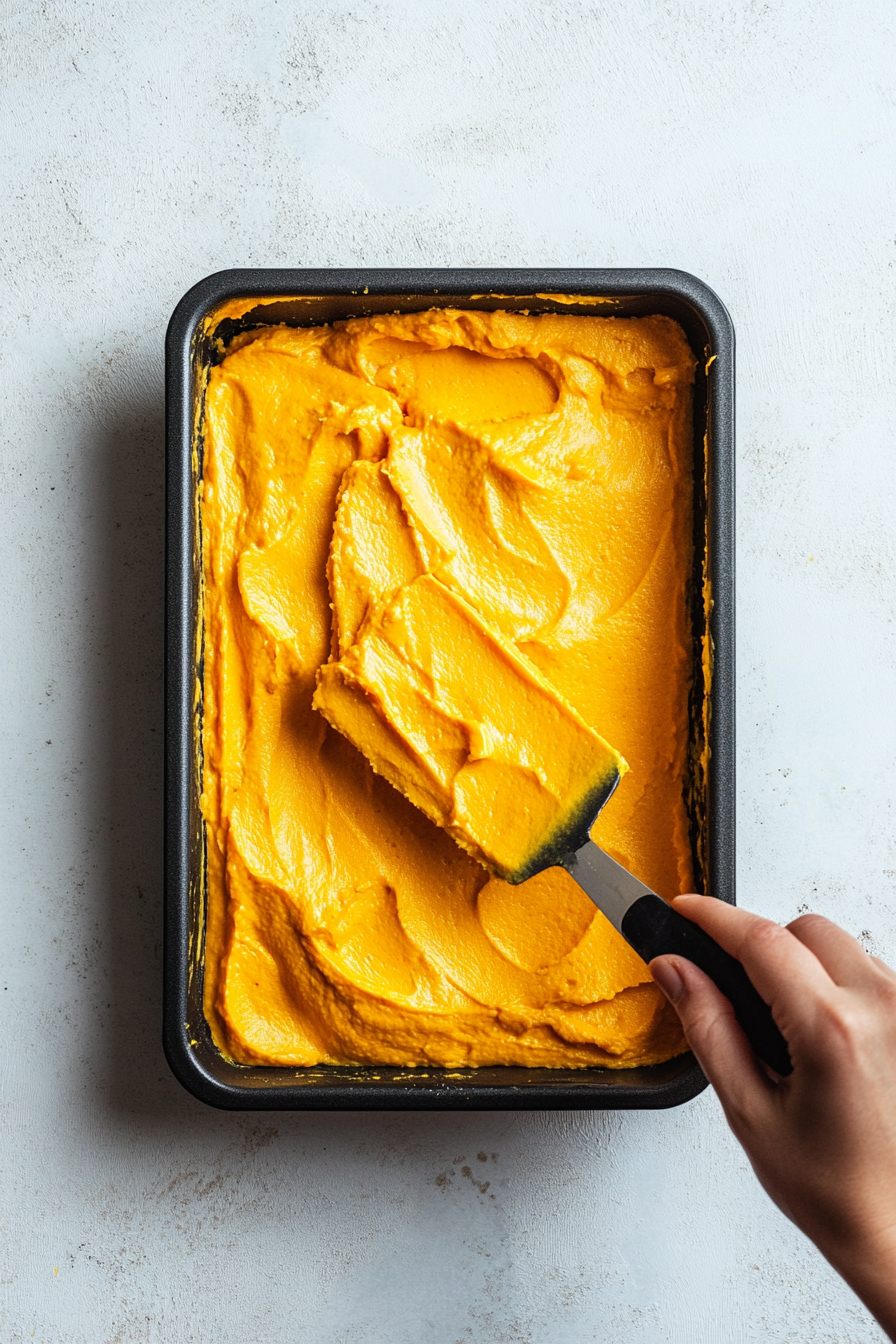
- Spread this layer over the chilled yellow fudge and refrigerate again for 30 minutes.
- White Layer: Repeat the same melting process for the final white layer, omitting the food coloring.
- Pour over the orange layer and chill for at least 2 hours.
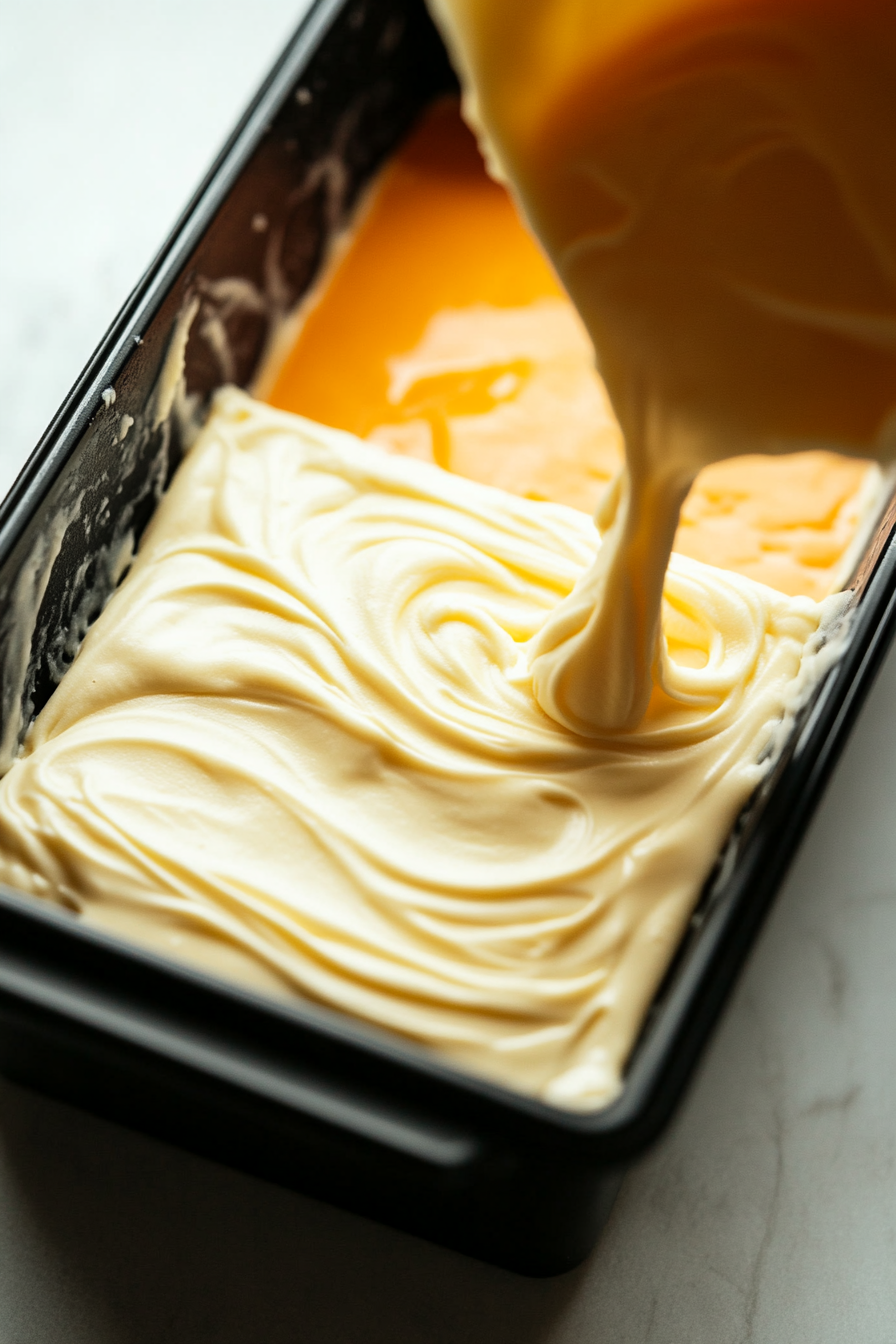
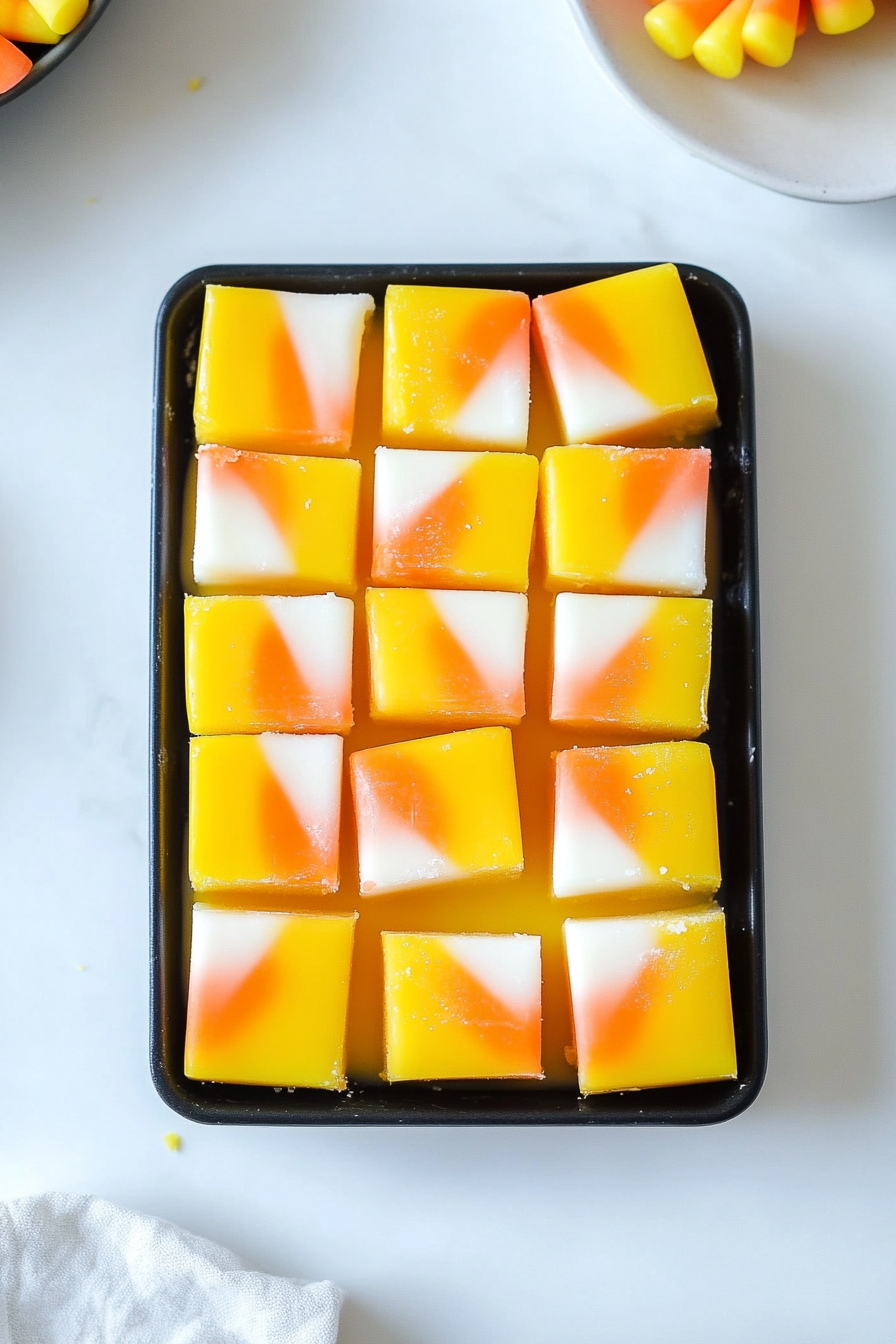
- Once set, lift the fudge out of the pan, slice into small squares or triangles, and serve.
Notes
- Using clear vanilla extract instead of the regular kind ensures the white layer stays bright and pure without any slight tint from the vanilla.
| Nutrition | Value |
|---|---|
| Calories | 173 kcal |
| Carbohydrates | 17 g |
| Protein | 1 g |
| Vitamin A | 95 IU |
| Vitamin C | 0.2 mg |
| Iron | 0.1 mg |
| Sugar | 17 g |
| Calcium | 58 mg |
How to Get Clean, Distinct Fudge Layers
The visual appeal of Candy Corn Fudge comes from the three colors staying separate. A little patience between layers helps achieve that look.
- Chill each layer as directed: The yellow layer needs time to firm before the orange layer goes on, and the orange layer needs the same treatment before the white layer.
- Spread gently: Pour the new layer carefully and use a spatula to guide it across the surface without pressing too hard.
- Keep the mixture smooth: Stir the chocolate and cream continuously during melting to prevent scorching or uneven texture.
- Work efficiently: Prepare each layer when you’re ready to use it so the melted mixture remains easy to spread.
- Allow enough final chilling time: The full 2-hour chill helps the layers set together before cutting.
Tips for Smooth, Creamy Fudge
White chocolate can be sensitive to excessive heat, so gentle handling is important.
- Use a heavy-bottomed saucepan if possible to distribute heat more evenly.
- Keep stirring while the chocolate, cream, honey, and vanilla melt together.
- Avoid letting the mixture boil vigorously.
- If the mixture starts to look thick or uneven, remove it from the heat and stir gently.
- Let the fudge become firm in the refrigerator before cutting it.
Fun Ways to Serve Candy Corn Fudge
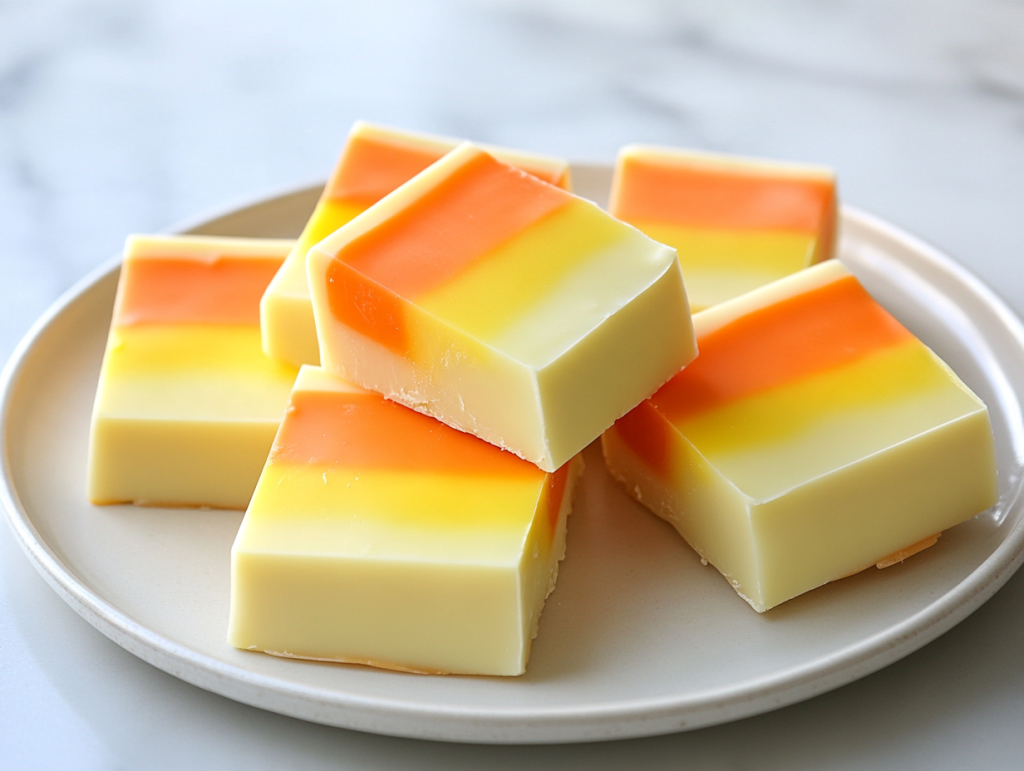
Serve these colorful pieces on a Halloween dessert platter alongside brownies, sugar cookies, popcorn, or chocolate treats. The layered colors make them a natural fit for themed parties and autumn gatherings.
For homemade gifts, arrange the fully set pieces in small treat bags, decorative boxes, or a Halloween tin. You can also combine them with other homemade sweets for a seasonal dessert assortment.
Because the fudge is quite sweet, cutting it into small pieces makes it easier for guests to sample alongside other desserts.
What To Serve With Candy Corn Fudge?
Storage Tips
Store Candy Corn Fudge in an airtight container in the refrigerator. Keep the pieces in a single layer when possible, or place parchment paper between layers to prevent sticking.
For serving, remove only the amount you need and keep the remaining fudge chilled. Avoid leaving it in a warm area for an extended period, as the creamy layers may soften.
You can also prepare the fudge ahead of a party, allowing enough time for the layers to chill completely before cutting and packaging.
Frequently Asked Questions
- Does Candy Corn Fudge need to be baked?
No. This is a no-bake dessert. The white chocolate mixture is melted on the stovetop, layered in a pan, and chilled until firm. - Why is my fudge not setting?
It may need more chilling time, or the chocolate-to-cream ratio may have been altered. Measure the ingredients carefully and refrigerate the completed layers for at least 2 hours, or longer if needed. - Can I use regular vanilla extract for the white layer?
Yes. Regular vanilla extract works, but it may give the white layer a slightly cream-colored tint. Clear vanilla extract helps keep the layer looking brighter. - Can I make the fudge a day ahead?
Yes. Prepare it in advance and keep it covered in the refrigerator until you’re ready to slice and serve it. Making it ahead also gives the layers plenty of time to become firm. - How do I cut the fudge without damaging the layers?
Wait until the fudge is fully set, lift it from the pan using the lining, and cut with a sharp knife. Wipe the blade between cuts to keep the colors neat. - Can I make the orange layer with orange food coloring?
Yes. If you have orange food coloring, you can use it to achieve the desired shade. The supplied method combines yellow and red coloring, so adjust gradually until the middle layer looks orange.
hi there,
i’m Archie
A San Diego-born home cook who turns her kitchen into a playground of flavors.